If you’ve just bought a new Canon printer and need to connect it to your laptop, you’re in the right place.
This guide covers everything you need to know about connecting a Canon printer to your laptop, step by step.
Why Own a Printer?
Some people think printers are outdated, but they’re still incredibly useful in the right situation.
If you’re a working professional who regularly prints spreadsheets, reports, or other documents, having a reliable printer at home saves you both time and money. No more trips to the office supply store or the library.
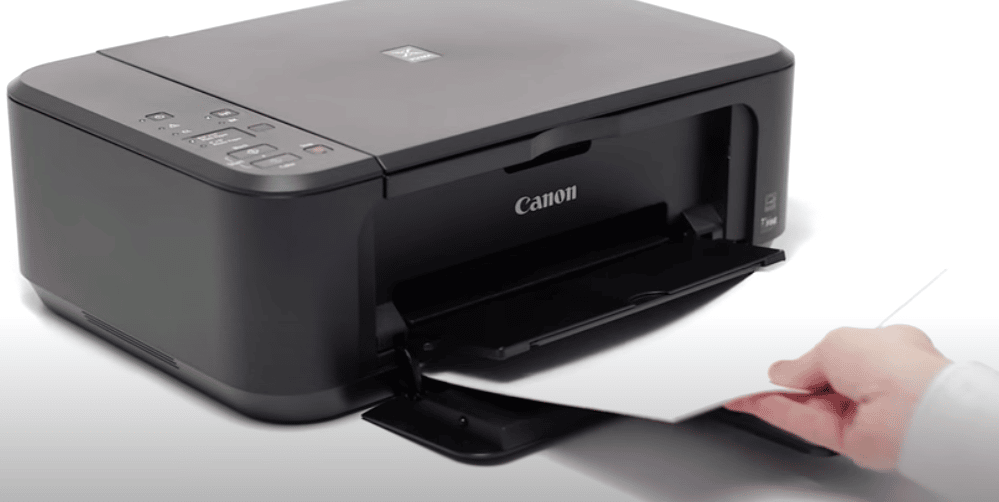
Canon has recently upgraded its printer lineup with new models that support wireless connectivity. You can connect these printers to your computer, laptop, or mobile device without a single cable, thanks to built-in WiFi.
Canon printers are used by millions of people worldwide, and the company backs them up with solid quality and warranty support.
So let’s get into the setup process.
How to Connect Canon Printer to Laptop: Method 1
There are a few different ways to connect a Canon printer to your laptop. Here’s the first method using the included installation CD.
Standard Installation with the Setup CD
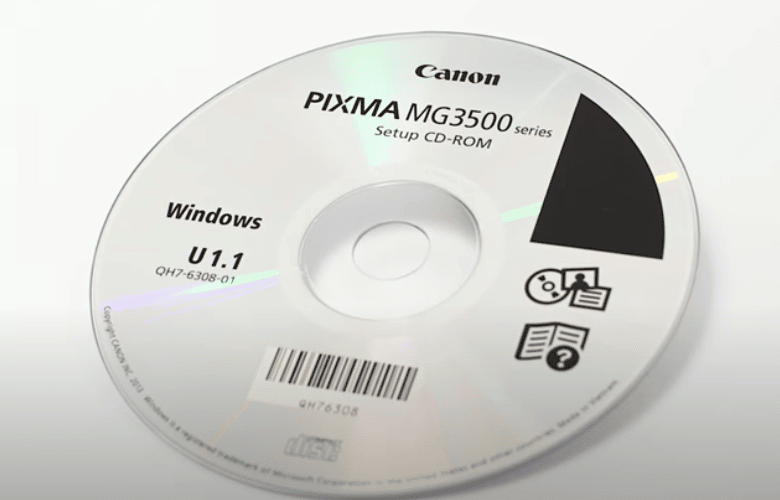
Canon printers typically come with an installation CD. You can pop the CD into your laptop to kick off the setup process. The CD includes the setup software and all the drivers you’ll need.
Step 1:
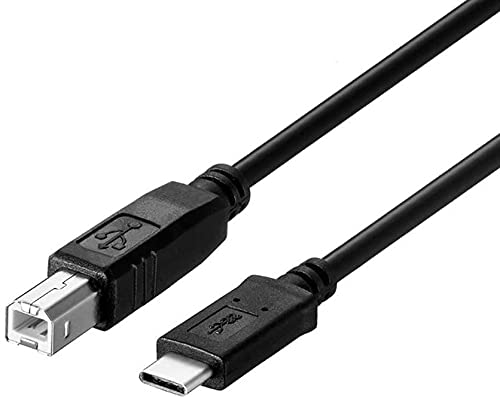
Unbox the printer and connect it to your laptop using the USB data cable that came in the box. Plug one end into the printer and the other into your laptop. Keep the printer turned off for now.
Step 2:
Insert the installation CD into your laptop’s CD drive.
Step 3:
If a hardware installation prompt pops up, click Cancel to continue with the Canon setup instead.
Step 4:
This topic ties into our how to connect the printer to Chromebook guide, which covers the next steps.
Follow the on-screen instructions. Read through each screen and click Next. When you reach the end, click setup.exe to start the installation.
Step 5:
You’ll see a Printer Connection Screen. At this point, turn on your Canon printer by pressing the power button.
Step 6:
Click Exit when the installation finishes.
If your laptop doesn’t have a CD drive (many newer laptops don’t), just head to Canon’s official website and download the setup software and drivers for your specific printer model.
How to Connect Canon Printer to Laptop: Method 2
This method works through Windows settings and doesn’t require the CD at all.
Step 1:
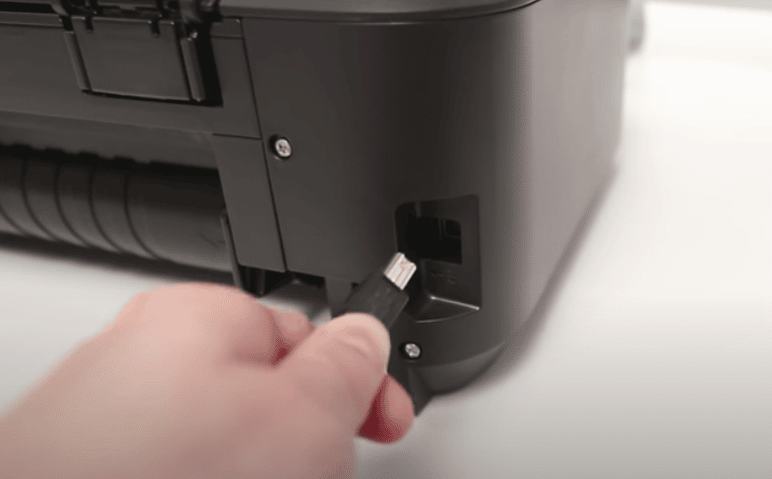
Make sure the printer is turned off. Connect a USB cable between the printer and your laptop.
Step 2:
Once the cable is plugged in, turn on the Canon printer.
Step 3:
Click the Start button on your laptop, then open Settings.
Step 4:
Our guide on how to setup dual monitor goes into more detail if you need it.
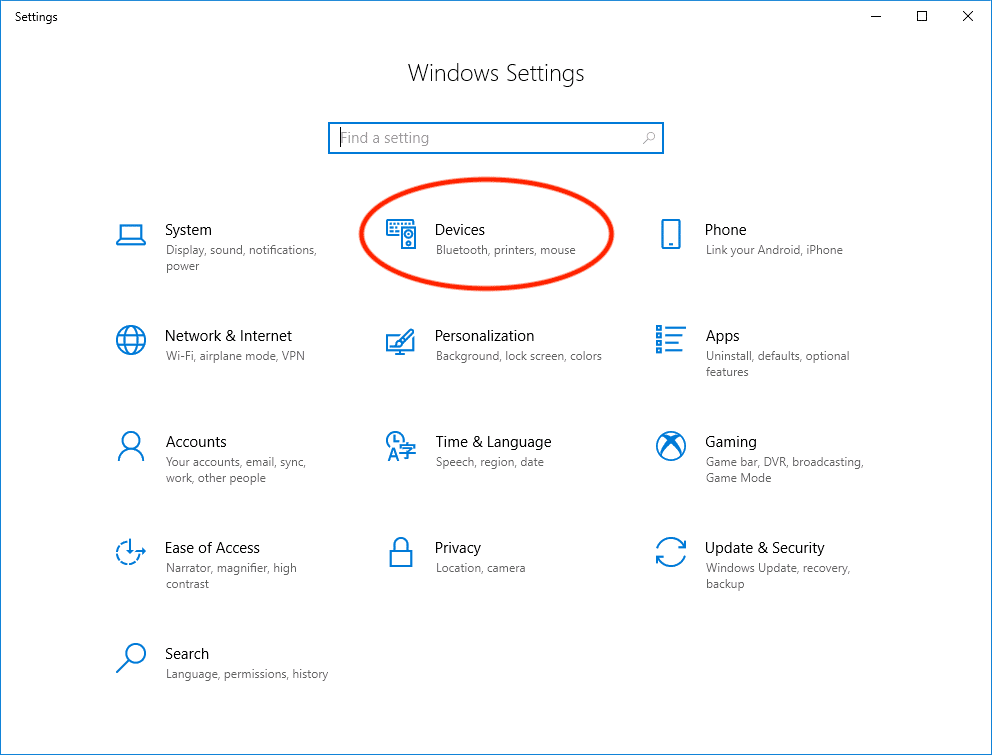
In the Settings window, click Devices.
Step 5:
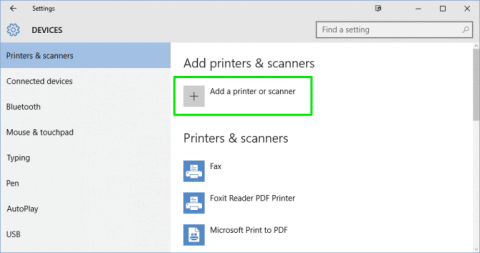
Click on Printers and Scanners.
Step 6:
Click Add a printer or scanner.
Step 7:
Your laptop will start scanning for available printers. Since it’s connected by USB, the system should find it right away.
Step 8:
When your printer appears in the list, select it and click Add a Device.
That’s all there is to it. If your printer’s name doesn’t show up in the list, click “The printer that I want isn’t listed.” That option lets you add the printer manually.
Common Questions
Q: My printer’s name isn’t showing up in the list.
Click “The printer that I want isn’t listed” and follow the instructions to add it manually. This usually resolves the issue.
Q: Can I connect my Canon printer wirelessly?
Yes, if your Canon printer supports wireless connections (most newer models do), you can connect it to your laptop or phone using WPS.
Here are the full instructions for connecting your Canon printer to WiFi.
Q: My computer isn’t recognizing the printer at all.
This is usually a driver issue. Before connecting the printer, make sure you’ve installed the correct drivers for your printer model on your laptop. You can download them from Canon’s website.
Bottom Line
Connecting a Canon printer to your laptop is straightforward once you know the steps. If you have the CD, use it. If not, the Windows settings method works just as well.
Still running into problems after trying both methods? Contact Canon’s customer support team. They can walk you through the process over the phone and help you sort out any issues.
![AINOPE Printer Cable 6.6 Feet, Printer USB Cable [Plug & Play] USB A&USB C to USB-B 2.0 for MacBook Pro, USB C MIDI Cable New-Nylon Braided Never Rupture for Yamaha Casio Digital Piano MIDI Controller](https://www.technowifi.com/wp-content/uploads/2026/08/ainope-printer-cable-6-6-feet-printer-usb-cable-plug-play-usb-ausb-c-to-usb-b-2-1.jpg)