A 3D printer builds physical objects by stacking material one thin layer at a time, following instructions from a digital 3D model. Instead of cutting or drilling away material like a CNC machine does, a 3D printer adds material from the bottom up. This process is called additive manufacturing, and it is the reason a desktop machine costing a few hundred dollars can produce custom parts, prototypes, tools, and toys that would otherwise require expensive molds or machining setups.
The technology has moved well beyond the hobbyist phase. Dentists print crowns, aerospace engineers print rocket components, and surgeons practice on 3D-printed organ models before operating on patients. But the core process is surprisingly straightforward. You design or download a 3D model, a piece of software slices that model into hundreds of thin layers, and the printer builds those layers one at a time until the object is finished.
How Does 3D Printing Actually Work
Every 3D print starts as a digital 3D model – a file that describes the exact shape, dimensions, and geometry of the object. You can create this model yourself using CAD software (like Fusion 360, TinkerCAD, or Blender), or you can download a ready-made model from sites like Thingiverse, Printables, or MyMiniFactory. These models are typically saved as STL or 3MF files.
That 3D model then goes into a slicer – software that chops the model into hundreds or thousands of horizontal layers, each typically 0.1mm to 0.3mm thick. The slicer also generates the tool path that tells the printer where to move, how fast to travel, and how much material to deposit. Popular slicers include PrusaSlicer, Ultimaker Cura, and Bambu Studio. The slicer exports a file called G-code, which is essentially a long list of coordinates and commands that the printer follows line by line.
The printer reads that G-code and physically builds the object one layer at a time. Depending on the technology, it might melt plastic filament, cure liquid resin with UV light, or fuse powder with a laser. Each layer bonds to the one beneath it. After all layers are deposited, you have a finished three-dimensional object.
What Are the Different Types of 3D Printing
Not all 3D printers work the same way. The three most common technologies – FDM, SLA, and SLS – each use a fundamentally different approach to building layers. The one you pick depends on what you want to print, how much detail you need, and how much you are willing to spend.
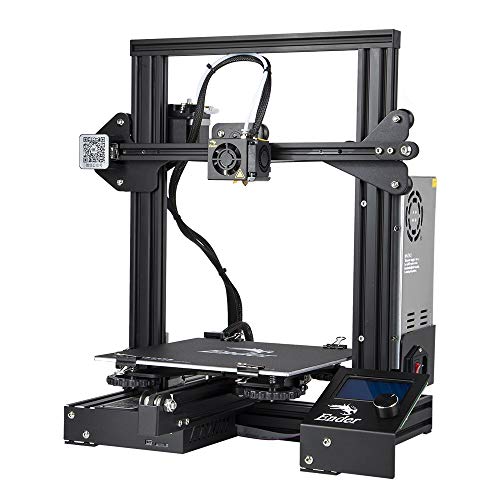
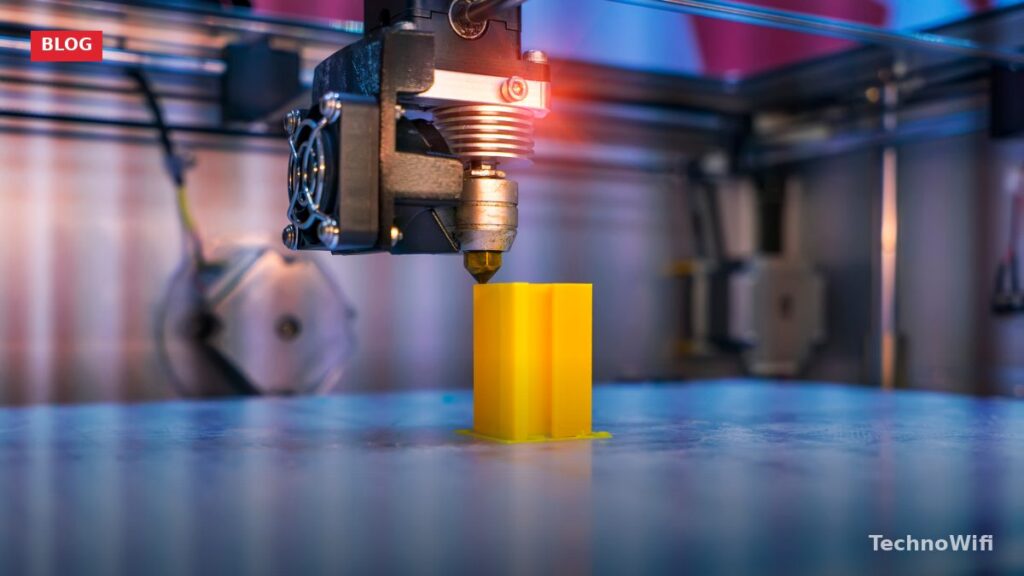
FDM (Fused Deposition Modeling) is the most common type for home use. An FDM printer feeds a spool of plastic filament (usually 1.75mm thick) through a heated nozzle called a hotend. The nozzle melts the filament and extrudes it onto a build plate, drawing each layer like a hot glue gun tracing a pattern. The nozzle moves in the X and Y directions while the build plate (or the nozzle itself) moves in the Z direction to stack layers. FDM printers are affordable, easy to maintain, and use inexpensive materials. You will also see this technology called FFF (Fused Filament Fabrication) – same process, different name.
SLA (Stereolithography) uses a UV laser to cure liquid photopolymer resin one layer at a time. The build plate dips into a vat of liquid resin, and the laser traces the shape of each layer on the bottom of the vat, hardening the resin wherever the light hits. The build plate lifts slightly, fresh resin flows underneath, and the next layer is cured. SLA printers produce much finer detail than FDM – smooth surfaces, sharp edges, and intricate features that would be impossible with melted filament. The trade-off is messier workflow (liquid resin requires gloves and post-processing) and higher material cost.
SLS (Selective Laser Sintering) uses a high-power laser to fuse powdered material – usually nylon – into solid layers. A thin layer of powder is spread across the build area, the laser sinters the powder where the part should be solid, and then another layer of powder is spread on top. The unfused powder acts as its own support structure, which means SLS can print complex geometries with internal channels and interlocking parts that FDM and SLA cannot. SLS machines are mainly used in industrial settings and typically cost $10,000 and up.
FDM vs SLA vs SLS Comparison
| Feature | FDM | SLA | SLS |
|---|---|---|---|
| How it works | Melts plastic filament through heated nozzle | UV laser cures liquid resin | Laser fuses powder (usually nylon) |
| Typical layer height | 0.1 – 0.3 mm | 0.025 – 0.1 mm | 0.06 – 0.15 mm |
| Surface finish | Visible layer lines | Smooth, near injection-mold quality | Slightly grainy, uniform |
| Printer cost (entry level) | $150 – $500 | $200 – $500 | $10,000+ |
| Material cost | $15 – $30/kg (filament) | $30 – $80/liter (resin) | $50 – $100/kg (powder) |
| Post-processing | Remove supports, optional sanding | Wash in IPA, UV cure, remove supports | Brush off excess powder |
| Best for | Functional parts, prototypes, tools, hobby projects | Miniatures, jewelry, dental models, detailed prototypes | End-use parts, complex geometry, low-volume production |
| Ease of use | Beginner-friendly | Moderate (messy resin handling) | Requires training and ventilation |
For most beginners, FDM is the right starting point. It is cheaper, easier to troubleshoot, and the filament is simple to store and swap. If you specifically need high-detail prints – tabletop miniatures, jewelry prototypes, or dental applications – SLA is worth the extra effort.
What Materials Can a 3D Printer Use
FDM printers use thermoplastic filament that comes on spools. Each material has different strength, flexibility, temperature resistance, and printability. Picking the right filament for your project matters more than most beginners realize.
| Material | Type | Print temperature | Key properties | Best for |
|---|---|---|---|---|
| PLA | FDM filament | 190 – 220 C | Easy to print, low warping, biodegradable, brittle | Beginners, decorative prints, prototypes |
| ABS | FDM filament | 220 – 250 C | Strong, heat-resistant, prone to warping, needs enclosure | Functional parts, automotive, enclosures |
| PETG | FDM filament | 220 – 250 C | Durable, slight flexibility, chemical resistant, food-safe options | Mechanical parts, outdoor use, containers |
| TPU | FDM filament | 210 – 230 C | Flexible, rubber-like, impact resistant | Phone cases, gaskets, wearables |
| Nylon (PA) | FDM filament | 240 – 270 C | Very strong, wear-resistant, absorbs moisture | Gears, hinges, load-bearing parts |
| Standard Resin | SLA resin | N/A (UV cured) | High detail, smooth finish, brittle when thin | Miniatures, models, visual prototypes |
| Tough/ABS-Like Resin | SLA resin | N/A (UV cured) | Impact resistant, less brittle than standard | Functional prototypes, snap-fit parts |
PLA is where almost every beginner should start. It prints at lower temperatures, barely warps, doesn’t smell bad, and forgives a lot of mistakes in printer settings. Once you are comfortable with the basics, PETG is a natural upgrade for parts that need more strength or outdoor durability.
How to 3D Print Your First Object Step by Step
Getting your first successful print is easier than you might expect. The entire workflow from finding a model to holding a finished part takes about 30 minutes of setup plus the actual print time.
- Download a 3D model. Go to a free model site like Thingiverse (thingiverse.com) or Printables (printables.com) and search for something simple – a phone stand, a cable clip, or a calibration cube. Download the STL or 3MF file to your computer.
- Open the model in slicer software. Install a free slicer like PrusaSlicer or Ultimaker Cura. Select your printer model from the built-in profiles, then import the STL file. The slicer will show a preview of the model on a virtual build plate.
- Configure your print settings. For a first print, use the default profile. Set the layer height to 0.2mm (a good balance between speed and quality), infill to 15-20%, and make sure supports are turned on if the model has overhangs greater than 45 degrees.
- Slice and export the G-code. Click the “Slice” button. The software generates the layer-by-layer instructions and shows you an estimated print time. Save the G-code to an SD card, USB drive, or send it to the printer over Wi-Fi if your printer supports it.
- Load filament into the printer. Mount the filament spool on the holder, feed the end of the filament into the extruder, and use the printer’s menu to heat the nozzle and push filament through until you see a clean stream of melted plastic coming out.
- Level the build plate. Most modern printers have automatic bed leveling, but some budget models require manual leveling. Follow your printer’s instructions to ensure the nozzle is the right distance from the bed across all points. Proper bed leveling is the single biggest factor in first-layer adhesion.
- Start the print. Insert the SD card or send the file, select it from the printer’s menu, and hit start. Watch the first few layers to make sure the filament sticks to the bed and the lines are even. After that, you can walk away and let the printer run.
- Remove and clean up the finished print. Once the print is done and the bed cools, the part should pop off with gentle pressure or a scraper. Remove any support material by hand or with pliers, and optionally sand rough areas if you want a smoother finish.
What Can You Make With a 3D Printer
The range of things people actually print at home is wider than most newcomers expect. Replacement parts are probably the most practical application – a broken dishwasher clip, a missing knob for an old receiver, a custom mount for a GoPro. These are parts that would cost $15-$30 to order (if you can even find them) but cost pennies to print.
Phone cases, cable organizers, desk accessories, and storage containers are popular everyday prints. Parents print custom toys and puzzle boxes. Hobbyists print enclosures for Raspberry Pi projects, drone frames, and tabletop gaming miniatures. Artists and designers print sculptures, vases, and architectural models.
On the more serious side, engineers use desktop 3D printers to prototype parts before committing to injection molding. Small businesses print jigs, fixtures, and custom tooling for their workshops. Educators use them to print molecular models, topographic maps, and historical artifacts for hands-on learning.
How Much Does 3D Printing Cost in 2026
Getting into 3D printing is cheaper than it has ever been. A capable FDM printer that produces good results costs between $150 and $300 in 2026. Entry-level resin printers start around $200. The ongoing material costs are surprisingly low – most small to medium prints use only a few grams of filament.
| Item | Cost range (2026) | Notes |
|---|---|---|
| Entry-level FDM printer | $150 – $300 | Creality Ender-3, Bambu Lab A1 Mini, Anycubic Kobra |
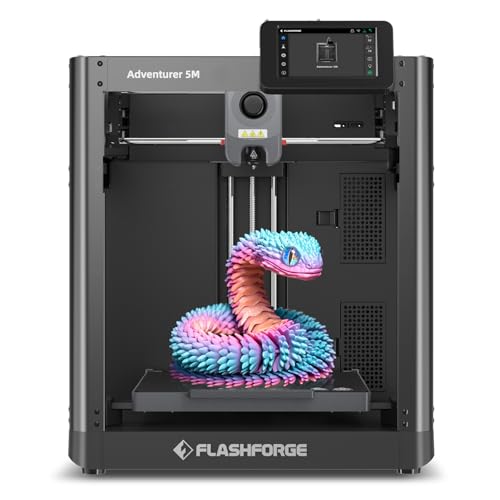
| Mid-range FDM printer | $300 – $700 | Bambu Lab P1S, Prusa MK4, Creality K1 |
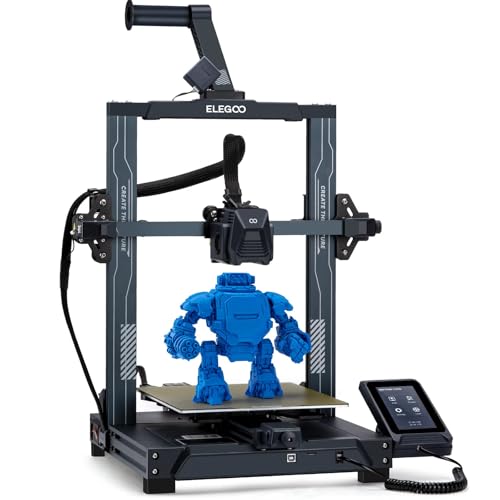
| Entry-level SLA printer | $200 – $400 | Elegoo Mars, Anycubic Photon Mono |
| PLA filament (1 kg spool) | $15 – $25 | Enough for dozens of small prints |
| PETG filament (1 kg spool) | $18 – $30 | Stronger than PLA, slightly harder to print |
| Standard resin (1 liter) | $25 – $45 | Requires IPA for washing, UV lamp for curing |
| Replacement nozzle | $1 – $5 | Brass nozzles wear out over time with abrasive filaments |
| Build surface sheet | $8 – $20 | PEI spring steel sheets are popular upgrades |
A typical small print (a phone stand, a hook, a small figurine) uses 20-50 grams of filament. At PLA prices, that is $0.30 to $1.00 worth of material per print. Even large prints rarely cost more than a few dollars in filament. Electricity is negligible – an FDM printer draws about 100-200 watts, roughly the same as a bright light bulb.
Common 3D Printing Problems and How to Fix Them
Warping happens when the edges of a print curl upward and peel away from the build plate. It is caused by the bottom layers cooling and shrinking faster than they can stick to the bed. ABS is the worst offender. To fix it, make sure the bed is clean and properly leveled, increase the bed temperature by 5-10 degrees, use a brim (an extra ring of filament around the base for better adhesion), and print in an enclosed chamber if you are using ABS.
Stringing leaves thin whiskers of filament between separate parts of a print. It happens when melted filament oozes from the nozzle while the print head travels between sections. Increase the retraction distance and retraction speed in your slicer settings. Lowering the print temperature by 5-10 degrees also reduces stringing because the filament is less runny at lower temps.
Layer shifting causes the layers to misalign horizontally, making the print look like a stack of cards that got bumped. It usually means a mechanical issue – loose belts, a set screw that came loose on a pulley, or the print head bumping into a curled section. Tighten your belts, check your pulleys, and make sure the print isn’t lifting off the bed and blocking the nozzle path.
Poor bed adhesion means the first layer doesn’t stick to the build plate and the print gets dragged around by the nozzle. Clean the build surface with isopropyl alcohol, re-level the bed so the nozzle is slightly closer, increase bed temperature, and slow down the first-layer speed in your slicer. A textured PEI sheet or a thin layer of glue stick on glass beds also helps.
3D Printing FAQs
How long does a 3D print take?
Print time depends on the object’s size, the layer height, and the print speed. A small calibration cube takes 15-30 minutes. A phone case takes 1-3 hours. A detailed figurine at fine layer heights can take 8-12 hours. Large objects like a full helmet or a vase can take 20 hours or more. Thinner layers mean smoother surfaces but longer print times. Most everyday prints finish in 1-4 hours.
Is 3D printing expensive?
Not anymore. A solid FDM printer costs $150-$300, and a kilogram of PLA filament runs $15-$25. That single spool can produce dozens of small to medium prints. The per-print cost for most objects is under $1 in material. Electricity costs are negligible. Compared to ordering custom parts or buying specialized tools, 3D printing pays for itself quickly if you use the printer regularly.
Can you 3D print metal at home?
Not with a standard desktop printer. Metal 3D printing requires industrial machines that use either laser sintering (DMLS/SLM) or metal binder jetting, and those systems cost $100,000 and up. Some desktop FDM printers can print with metal-filled filaments – PLA mixed with bronze, copper, or steel powder – that look and feel metallic after polishing, but they are not solid metal and don’t have metal’s structural strength. True metal 3D printing is an industrial process.
What software do you need for 3D printing?
At minimum, you need a slicer – PrusaSlicer and Ultimaker Cura are both free and work with almost every FDM printer. If you want to design your own models, TinkerCAD (free, browser-based) is perfect for beginners, and Fusion 360 (free for personal use) handles more advanced work. Blender (free) is great for organic and artistic models. If you just want to print existing designs, you only need the slicer – download the STL file from Thingiverse or Printables and slice it.
Is 3D printing hard to learn?
The basics are straightforward. Downloading a model, slicing it, and running a print takes an afternoon to learn. Modern printers with automatic bed leveling and built-in profiles have removed most of the frustration that plagued early machines. Designing your own models in CAD software has a steeper learning curve, but tools like TinkerCAD make it accessible even for kids. Most people are printing successfully within their first weekend with the machine.
- Prusa Knowledge Base – “3D Printing Handbook” – https://help.prusa3d.com/category/3d-printing-handbook_506
- All3DP – “3D Printing: The Ultimate Beginner’s Guide” – https://all3dp.com/1/3d-printing-guide/