Canon 80D Wedding Photography Settings
Whether you’re shooting weddings for fun or as your profession, Canon 80D wedding photography doesn’t have to be intimidating. The 80D is a capable camera with a 24MP APS-C sensor and a 45-point AF system that handles wedding environments well.
The trick is knowing which settings to adjust before the big day. Here’s a step-by-step breakdown of the recommended settings for Canon 80D wedding photography.
Step 1. Adjust the Manual Settings
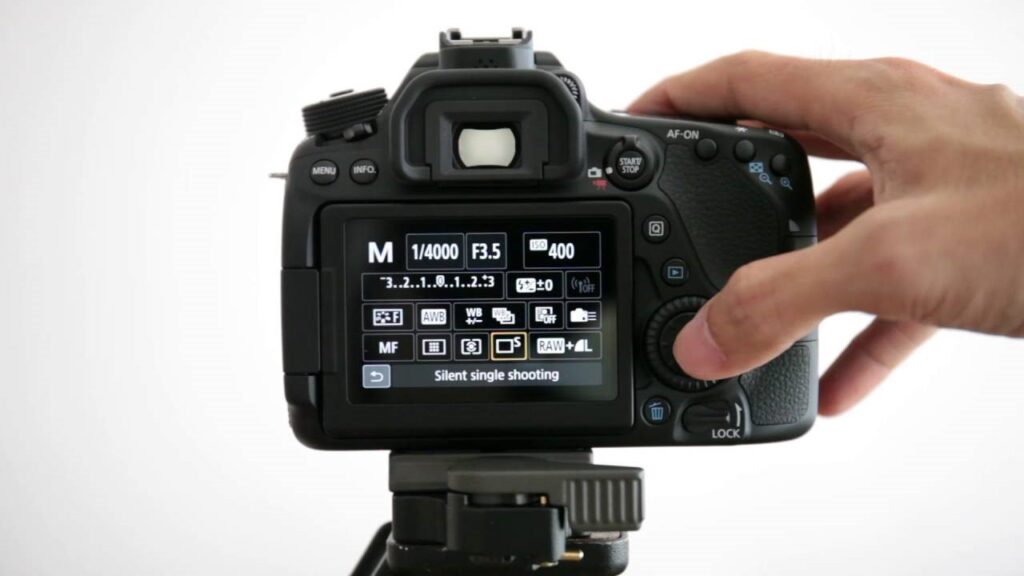
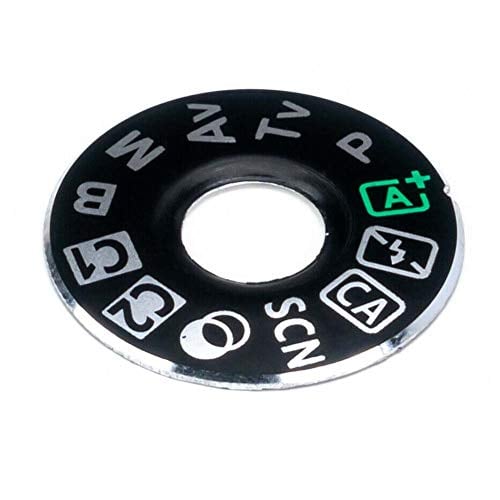
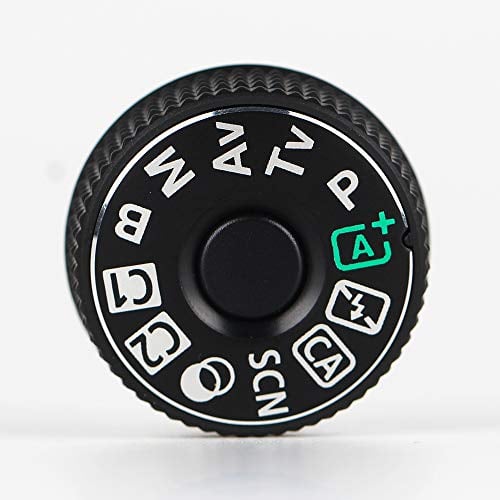
The Canon 80D gives you solid control in manual mode. Two settings matter most here: shutter priority and aperture priority.
Shutter speed
For portraits of the couple, set your shutter speed to 1/500. This freezes any slight movement and keeps faces sharp. When you’re capturing guests and the general atmosphere, you can drop it a bit lower depending on how much activity there is.
Aperture priority mode
Looking for more? We have a dedicated guide on Canon 80D interval timer.
For couple portraits, keep your aperture between f/1.4 and f/2.8. This gives you that blurred background look that makes wedding photos stand out. For wider shots of the venue or group photos with guests, bump the aperture higher (f/5.6 or above) so everything stays in focus.
Step 2. Set the Right Depth of Field
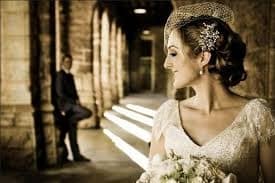
A well-controlled depth of field is what separates good wedding photos from great ones. When only the couple is in sharp focus and the background melts away, the image looks polished and professional.
Use a smaller f-number (wider aperture) to let more light in and increase the depth of field effect. The wider the aperture, the more background blur you get.
Macro lenses are another option here. They let you focus tightly on the subject, which naturally blurs the background and creates that separation you’re after.
Step 3. Use Flash Properly
Flash is almost always necessary at weddings, especially during receptions and indoor ceremonies.
The Canon 80D has a built-in flash with a Guide Number of 12 meters (39.4 feet) at ISO 100. That’s decent for a pop-up flash, but you’ll want to balance it with the ambient light in the room.
We also cover Canon 90D wedding photography in a separate article worth checking out.
The key is figuring out how much flash power you need for the current lighting. A good starting point: ISO 1600 at f/2.8, with flash power set to 1/16th. From there, adjust based on what you see on the LCD. If the subject is too bright, dial the flash down. Too dark, bump it up or raise your ISO.
Step 4. Set White Balance
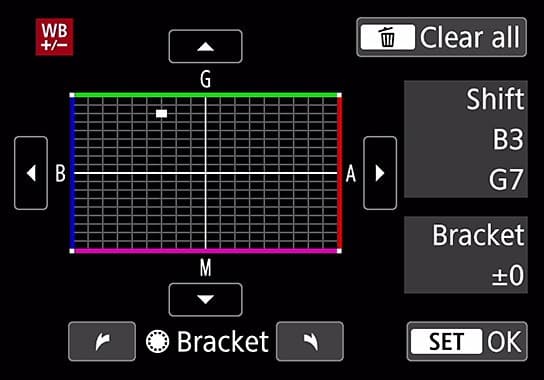
Auto White Balance (AWB) is your best friend at weddings. Lighting changes constantly as the couple moves from the ceremony to the reception to the dance floor. AWB adapts on the fly so you’re not fiddling with settings every few minutes.
If you’re shooting in RAW (and you should be), you can always fine-tune the white balance later in Lightroom or your preferred editor. For photographers who want more manual control, Kelvin mode lets you preset a specific color temperature.
Step 5. Pick the Right Lens
Your lens choice has a bigger impact on image quality than almost any camera setting. For Canon 80D wedding photography, look for lenses with strong optical performance and wide apertures.
Macro and prime lenses are great for dramatic couple shots, detail photos, and low-light situations. Zooms are better for group shots and candid moments where you can’t always control your distance from the subject.
Here are some solid options:
- Canon EF 24-70mm f/2.8L II USM Zoom Lens
- Canon EF 16-35mm f/2.8L III USM
- Canon EF 50mm f/1.2L USM Ultra Fast Lens
- Canon EF 35mm f/1.4L II USM
- Canon EF 85mm f/1.2L II USM AF
- Canon EF 100mm f/2.8L Macro IS USM
- Canon EF 70-200mm f/2.8L IS II USM
Check full specs of Canon Lens for Wedding