How to Connect Canon 6D Mark II to a Computer
Need to connect Canon 6D Mark II to computer for file transfers? There are two ways to do it: USB cable or WiFi. Both work well, but each has its own setup process.
The Canon 6D Mark II has been a favorite in the DSLR world for good reason. It shoots great images and, when it’s time to move your files to a PC, the process is pretty straightforward.
Let’s walk through both methods.
Connect Canon 6D Mark II to Computer via USB Cable
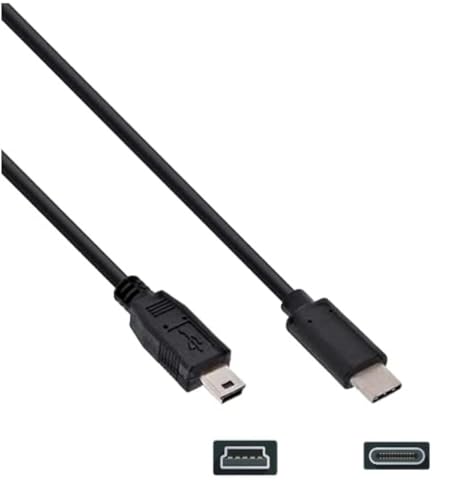
For a wired connection, you’ll need a proper USB cable designed for camera data transfer. Don’t grab just any cable lying around. A cheap or damaged cable can cause data loss or connection drops during transfers (Hey! It’s on Amazon).
Step 1. Turn On Both Devices
Power on your Canon 6D Mark II and your computer. Give the PC a moment to fully boot up before connecting anything.
Step 2. Plug In the USB Cable
Connect the cable between the camera and computer using the correct USB ports on each device. Wait a few seconds for the computer to recognize the camera as a storage device.
Step 3. Open the Camera’s Storage on Your Computer
Once the computer detects the camera, open it like you would any external drive. You can now browse your photos and videos, and transfer whatever you need.
One tip: make sure the camera is plugged into a power source during long transfers. You don’t want the battery dying halfway through.
Connect Canon 6d Mark ii to computer – launch the camera from your computerConnect Canon 6D Mark II to Computer via WiFi
Step 1. Prepare Your Camera and Computer
Turn on your computer and let it fully boot up so all network services are running. If the camera battery is low, plug it into a power source.
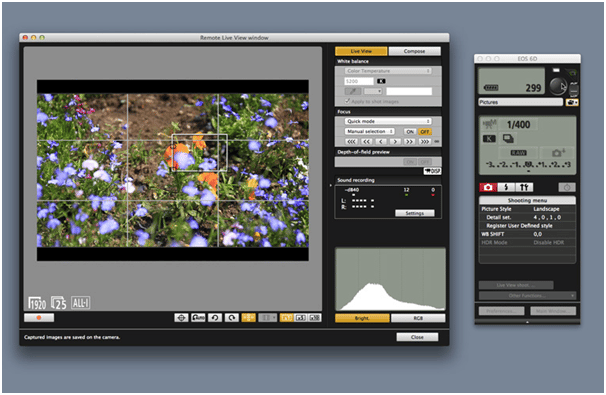
Next, install the EOS Utility software on your computer. You can find the download link on Canon’s official website. This software handles the wireless connection between the camera and your PC.
Step 2. Configure WiFi Settings on the Camera
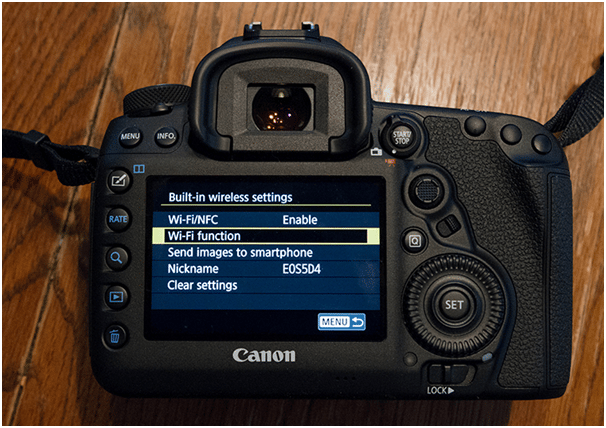
Press the menu button on the camera and scroll through the options. Find “Wireless Communication Settings” and enable WiFi.
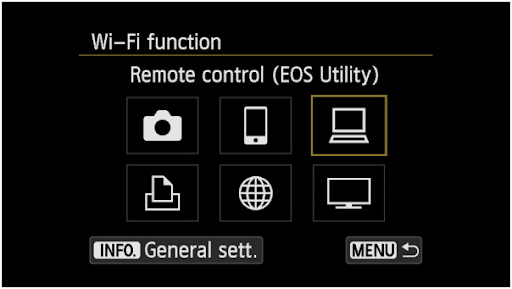
You’ll see a WiFi function menu that lists the types of devices you can connect to. Select the option that represents a computer (it’s the third icon in the list).
Step 3. Activate WiFi on the Camera
A new screen will ask how you want to establish the wireless connection. You can use a PIN method or go with direct WPS entry.
If you choose the PIN method, the camera will display its network name and password on screen.
Step 4. Connect from Your Computer
Go to your computer and turn on WiFi. Look for the network name shown on the camera display, select it, and enter the password. Click “Connect” and the wireless link between the two devices will be established.
Step 5. Pair the Devices
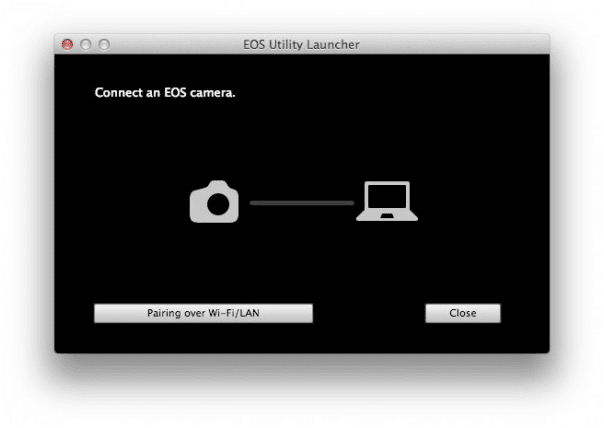
The camera will prompt you to confirm the pairing. Hit “Ok” and you’re set. Open the EOS Utility software on your PC, and you can start transferring photos and videos wirelessly.
Canon 6d Mark II sports settings
How to connect Canon camera to the computer