Canon 7D Wedding Photography Settings
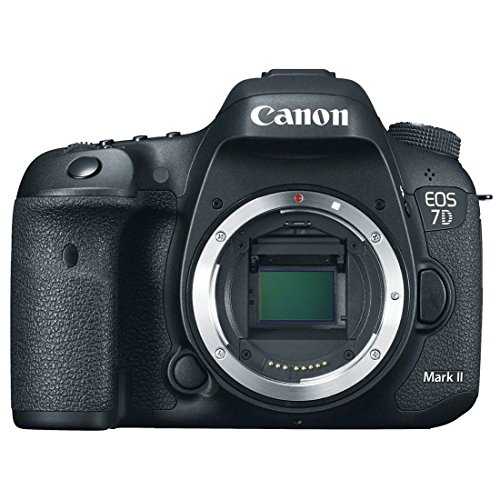
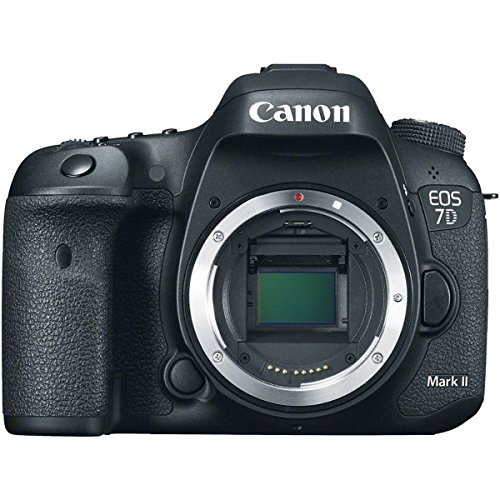
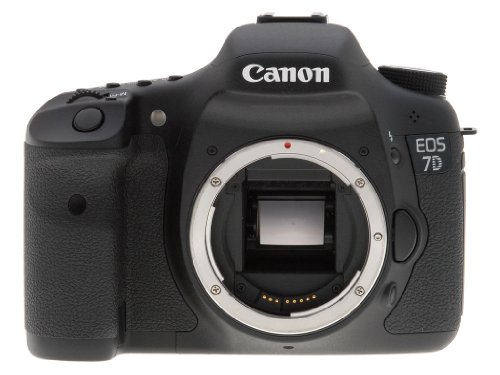
The Canon 7D has earned a solid reputation among wedding photographers for good reason. With its 18 MP APS-C CMOS sensor and Dual DIGIC 4 image processors, Canon 7D wedding photography delivers sharp, professional results when you dial in the right settings.
Here’s a step-by-step guide to getting the most out of your Canon 7D at weddings.
Recommended Settings for Canon 7D Wedding Photography
Recommended settings for Canon 7D wedding photographyStep 1. Shoot in RAW Format
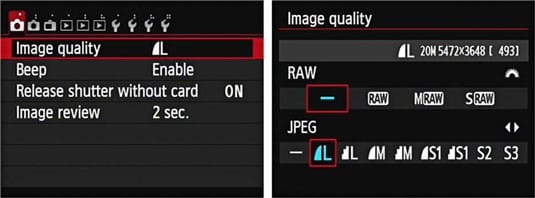
Some wedding photographers skip RAW because of the extra processing time, but the flexibility is worth it. RAW files give you much more room to recover details in post-processing.
At weddings, you’ll deal with tricky lighting, overexposed backgrounds, and color casts from mixed light sources. With RAW, you can fix white balance, pull back highlights, and recover shadows that would be lost in a JPEG. It’s extra work after the shoot, but it saves shots that would otherwise be unusable.
Step 2. Set the Right White Balance
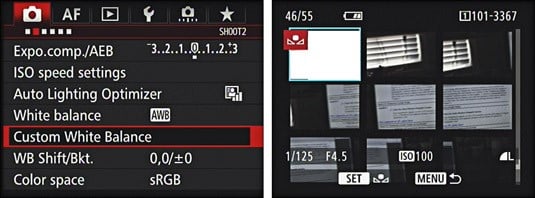
Uneven or mixed lighting is one of the biggest challenges at weddings. The Canon 7D has a dual-function button on the top right that controls both metering mode and white balance.
Press it once, then use the rotational dial on the back to scroll through presets: AWB (Auto White Balance), Shady, Cloudy, Daylight, and others.
For most wedding situations, stick with Auto White Balance. It adapts quickly as the couple and guests move between different areas and lighting conditions. You won’t have to stop and reconfigure every time someone walks from a sunlit courtyard to a dim reception hall.
Step 3. Customize Shutter Speed
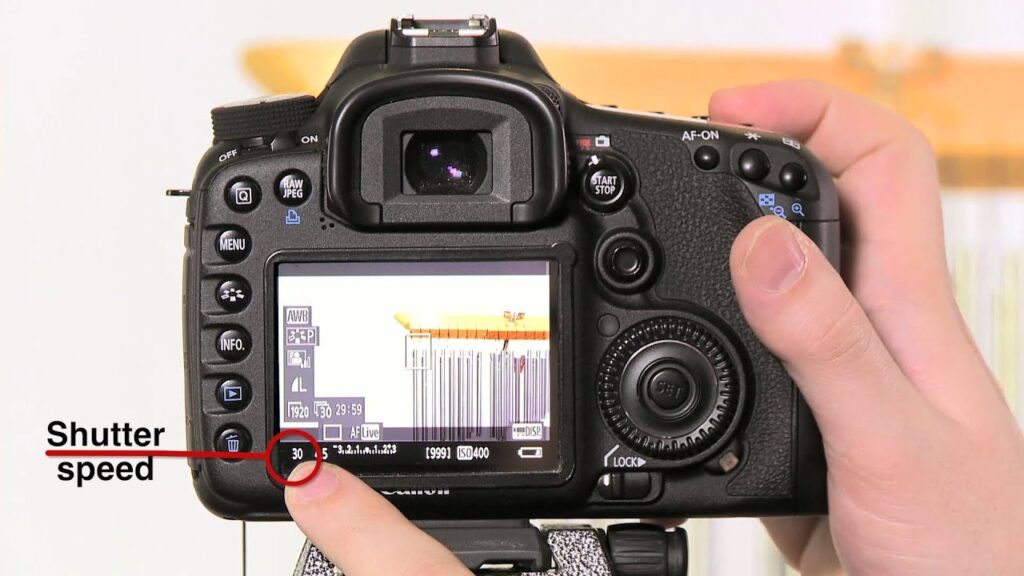
Different parts of a wedding call for different shutter speeds. Here’s a quick breakdown:
During the procession
People are moving, so keep your shutter speed at 1/60 sec minimum. If there’s more movement than expected, bump it up to 1/100 sec or faster.
During the ceremony
Switch to shutter priority mode. This prevents the camera from dropping to a shutter speed that’s too slow, which would blur your shots in the dim lighting typical of churches and indoor venues.
Couple portraits
A shutter speed of 1/60 sec works well when the couple is relatively still. For reception shots with dancing or movement, use shutter priority mode again for better results.
Step 4. Set Up Flash
Good flash work makes a real difference in how wedding photos turn out. On the Canon 7D, go to the second tab of the settings menu to find Flash Control. You can enable or disable the flash from there.
The built-in flash has a guide number of 39 feet (12 meters) at ISO 100, which translates to roughly 14 feet of effective range with an f/2.8 lens. For larger venues, you’ll probably want an external speedlite, but the built-in flash handles close-range shots and fill flash just fine.
Step 5. Use the Right Accessories
The camera settings only get you so far. A few key accessories can take your Canon 7D wedding photography to another level.
Tripod
Wedding days are long. You’re carrying heavy lenses, possibly a battery grip, and other gear for hours. A tripod gives your camera stability for group shots and long-exposure situations, and it gives your arms a break.
Lenses
The right lens lets you capture intimate moments from across the room or get up close for detail shots. For Canon 7D wedding photography, consider these options:
- Canon EF 100mm f/2.8L IS USM Macro Lens
- Canon EF 24-105mm f/4L IS II USM Lens
- Canon EF 24-70mm f/4L IS USM Lens
Check out the list of the best Canon lenses for wedding photography.