Connecting the Canon 80D to Your Mac
The Canon EOS 80D is a dependable APS-C DSLR that plenty of photographers still use for everything from portraits to Canon 80D wedding photography. Getting it connected to your Mac is straightforward, but there are a few settings and software details worth knowing about.
USB Connection via Mini-USB
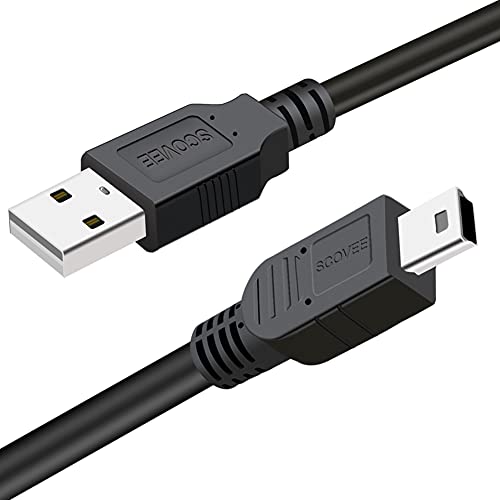
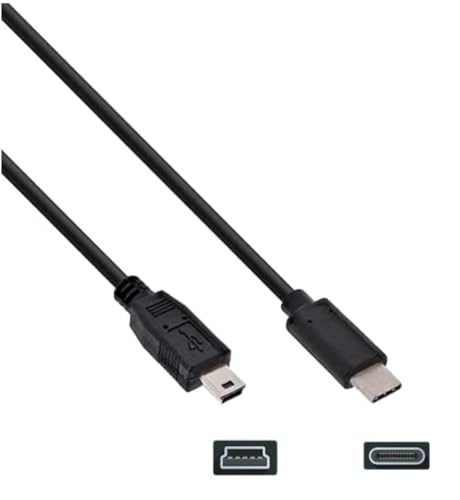
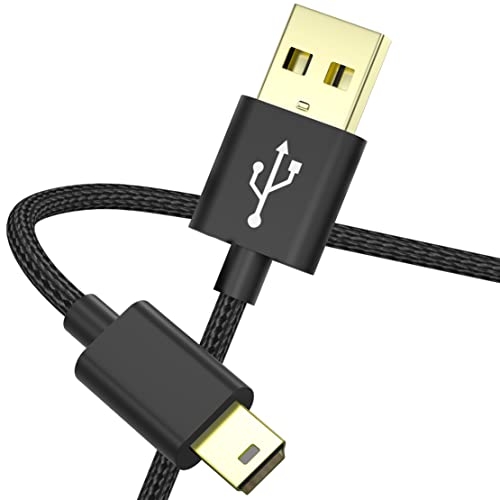
The 80D uses a Mini-USB port (not Micro-USB). You’ll need a Mini-USB to USB-A cable. If your Mac only has USB-C or Thunderbolt ports, use a USB-A to USB-C adapter or a direct Mini-USB to USB-C cable.
Steps to connect:
1. Turn off the 80D.
2. Open the port cover on the left side and plug in the Mini-USB cable.
3. Connect the other end to your Mac.
4. Turn the camera on.
5. Wait for macOS to detect the camera (usually 3 to 5 seconds).
Once detected, Image Capture or Photos should offer to open. Image Capture is the more flexible option because you can save files to any folder rather than importing into a library.
Communication settings on the 80D
Before connecting, it’s a good idea to check the camera’s communication settings. Go to the wrench menu, select Communication Settings, and look at the USB connection type. For basic photo transfers, Print/PTP mode works with macOS natively. If you plan to use EOS Utility for remote shooting, this same mode is what you want.
Using Canon EOS Utility
EOS Utility gives you more control over downloads and enables tethered shooting. Download the latest compatible version from Canon’s support page for the 80D. Canon updates this software periodically, so grab the newest build that supports your macOS version.
After installing:
1. Connect the 80D via USB.
2. Open EOS Utility from Applications.
3. The software should detect the camera and show its main menu.
From here, you can download images selectively (by date, folder, or rating), adjust camera settings, and start remote shooting sessions.
Wi-Fi Transfer
The 80D has built-in Wi-Fi, and setting up a wireless connection to your Mac takes a few minutes the first time. After the initial setup, reconnecting is quick.
To set up Wi-Fi:
1. On the 80D, press the Q button in playback mode or navigate to the Wi-Fi settings in the menu.
2. Select the computer icon (Remote Control via EOS Utility).
3. Choose Connect via Wi-Fi network and select your network.
4. Enter your Wi-Fi password.
5. On your Mac, open EOS Utility. It will search for the camera on the network.
6. Confirm the connection on the camera when prompted.
Once paired, you can browse and download images wirelessly, or start a remote shooting session without any cables. The 80D will remember this connection, so next time you just select the saved profile.
Transfer speed over Wi-Fi is decent for JPEGs but noticeably slower for RAW files. The 80D produces 24MP RAW files around 25 to 30 MB each, so batch transfers are best handled via USB or a card reader.
NFC Pairing
The 80D supports NFC for quick pairing with Android devices. Tap an NFC-enabled phone against the camera’s N-Mark (printed on the camera body near the grip), and the Canon Camera Connect app will launch and pair automatically. This is mostly useful for phone transfers, but you can then share those photos to your Mac via AirDrop or cloud services.
Card Reader Method
The 80D uses SD cards (SDHC/SDXC, single slot), and a card reader gives you the fastest transfer speeds. Remove the SD card from the camera, insert it into a USB card reader or your Mac’s built-in SD slot, and the card mounts as a drive.
Navigate to the DCIM folder on the card to find your images. Copy them to your preferred location on the Mac. This is by far the quickest method for moving large shoots.
Always eject the card through Finder before removing it from the reader. Just right-click the card in the sidebar and choose Eject, or drag it to the Trash icon (which changes to Eject).
Tethered Shooting with the 80D
The 80D works well for tethered shooting, making it a good choice for studio work and product photography.
Tethering with EOS Utility
Connect via USB, open EOS Utility, and select Remote Shooting. You’ll see the camera’s live view on your Mac’s screen and can control all exposure settings. Each captured image transfers to your Mac immediately.
Tethering with Lightroom Classic
Open Lightroom Classic, go to File > Tethered Capture > Start Tethered Capture. Name your session, choose a destination folder, and optionally pick a develop preset. Lightroom will import each new shot as it’s taken.
For tethered sessions, use USB rather than Wi-Fi. The lower latency makes live view usable, and file transfers between shots are nearly instant over USB.
Use a cable with a secure connection and avoid putting strain on the Mini-USB port. The connector can wear out with repeated use, so handle it gently.
Troubleshooting 80D Mac Connections
Camera not detected
Try a different cable first. Mini-USB cables vary in quality, and a bad cable is the most common cause. Also try a different USB port on your Mac.
EOS Utility can’t find the camera
Close Image Capture, Photos, and any other app that might have grabbed the camera connection. Only one application can communicate with the camera at a time on macOS.
Wi-Fi connection keeps failing
Check that the camera and Mac are on the same network. If your router broadcasts separate 2.4 GHz and 5 GHz networks, put both devices on the same band. The 80D’s Wi-Fi operates on 2.4 GHz, so make sure your Mac is connected to that network.
Slow USB transfers
The 80D’s Mini-USB port runs at USB 2.0 speeds, which tops out around 30 to 40 MB/s in practice. For faster transfers, a UHS-I SD card reader connected via USB 3.0 will outperform the camera’s built-in connection.
The Canon 80D connects to Macs reliably once you’ve sorted out the cable situation and checked the communication settings. For most photographers, USB is the everyday go-to, with Wi-Fi saved for quick wireless sends and a card reader kept handy for speed.