Getting Your Brother Printer Online: What You Need
Setting up a wireless printer should be simple, but the process can feel confusing when you are staring at a small LCD screen and flipping through a thick manual. Brother printers are popular for home offices and small businesses thanks to their reliability and affordable ink costs. The good news is that connecting one to your WiFi network only takes a few minutes once you know the steps.
There are two main ways to connect a Brother printer to WiFi: using the WPS (Wi-Fi Protected Setup) button or manually entering your network name and password through the printer’s menu. This guide walks you through both methods so you can pick whichever works best for your setup in 2026.
Before You Start
Before jumping into the setup process, make sure you have a few things ready:
- Your WiFi network name (SSID) and password. You can usually find this on a sticker on your router.
- Your Brother printer plugged in and powered on.
- The printer placed within range of your wireless router. Thick walls and long distances can weaken the signal.
- A computer, phone, or tablet connected to the same WiFi network you plan to use with the printer.
If your router supports both 2.4 GHz and 5 GHz bands, note that most Brother printers only connect to the 2.4 GHz band. Check your printer’s specifications if you are unsure which band it supports.
Method 1: Connect Using WPS (One-Button Setup)
WPS is the fastest way to connect your Brother printer to WiFi. It works by pressing a button on your printer and your router within a short window, letting the two devices pair automatically without typing a password.
Step-by-Step WPS Setup
- Confirm that your wireless router has a WPS button. It is usually labeled “WPS” and located on the back or side of the router.
- On your Brother printer, navigate to the network settings. Depending on your model, press the Menu button and use the arrow keys to find Network, then select WLAN, and choose WPS.
- When the printer displays a message asking you to press the WPS button on your router, walk over to your router and press and hold the WPS button for two to three seconds.
- Wait for the printer and router to communicate. This usually takes about 30 seconds to two minutes.
- Once connected, the printer’s WiFi indicator light will stop blinking and stay solid. Some models display a “Connected” message on the LCD screen.
If the connection fails on the first attempt, restart both the printer and the router, then try again. Make sure you press the WPS button on the router within two minutes of starting the process on the printer.
Method 2: Connect Using Network Name and Password
If your router does not have a WPS button, or if WPS is disabled for security reasons, you can connect your Brother printer to WiFi by manually selecting your network and entering the password. This method works on every Brother wireless printer model.
Step-by-Step Manual Setup
- Press the Menu button on your Brother printer’s control panel.
- Use the arrow keys to scroll to Network and press OK.
- Select WLAN and press OK.
- Choose Setup Wizard and press OK. The printer will begin searching for available wireless networks nearby.
- When the list of networks appears, use the arrow keys to find your WiFi network name (SSID). Select it and press OK.
- Enter your WiFi password using the arrow keys and the number pad. Most Brother printers let you cycle through letters by pressing a number key multiple times, similar to old phone texting. Press OK when finished.
- The printer will ask you to confirm and apply the settings. Select Yes or press OK.
- Wait while the printer verifies your credentials and connects to the network. A solid WiFi light or a confirmation message means you are connected.
Entering a long password on a printer keypad can be tedious. Take your time and double-check each character. Passwords are case-sensitive, so pay attention to uppercase and lowercase letters.
Interested in this area? We go deeper in our how to connect 2 monitors to Chromebook guide.
Connect a Brother Printer Using the Touchscreen (Newer Models)
Many Brother printers released in the last few years feature a color touchscreen instead of physical buttons. The process is similar but slightly easier to navigate.
- On the touchscreen, tap Settings (the gear icon).
- Tap Network, then tap WLAN.
- Tap Setup Wizard. The printer will scan for nearby networks.
- Tap your WiFi network name from the list.
- Use the on-screen keyboard to type your WiFi password. Tap OK.
- Tap Yes to apply the settings.
- Wait for confirmation that the connection was successful.
The on-screen keyboard makes password entry much easier compared to cycling through characters with arrow keys. If your network does not appear in the list, tap the refresh icon to scan again.
How to Install the Printer on Your Devices
After your Brother printer is connected to WiFi, you still need to install it on each device you want to print from. Here is how to do it on the most common platforms.
Windows
- Open Settings and go to Bluetooth & Devices, then Printers & Scanners.
- Click Add Device.
- Windows should detect your Brother printer on the network. Select it and click Add Device.
- If Windows does not find the printer, download the latest driver from the Brother support website for your specific model.
Mac
- Open System Settings and click Printers & Scanners.
- Click the Add Printer, Scanner, or Fax button.
- Your Brother printer should appear in the list. Select it and click Add.
- macOS usually installs the correct driver automatically. If prompted, allow it to download the software.
Smartphone or Tablet
Download the Brother Mobile Connect app (or Brother iPrint&Scan for older models) from the App Store or Google Play. Open the app, and it will detect your Brother printer on the same WiFi network. You can also use Apple AirPrint on iPhones and iPads, or the Mopria Print Service on Android devices, to print without installing any extra apps.
Benefits of a Wireless Brother Printer
Switching from a USB cable to a wireless connection opens up several practical advantages for your home or office.
Print from Any Room
Once connected to WiFi, you can send print jobs from any device on the same network. Print from your home office upstairs, the living room couch, or the kitchen table without sitting next to the printer or plugging in a cable.
Fewer Cables, Cleaner Desk
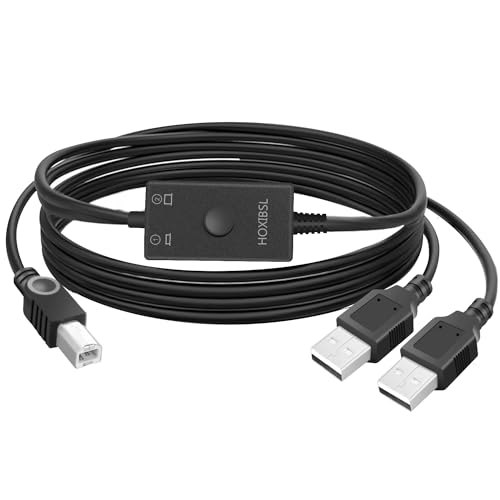
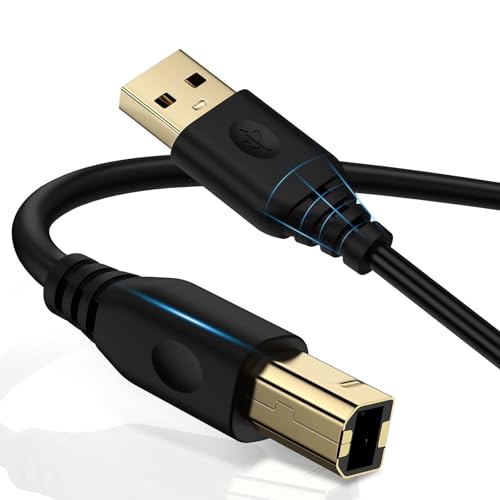
A wireless printer only needs a power cord. Removing the USB cable reduces desk clutter and frees up a USB port on your computer for other devices like an external drive or webcam.
For the complete picture, our WiFi router for gaming guide fills in the gaps.
Multiple Users, One Printer
Everyone in your household or office can share the same wireless printer. Instead of buying separate printers or taking turns plugging in a cable, each person simply prints from their own device. This is especially useful for families with several laptops, tablets, and phones.
Cloud and Mobile Printing
Brother’s mobile apps and services like Apple AirPrint let you print photos, documents, and web pages directly from your smartphone. Some Brother models also support printing from cloud storage services like Google Drive and Dropbox.
Troubleshooting Common Connection Issues
If your Brother printer will not connect to WiFi, try these fixes before reaching out to support.
Printer Cannot Find Your Network
Make sure the printer is within range of your router. Move it closer if needed. Also confirm that your router is broadcasting its SSID and is not set to hidden mode. If your network is hidden, you will need to enter the SSID manually on the printer.
Wrong Password Error
Double-check your WiFi password. It is case-sensitive, so “MyPassword” and “mypassword” are treated as different entries. Try typing the password on another device first to confirm it is correct.
Printer Connects but Will Not Print
Make sure your computer or phone is on the same WiFi network as the printer. If your router has separate 2.4 GHz and 5 GHz networks, the printer might be on 2.4 GHz while your laptop is on 5 GHz. Connect both devices to the same band to fix this.
Firewall Blocking the Printer
Some routers have firewall settings that can block communication between devices. Check your router’s administration page and make sure the printer’s IP address is not being filtered. You may also need to adjust your computer’s firewall settings to allow printer communication.
When All Else Fails
Restart your router, printer, and computer in that order. Wait about 30 seconds between each restart. If the issue persists, reset the printer’s network settings to factory defaults and start the setup process from scratch. You can usually do this from the printer’s Network menu by selecting Network Reset.
![AINOPE Printer Cable 6.6 Feet, Printer USB Cable [Plug & Play] USB A&USB C to USB-B 2.0 for MacBook Pro, USB C MIDI Cable New-Nylon Braided Never Rupture for Yamaha Casio Digital Piano MIDI Controller](https://www.technowifi.com/wp-content/uploads/2026/08/ainope-printer-cable-6-6-feet-printer-usb-cable-plug-play-usb-ausb-c-to-usb-b-2-5.jpg)
Wrapping Up
Connecting a Brother printer to WiFi is a quick process whether you use the WPS method or enter your network details manually. Once connected, you can print from any device on your network, reduce cable clutter, and share the printer with everyone in your home or office. If you run into any issues during setup, the troubleshooting steps above should help you get back on track.