Nikon Z7 Wedding Photography Settings
Wedding photography has to be on point – you’re documenting one of the most important days in someone’s life, and there are no do-overs. The Nikon Z7 is a strong choice for this job. Its 45.7MP sensor captures fine detail, the Eye-Detection AF tracks subjects reliably, and the 5-axis IBIS helps steady your shots in dim reception halls.
But knowing your Nikon Z7 wedding photography settings inside and out is what separates decent wedding photos from great ones. Lighting at weddings is unpredictable. You’ll go from bright outdoor ceremonies to dark dance floors in minutes. Here are five steps to get your Z7 dialed in for wedding work.
Step 1. The Base Should Be Steady
Camera shake ruins more wedding photos than bad composition does. The Nikon Z7’s in-body stabilization helps, but it can’t fix everything – especially during slow-shutter ceremony shots in dim churches or reception venues.
A solid tripod is your best friend for Nikon Z7 wedding photography. Look for one with rubber feet, flip locks, and 3-position angle locks (Hey! It’s on Amazon). During the ceremony, a tripod lets you shoot at slower shutter speeds without blur, which means you can keep your ISO lower and get cleaner files.
When a tripod isn’t practical (during candid moments, the processional, group shots), brace yourself against a wall, pillar, or doorframe to reduce shake. Hold the camera with both hands, tuck your elbows into your body, and exhale gently as you press the shutter.
You can also use the Nikon Wireless Remote Control to trigger the shutter without touching the camera. This eliminates the small vibration that comes from pressing the button, which matters at slower shutter speeds.
If your lens has Vibration Reduction (VR), make sure it’s turned on for handheld shooting. Combined with the Z7’s in-body stabilization, you can often get sharp handheld shots at shutter speeds as slow as 1/15 second with a standard lens.
Step 2. Focus On The Shutter Speed
Nikon Z7 wedding photography settings – shutter speedShutter speed and ISO work together, and getting the balance right is key for wedding photography. In bright daylight (outdoor ceremonies), you can use a low ISO like 64 or 100 and a fast shutter speed. That’s the easy scenario.
Weddings get tricky when you move indoors. Dim venues, candle-lit receptions, and dance floors with colored spotlights all demand higher ISO values. Don’t be afraid to push the ISO up. The Z7 produces usable files at ISO 3200 and acceptable results at 6400.
The relationship is simple: faster shutter speed needs higher ISO in the same light. A slower shutter speed lets you use a lower ISO, but you risk motion blur. For stationary subjects (the couple at the altar, table details), 1/60 to 1/125 second works fine. For moving subjects (first dance, kids running, bouquet toss), push to 1/250 or faster.
Before the event, take test shots at the venue to understand the lighting conditions. This is one of the most important prep steps for Nikon Z7 wedding photography. Arrive early, walk the space, and shoot test frames in every area where key moments will happen.
Step 3. Using An Extremely Fast Lens
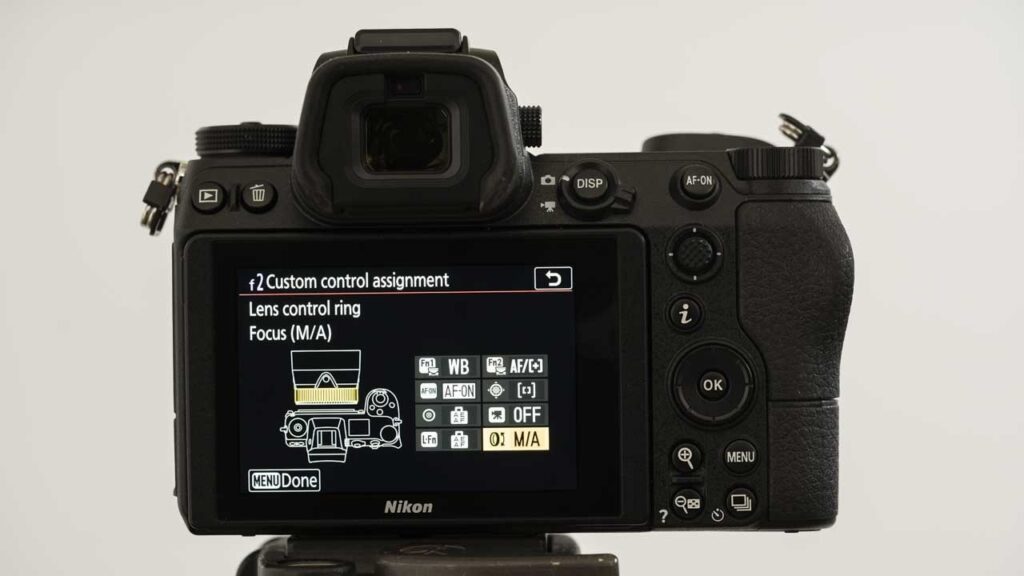
A fast lens is probably the single best investment you can make for wedding photography. “Fast” means a wide maximum aperture – f/1.4, f/1.8, or f/2.8 at most. A fast lens lets more light reach the sensor, which means you can use lower ISO values and faster shutter speeds even in dim venues.
The aperture also controls depth of field. At f/1.8 or f/2, the background melts into a soft blur (bokeh) that isolates your subject beautifully. This is the look that makes Nikon Z7 wedding photography stand out – sharp subjects against a creamy, dreamy background.
Don’t think that a fast lens only works at wide apertures, though. It’s versatile. You can stop down to f/5.6 or f/8 for group shots where you need more of the scene in focus. The Nikkor Z 50mm f/1.8 S, 85mm f/1.8 S, and 24-70mm f/2.8 S are all popular choices for Z7 wedding photographers.
A fast lens also reduces image noise. Since you can shoot at lower ISO values, your files are cleaner with less grain – which matters when you’re delivering large prints to the couple.
Step 4. Using External Flash Correctly
The Nikon Z7 doesn’t have a built-in flash of any kind. Like most professional mirrorless cameras, the body is fully sealed for weather resistance and there’s no room for an integrated flash unit. For wedding photography, you’ll need an external speedlight mounted on the hot shoe or used off-camera.
An external flash like the Nikon SB-5000 or a third-party speedlight (Godox V860III, Profoto A2) is actually a big upgrade over any built-in flash. External flashes are more powerful, can be bounced off ceilings and walls, and can be positioned off-camera for more flattering light.
The key to using flash at weddings: never fire it directly at your subjects. Direct on-camera flash produces harsh, flat light with ugly shadows. Instead, angle the flash head up and bounce it off the ceiling, or turn it slightly to bounce off a nearby wall. This creates soft, diffused light that looks natural. You can also attach a small diffuser or bounce card to soften the output.
If you’re shooting in auto mode or aperture priority, the Z7 handles TTL flash metering well. The camera measures the scene and adjusts flash power automatically. For more control, switch to manual flash mode and set the power yourself (start at 1/8 or 1/16 and adjust from there).
For receptions, consider using the flash off-camera with a wireless trigger. Place it on a light stand in the corner of the dance floor, pointed at the ceiling, and trigger it remotely. This creates much more interesting lighting than on-camera flash.
Step 5. Spike Up The ISO
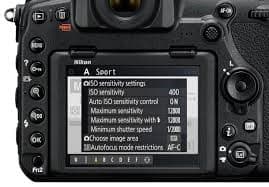
When in doubt at a wedding, push the ISO higher. A slightly noisy photo of a genuine moment is always better than a perfectly clean photo of a moment you missed because your shutter speed was too slow.
The Z7’s maximum native ISO is 25600 (expandable to 102400, though you wouldn’t want to use the expanded range). For wedding work, ISO 3200 delivers clean results. ISO 6400 is usable with some noise reduction in post. These values are more than enough for most reception halls.
For dance floor shots, ISO 3200 to 6400 combined with a fast lens at f/1.8 and shutter speed of 1/200 or faster will freeze the action. For quieter moments like the couple’s first dance, you can drop to ISO 1600 and use a slower shutter speed.
If you want softer, more atmospheric images, drop the ISO to 400-800 and use a slower shutter speed. A bit of intentional motion blur during the first dance can look artistic and emotional.
The Z7’s Auto ISO feature is very useful for weddings. Set a minimum shutter speed (like 1/125), set the max ISO to 6400, and let the camera handle the rest. As you move between bright and dark areas, the camera adjusts ISO on its own so your exposure stays consistent.
There’s a lot to keep track of when setting up your Nikon Z7 wedding photography settings. But once you internalize these five steps, the adjustments become second nature. Practice at home, test at the venue beforehand, and you’ll be ready when the big day comes.