How to Work with Nikon Z7 Landscape Settings
The Nikon Z7 is one of the best cameras Nikon has ever made for landscape photography. Its 45.7MP BSI CMOS sensor captures incredible detail, and the autofocus system is impressively fast with around 493 phase-detection points covering the frame. Getting your Nikon Z7 Landscape settings right, though, takes some know-how. You get the resolution and dynamic range that landscape photographers dream about, but the camera has a lot of dials and menus to configure. Let’s break down the best settings step by step.
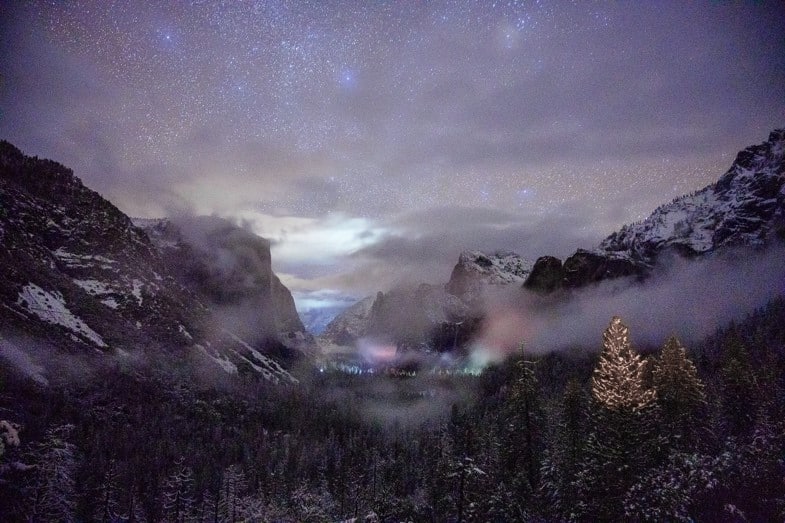
Landscape Photos Taken by Nikon Z7
Best Settings for Nikon Z7 Landscape Photography
Step 1. Choosing the Right Auto-White Balance
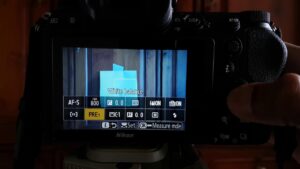
To give your landscape images a natural and true-to-life appearance, you need to pay attention to the auto-white balance settings on your Nikon Z7. Picking the right white balance mode for Nikon Z7 landscape photography makes a noticeable difference in color accuracy across your images.
There are four modes to choose from in the auto white balance settings: AUTO NATURAL, AUTO2, AUTO1, and AUTO0. Each one handles color temperature differently depending on the lighting conditions you’re shooting in.
AUTO NATURAL is the go-to choice for normal daylight shooting. It preserves warm tones during golden hour and keeps colors looking realistic throughout the day. If you’re shooting at sunrise or sunset, this mode can really bring out the warm hues in your landscape without oversaturating them. It adds a whole different touch to the final image.
For overcast conditions or mixed lighting, experiment with AUTO1 and AUTO2 to see which gives you the most accurate color rendition. The differences can be subtle, but they matter when you’re going for a specific mood or look in your landscape photos.
Step 2. High and Low Aperture
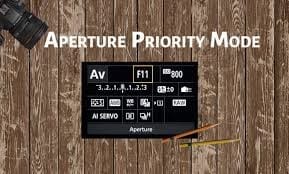
Aperture controls how much light passes through the lens and directly affects your depth of field. For Nikon Z7 landscape photography, getting the aperture right is one of the most important steps you can take.
You can change the shutter speed using the front command dial, while the sub-command dial controls the aperture. These two dials work together to give you the right exposure balance for any scene.
For most landscape shots, you’ll want to use a narrower aperture (higher f-number) like f/8 to f/11. This gives you edge-to-edge sharpness across the entire frame, which is exactly what you want for sweeping landscape views where you need everything from the foreground to the horizon to be in focus.
If you’re not confident with manual aperture control yet, turn on the f5 custom setting. This helps the camera assist with getting the right exposure while you learn how the aperture and shutter speed relationship works on your Nikon Z7.
Wider apertures (lower f-numbers like f/2.8 or f/4) can work for landscape photography too, especially when you want to isolate a foreground element like a flower or rock with the background blurred behind it.
Step 3. Add the Right Filters and Lenses
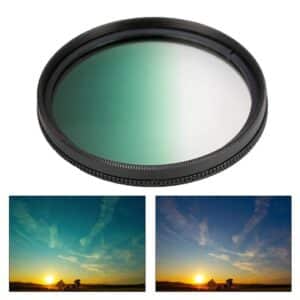
Filters can completely transform the look of your landscape photography. They act as an accessory that sits in front of your lens and modifies the light before it hits the sensor, giving you effects that are difficult to replicate in post-processing.
A polarizing filter is one of the most useful tools for landscape shooters. It removes reflections from water and glass, deepens blue skies, and adds saturation to foliage and other natural elements. A polarizer is easy to use on your Nikon Z7. It’s a two-piece set that attaches to the outer ring of the lens, and you simply rotate it until you get the effect you want. To capture the sky in its full glory and rich color, a polarizing filter is a must-have in your camera bag.
ND (neutral density) filters are also worth considering for Nikon Z7 landscape photography. They let you use slower shutter speeds in bright conditions, which is great for creating silky smooth water effects in waterfalls, rivers, and coastal scenes.
For lenses, the Nikon 16-35mm f/4 VR and the 24-120mm f/4 VR are both excellent choices for getting that desired landscape shot. The wide-angle 16-35mm is perfect for sweeping vistas and dramatic foreground compositions, while the 24-120mm gives you more flexibility to zoom in on distant mountain peaks, rock formations, and other landscape details.
Step 4. Change Your ISO Settings
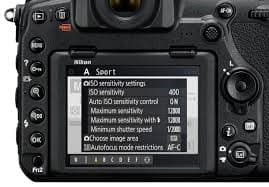
ISO settings on the Nikon Z7 affect image noise and brightness. Getting them right for your shooting conditions makes a real difference in the final image quality you can achieve.
For daytime landscape photography, keep your ISO as low as possible. The Nikon Z7’s base ISO is 64, and shooting at this level gives you the cleanest, most detailed images with minimal noise. This is the sweet spot for Nikon Z7 landscape photography when you have plenty of natural light to work with.
In low-light conditions like dusk, dawn, or heavily overcast days, bump the ISO up to around 6400 to maintain usable shutter speeds. The Z7 handles noise well at this range, so you’ll still get clean results that look great even at full resolution.
For night photography or astrophotography landscapes, push the ISO up to around 8000 or higher. At these levels you’ll see some noise creeping in, but the Z7’s 45.7MP sensor means you can apply noise reduction in post-processing and still retain plenty of fine detail in the final image.
Step 5. Other Settings to Check
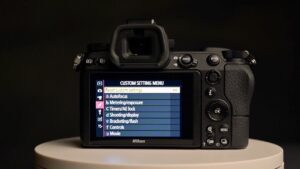
There are several additional settings you should configure for the best results with Nikon Z7 landscape photography. Here’s a rundown of what to check in the photo shooting menu and custom settings.
If you’re shooting on a tripod, turn off AUTO ISO and set the ISO manually for maximum control. You should also turn off the model for exposure delay when tripod-mounted, and keep the Flicker reduction setting completely off.
Set the focus mode to AF-S (single servo autofocus). This locks focus when you half-press the shutter button, which is ideal for static landscape scenes where the subject isn’t moving. Also switch off the vibration reduction setting when using a tripod. VR can actually introduce micro-vibrations when the camera is already perfectly stable on a solid support.
For the AF area mode, choose Single-point AF. This gives you precise control over exactly where the camera focuses in the frame, letting you pick the sharpest focus point for your composition.
Under the custom shooting menu, turn off face and eye detection for auto-area AF since those features aren’t useful for landscape work. It’s also very important to turn off the built-in Nikon Z7 AF illuminator for landscape photography, as it can interfere with long exposures and night shots.
Set the exposure delay mode to 3 seconds. This adds a brief pause between pressing the shutter and the actual exposure, eliminating any vibration from your finger touching the camera. For the shutter type, select the electronic front curtain option. This reduces shutter shock and gives you sharper results, especially at slower shutter speeds where even tiny vibrations can show up in the image.
With all these settings configured, you’re ready to head out and start shooting. The Nikon Z7’s 45.7MP sensor and excellent dynamic range make it a fantastic tool for landscape photography. Take your time composing each shot, and the results will speak for themselves.