Canon EOS 1Ds Mark III Portrait Settings
If you’re looking to get the most out of your Canon EOS 1DS mark III portrait settings, you’ve come to the right place. This full-frame professional camera body has been a favorite among serious photographers for years, and it still holds its own for portrait work today. With a 21.1MP sensor and the ability to fire off five frames per second, it gives you plenty of flexibility during portrait sessions. The familiar Canon dual-wheel control layout, one behind the shutter release and another thumb wheel on the back, makes adjusting settings on the fly quick and natural.
The Canon 1Ds Mark III earned a DxOMark portrait score of 61, which speaks to its strong color depth and tonal range. The buffer can sometimes lag when writing to memory cards at full burst speed, but for portrait photography that’s rarely an issue since you’re typically shooting single frames or short bursts. Let’s break down the key settings you should dial in for better portraits with this camera.
Step 1. Using Subject Blur with Slow Shutter and Flash
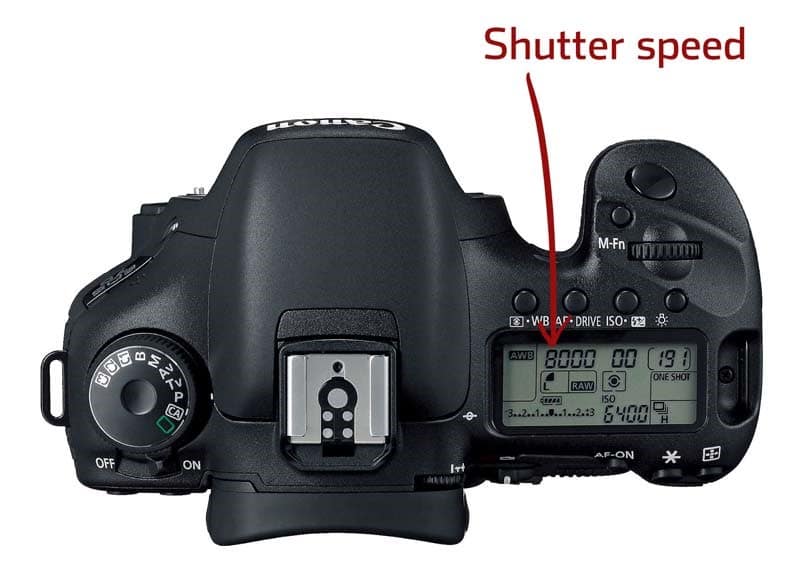
Combining flash with a slow shutter speed creates a layered effect where the motion blur of your subject gets overlapped by a brief, sharp flash exposure. The result is an artistic portrait with a real sense of energy and movement that static poses simply can’t deliver.
The slow sync flash feature on the 1Ds Mark III is built specifically for shoots in locations with low ambient lighting. It keeps the background from getting overly bright, even when you’re dragging the shutter at slower speeds. This is particularly useful for indoor events, dimly lit venues, and evening portrait sessions.
To pull this off, have your subject move their body during the exposure. The slow shutter records that motion as blur, and the flash fires to freeze one crisp moment on top of it. Start at around 1/15s and experiment from there. A second-curtain sync setting works well here because it fires the flash at the end of the exposure, creating trailing blur behind the frozen subject.
This technique works especially well for creative portrait sessions where you want something more dynamic than the usual static pose. Play around with the amount of movement and the timing of the flash to discover different looks. You can also try having the subject hold still while you intentionally move the camera for a different kind of motion effect.
Step 2. Setting the Right Aperture
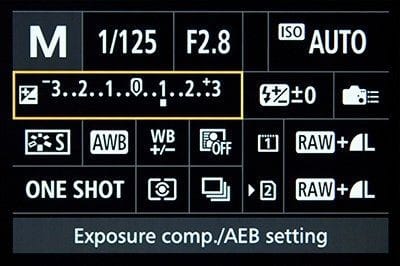
Aperture is the single most important setting when it comes to portrait photography on the Canon EOS 1Ds Mark III. It controls how much of the scene stays in focus, which directly shapes the look and feel of your portrait.
If you want to include the entire background in sharp focus along with your subject (deep focus), an aperture between f/8 and f/11 works best. For example, f/8 is a great pick for fashion photography where you need the clothing details and the surrounding environment to both appear sharp and well-defined.
When you’re after a moderate background blur (bokeh), set your aperture to f/5.6. This is a sweet spot that works particularly well with telephoto lenses and close-up portrait shots. You get some subject separation without completely blurring out the background, which is nice when the setting adds context to the portrait.
For maximum subject isolation, drop your aperture down to f/2.8. At this setting, the background melts into a smooth, creamy blur, and your subject’s facial expressions become the clear focal point of the image. This is the ideal choice for headshot-style portraits where every detail on the face needs to be tack-sharp.
The full-frame sensor of the Canon EOS 1Ds Mark III amplifies these depth-of-field effects. You’ll get even more background separation than a crop-sensor body would produce at the same aperture and focal length. That’s one of the biggest advantages of shooting portraits on a full-frame body like this one.
Step 3. Use the Best Lenses for Maximum Sharpness
Because the Canon EOS 1Ds Mark III lacks built-in image stabilization, you’ll need to rely on lenses with optical IS (Image Stabilization) when shooting handheld portraits. This is especially important at slower shutter speeds where camera shake can ruin your sharpness.
A telephoto lens is your best tool for portrait work. It naturally compresses the background and makes it much easier to create that smooth bokeh effect. For the Canon EOS 1Ds Mark III, lenses in the 80mm to 100mm range are highly recommended for portrait photography.
Start by shooting at the telephoto end of your standard zoom lens. This helps you develop a feel for the working distance that portrait photography typically requires. Once you’re comfortable with that, consider picking up a dedicated portrait prime like the Canon EF 85mm f/1.8 or the 100mm f/2. Both of these lenses are well-known for producing gorgeous portrait results on full-frame Canon bodies.
Even with a busy background and a lot of space behind your subject, the right telephoto lens at a wide aperture will blur everything into a pleasing wash of color. The 1Ds Mark III’s large full-frame sensor helps here, since bigger sensors produce shallower depth of field at the same focal length and aperture compared to crop-sensor cameras.
Don’t forget to use a tripod or monopod when possible. Since this body doesn’t have in-body stabilization, a solid support system can make a noticeable difference in sharpness. This is especially true in lower light situations where you need to drop your shutter speed below the safe handheld threshold.