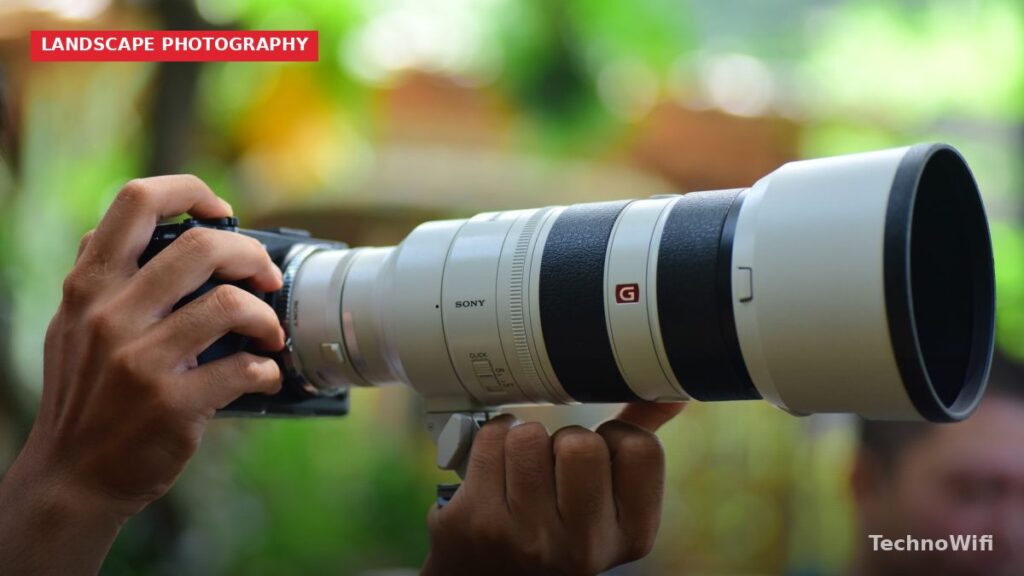
Best Settings for Canon R5 Landscape Photography
Dialing in the best settings for Canon R5 landscape photography takes more than just knowing which buttons to press. You need a solid understanding of how light, depth, and composition work together with the camera’s capabilities to produce stunning results.
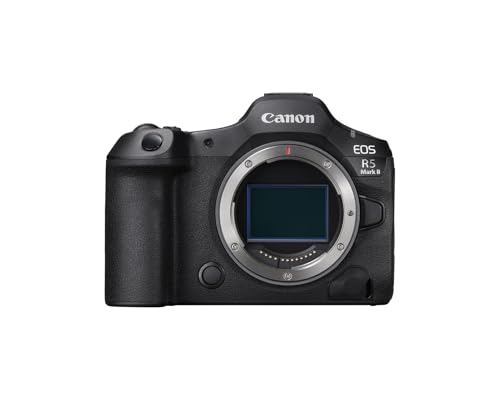
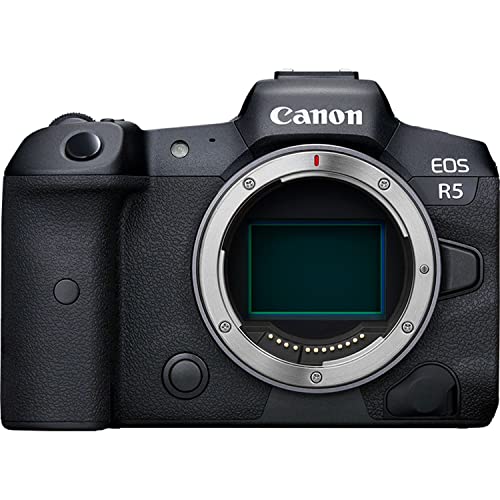
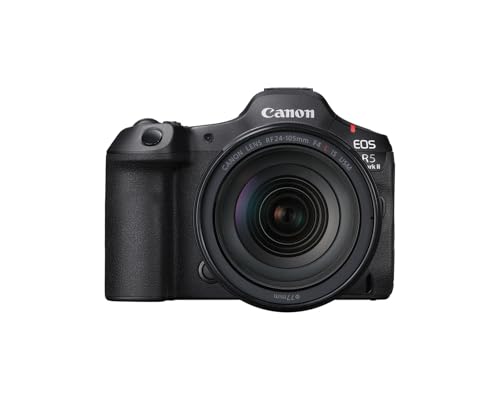
The Canon EOS R5 packs a 45MP sensor and can fire off 20 frames per second, even in tough shooting conditions. Those specs give you plenty to work with, but getting the most out of this camera for landscape photography requires the right settings and technique.
Here’s a step-by-step guide to the best Canon R5 landscape settings to help you capture breathtaking outdoor shots in 2026.
Recommended Settings for Canon R5 Landscape Photography
Step 1: Create the Right Sense of Depth
Depth is what separates a flat snapshot from a compelling landscape photo. To create that sense of depth with your Canon R5, set your aperture to a narrow value between f/16 and f/22. This keeps both foreground and background elements sharp, giving your image a three-dimensional feel.
At these narrow apertures, your shutter speed will slow down significantly. Mount your camera on a tripod to prevent any camera shake. Even the slightest movement can soften the image at these settings, so a stable platform is essential.
Step 2: Use a Wide-Angle Lens
Wide-angle lenses are the go-to choice for Canon R5 landscape photography. A wider focal length captures a broader view of the scene, pulling more of the environment into your frame. It also helps you achieve greater depth of field and allows for faster shutter speeds at a given aperture.
For the best results, pair your wide-angle lens with an aperture of around f/16. Here are some excellent lens options for Canon R5 landscape work:
- Canon EF 14mm f/2.8 L II USM
- Canon EF 16-35mm f/2.8 L USM
- Canon EF 16-35mm f/2.8 L USM II
- Canon EF 24mm f/1.4 L II USM
- Canon EF 35mm f/1.4 L USM
- Canon EF 8-15mm f/4 L USM Fisheye
- Canon EF TS-E 17mm f/4 L
- Canon EF TS-E 24mm f/3.5 L II
Step 3: Adjust the Aperture for the Time of Day
Your aperture choice can make or break a Canon R5 landscape shot, and the right value changes depending on when you’re shooting. For daytime landscapes under bright sunlight, f/22 creates a pleasing starburst effect on direct light sources and maximizes depth of field.
For evening shoots or scenes with softer light, bring the aperture down to f/8 or f/16. This lets in more light while still keeping most of the scene in focus. The sweet spot for many Canon lenses is around f/8 to f/11, where sharpness tends to peak.
Try scheduling your landscape sessions during the “Golden Hour,” that window just before sunrise or after sunset. The warm, directional light during this time adds color and dimension that you simply can’t replicate at midday. Professional landscape photographers worldwide consider it the most productive time to shoot.
Step 4: Add Photography Filters
Lens filters are a landscape photographer’s best friend. They let you control light and color in ways that software editing can’t always replicate. Here are two types worth carrying in your bag.
Polarizing Filters
A polarizing filter is ideal for landscape shots under blue skies. It darkens the sky, boosts the contrast between white clouds and blue backgrounds, and reduces reflections from water or glass surfaces. The effect is visible in real-time through your viewfinder, so you can dial it in before pressing the shutter.
Neutral Density (ND) Filters
On bright, sunny days, an ND filter reduces the amount of light entering your lens. This lets you use slower shutter speeds for creative effects like silky waterfalls or streaking clouds, even in full daylight. ND filters come in different strengths, so consider carrying a variable ND filter for maximum flexibility.
Step 5: Get the White Balance Right
The Canon R5’s Auto White Balance (AWB) does a solid job in most conditions, and it’s a reasonable starting point for landscape photography. AWB reads the scene and adjusts color temperature automatically, which saves time when lighting conditions change quickly.
One exception: AWB tends to neutralize the warm tones during Golden Hour, which defeats the purpose of shooting at that time. Switch to a Daylight or Cloudy preset during sunrise and sunset to preserve those beautiful warm colors. You can also set a custom Kelvin value if you want precise control.
Step 6: Dial In the Right Shutter Speed
Shutter speed plays a key role in Canon R5 landscape photography. The right speed depends entirely on what’s in your scene and whether anything is moving.
For still subjects like mountains, trees, and buildings, a slower shutter speed works fine as long as your camera is on a tripod. This lets you shoot at lower ISO values for cleaner images. For moving subjects like waterfalls, rivers, or blowing grass, experiment with longer exposures (1/4 second to several seconds) to create that smooth, flowing effect. A faster speed (1/250 or higher) freezes motion if you want to capture a bird in flight or waves crashing on rocks.
Wrapping Up: Best Settings for Canon R5 Landscape Photography
With these settings and techniques, you can get the most out of your Canon R5 for landscape photography in 2026. The camera has the hardware to produce gallery-worthy images. These tips help you unlock that potential.
If there’s a specific topic you’d like us to cover in future posts, drop a comment below. Happy shooting!