Why Black and White Portraits Stand Out
We live surrounded by color. Screens, billboards, social media feeds, and printed media all compete for attention with saturated hues and vibrant palettes. That is exactly why black and white portrait photography still turns heads. By stripping away color, you force the viewer to focus on what actually matters in a portrait: the subject’s expression, the texture of their skin, the play of light and shadow across their face.
Black and white portraits also carry a timeless quality. A color photo can look dated based on fashion trends or the color grading popular at the time it was taken. A well-shot monochrome portrait, on the other hand, feels just as relevant decades later. That is why this style continues to attract photographers at every skill level.
Camera Settings for Black and White Portraits
Getting the technical side right is the first step to strong black and white portraits. Here are the key settings to adjust before your shoot.
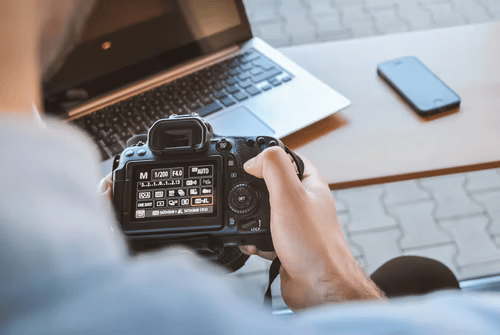
- Shutter speed: Keep your shutter speed at least as fast as your focal length. Shooting at 85mm? Use 1/100s or faster. This prevents motion blur, which can ruin the sharpness that makes monochrome portraits pop.
- Aperture: A wide aperture (low f-number like f/1.8 or f/2.8) blurs the background and draws the viewer’s eye straight to the subject. This is especially effective in black and white, where there are no background colors to distract from the face.
- ISO: In black and white photography, a slightly higher ISO is not always a bad thing. The grain it introduces can mimic the look of classic film photography, adding a textured, organic feel to your images. Experiment with ISO 400 to 1600 depending on your lighting conditions.
One more tip: shoot in RAW and in color, then convert to black and white during editing. This gives you full control over how individual colors translate to grayscale tones, which is something you lose when shooting in your camera’s built-in monochrome mode.
Choosing the Right Lens
Lens selection has a big impact on the look and feel of your black and white portraits. Ultra-wide lenses can distort facial features, making noses look larger and ears look smaller. Telephoto lenses force you too far from the subject, which can make the shoot feel impersonal.
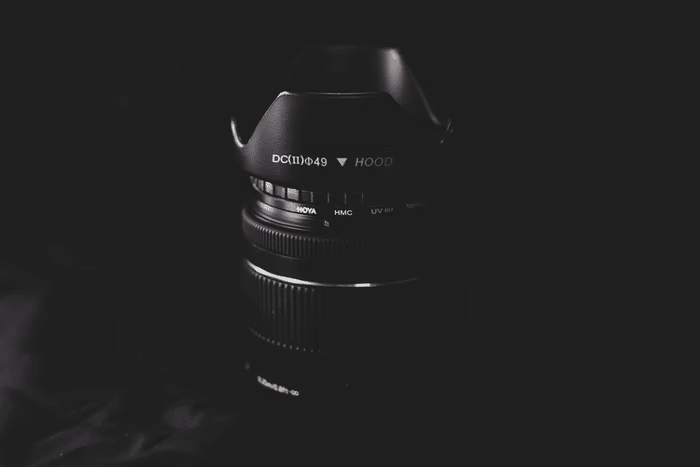
The sweet spot for portrait work is the 50mm to 85mm range. Most portrait photographers prefer 85mm because it produces flattering compression of facial features and creates beautiful background blur. A Nikon portrait lens or a Canon portrait lens in the 50 to 85mm range with a wide aperture (f/2.8 or lower) will give you sharp subjects with creamy bokeh behind them.
For black and white work specifically, lenses with good micro-contrast tend to produce images with more “bite” and depth in the tonal transitions. Prime lenses generally outperform zooms in this area.
5 Tips for Better Black and White Portraits
Solid technique separates average black and white portraits from truly memorable ones. Here are five practical tips to improve your results.
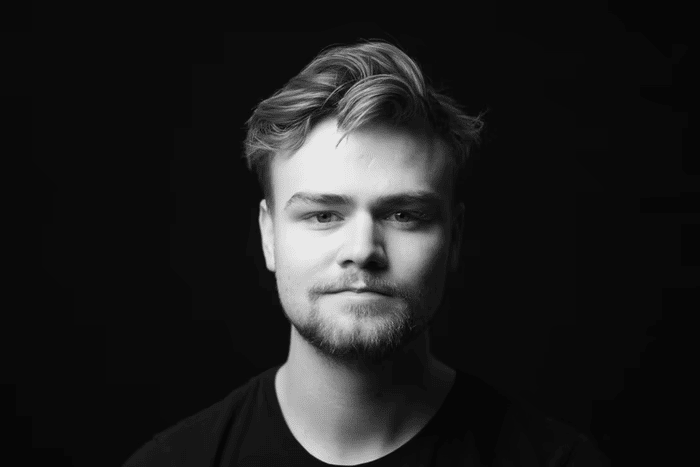
1. Emphasize the Eyes
In any portrait, the eyes are the anchor. In black and white, they become even more important because there is no color to guide the viewer’s gaze. Make sure the eyes are tack-sharp and well-lit. Use a catchlight (a small reflection of your light source in the subject’s eyes) to give them life and sparkle. If the eyes are flat and dark, the entire portrait loses its impact.
2. Direct the Subject’s Expression
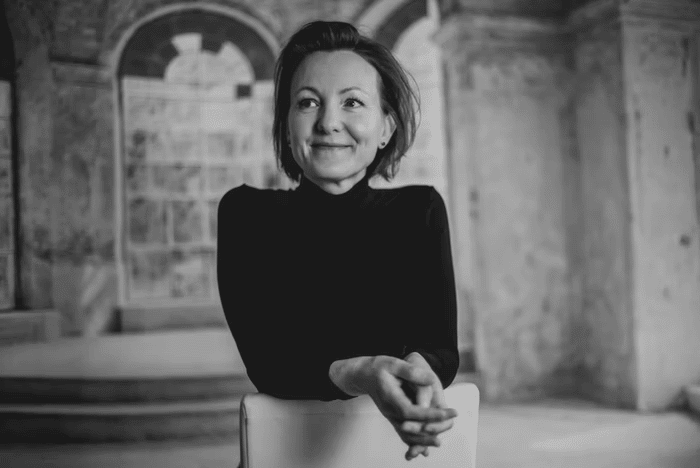
Without color, subtle expressions become magnified. A slight squint, a half-smile, or a furrowed brow reads more powerfully in monochrome. Work with your subject to try different expressions throughout the session. Say specific words (like “joy,” “tension,” or “calm”) and photograph their reaction. The micro-expressions you capture between the obvious poses are often the strongest shots.
3. Master Your Lighting
Lighting is everything in black and white photography. Without color, your image is built entirely from tones of gray, so the way light falls across your subject defines the entire mood of the portrait.
For dramatic, moody portraits, use hard light from a single source (a bare flash or direct sunlight). This creates deep shadows and high contrast. For softer, more flattering results, use a large diffused light source (a softbox, a window with sheer curtains, or open shade). Experiment with both and notice how each setup changes the emotional feel of the image.
4. Add Contrast Carefully
Contrast is what gives black and white images their punch. High contrast (deep blacks, bright whites, fewer mid-tones) creates bold, graphic images. Low contrast (more mid-gray tones) produces a gentler, more classic feel. Both approaches work, but the key is being intentional about it.
In camera, you can influence contrast by adjusting your lighting ratio (the brightness difference between the lit side and shadow side of the face). In post-processing, keep contrast adjustments moderate. Pushing the contrast slider past +15 to +20 often makes skin tones look unflattering. Small adjustments produce the best results.
5. Choose the Right Background
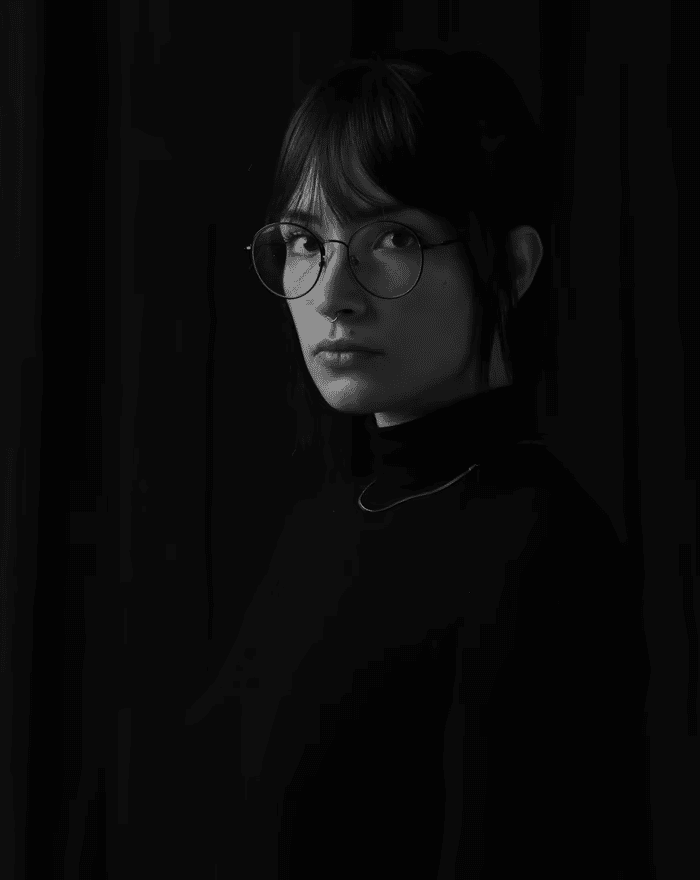
In color photography, a red jacket against a green background creates visual separation naturally. In black and white, that separation disappears if both tones render as similar shades of gray. This means your background choice matters even more.
A plain dark background is a classic choice that puts all the attention on your subject. If you shoot on location, look for backgrounds with tonal contrast to the subject. A light-skinned person in dark clothing against a medium-gray wall gives you three distinct tonal layers. Avoid busy backgrounds with patterns that compete with the subject for attention.
How to Edit Black and White Portraits
Post-processing is where black and white portraits really come together. Here are the most effective editing techniques:
- Convert from color: Start with a full-color RAW file and convert using software like Adobe Lightroom or Photoshop. Use the Black and White Mix panel to control how each color channel (red, orange, yellow, green, blue, purple) maps to gray tones. This lets you brighten or darken specific areas independently.
- Dodge and burn: This classic darkroom technique works just as well digitally. Dodge (lighten) the eyes, the bridge of the nose, and the forehead to draw attention. Burn (darken) the edges of the frame and any distracting areas to push the viewer’s focus inward.
- Fine-tune contrast with curves: The curves tool gives you more precision than the basic contrast slider. Pull the shadows down slightly and lift the highlights gently to create a classic, punchy monochrome look. For a softer feel, raise the blacks slightly to create a “faded” film effect.
- Add grain for texture: A subtle grain overlay can give your digital black and white portraits the feeling of classic film. Keep the grain fine and moderate. Too much grain becomes distracting instead of atmospheric.
The beauty of black and white portrait photography is that it rewards both technical skill and creative vision. Master your lighting, pay attention to composition, and spend time refining your edits. The results can be striking in ways that color images simply cannot replicate.