When you purchase through links on our site, we may earn an affiliate commission. Here’s how it works.
MacBook Pro Dual Monitor Setup – Overview
People opt for a dual monitor setup for various reasons. Some are heavy gamers, professional designers, sound engineers, or someone who wants a different way to boost their productivity.
You might even want a dual monitor setup because it looks fantastic.
Connecting a laptop to dual displays has generally been straightforward for many models. Still, MacBook Air and MacBook Pro users faced specific challenges due to the limited number of ports and compatibility issues.
While connecting multiple monitors to a MacBook Pro could be complex due to hardware limitations and port availability, recent models have improved support for external displays.
Fortunately, Apple has done a lot on their side to fix this issue, such as adding ports and providing several adapters so that you can connect two monitors.
The trick with connecting the MacBook Pro to dual monitors is finding the correct adapter.
Once this part is covered, you can have your dual monitor setup dashing. Let’s look at what you need for this setup and how to establish the actual setup.
How Do I Know Which Displays Are Compatible with My MacBook Pro
Before deciding that you want a dual monitor setup for your MacBook Pro, ensure that it can handle the resolution of the monitors you have or want.
Most MacBook Pros support various external monitor resolutions, including 4K and 5K, depending on the model and year. Users should verify their specific model’s capabilities for precise compatibility.
So, to find out the exact resolution your MacBook Pro can handle, you’ll need to confirm its technical specs on Apple’s website. The process is relatively easy and is as follows:
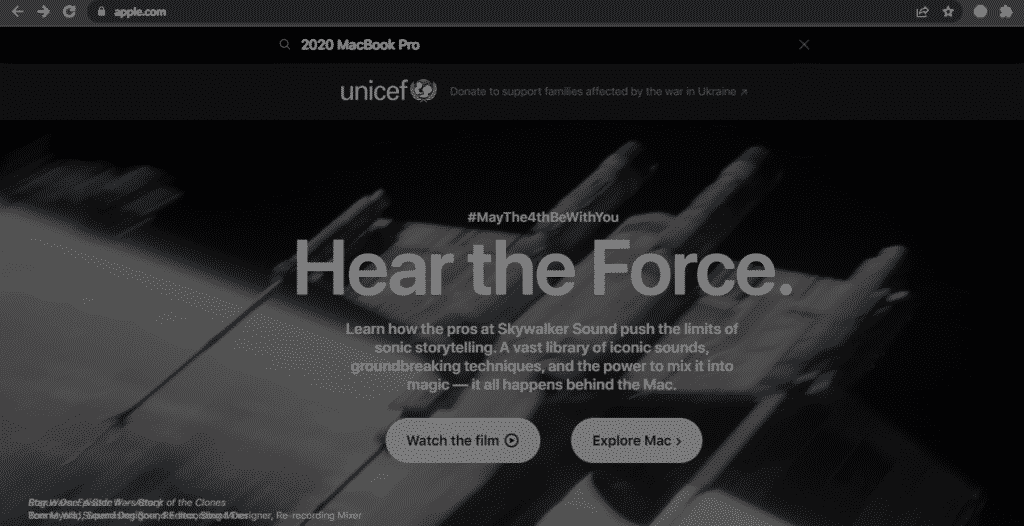
1. Start by opening Apple’s website on your MacBook Pro

MacBook Pro Dual Monitor Setup
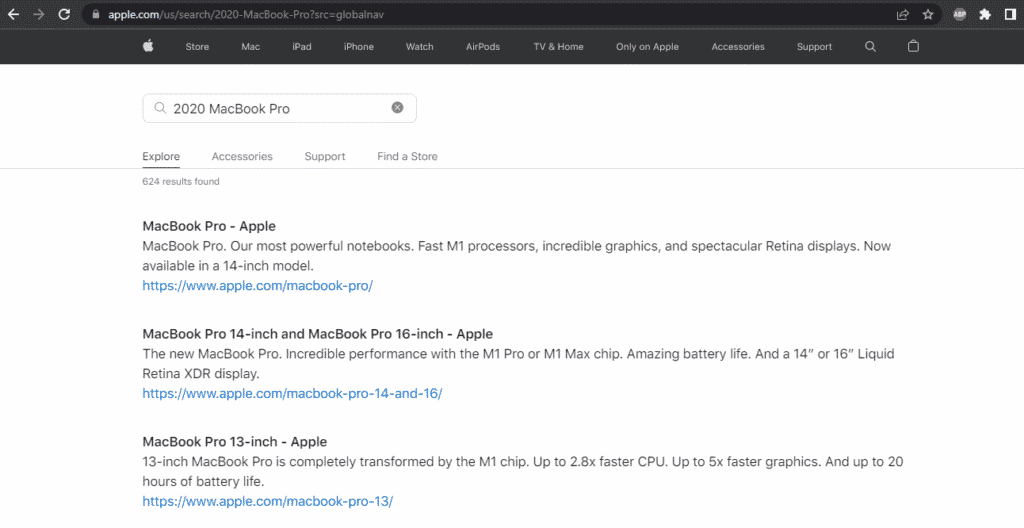
2. Next, enter the model and year of your Mac into the search bar and click ‘Enter.’
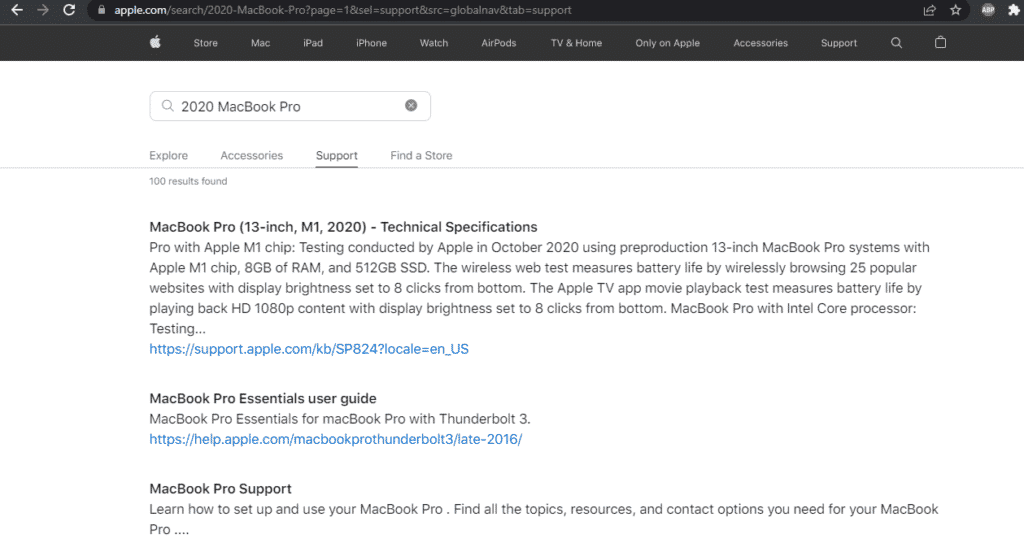
3. A page with search results will appear; click on ‘Support.’
4. Find and click your MacBook Pro’s listing in the search results.
6. Finally, scroll down to the ‘Video Support‘ section and look for the ‘dual display and video mirroring‘ specification. In this instance, we are checking the specifications for the 13-inch 2020 MacBook Pro. As you can see, the native resolution is 2560 x 1600 pixels.
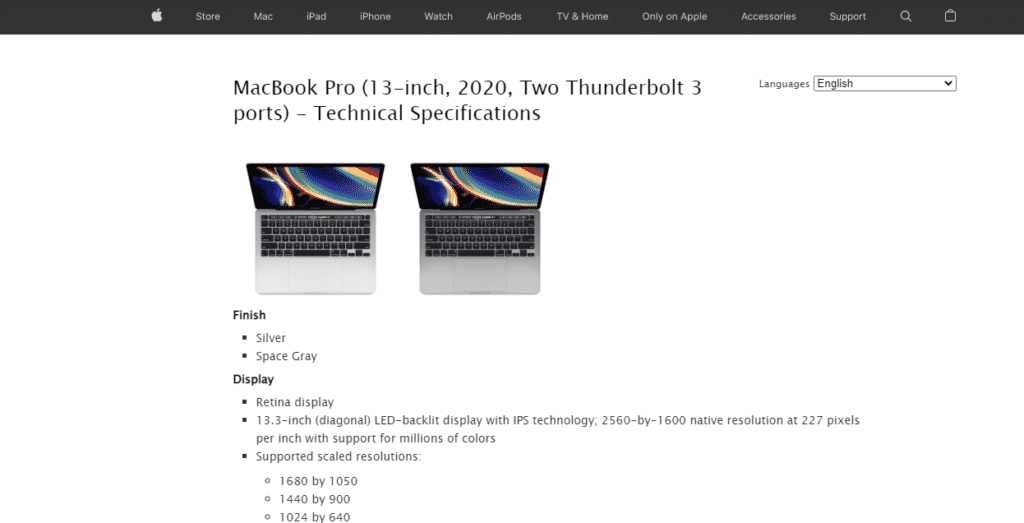
6. Scroll down further; you’ll see that this MacBook Pro model can support one external 6K display at 60Hz and 60 million pixels, along with various configurations for 5K and 4K monitors, depending on its specific capabilities and the macOS version. Thus, if you have HD (720p), Full HD (1080p), 4K (2160p), or even 5K and 6K monitors, your MacBook Pro may support them, subject to specific model capabilities and connection standards.

MacBook Pro Dual Monitor Setup
The Setup Process
Once you’ve gotten two monitors, verified that your MacBook Pro can connect to them by checking Apple’s website, and get the necessary adapters or cables, you’re ready to establish the dual monitor setup. To do this, follow these simple steps.
1. Connect the displays to your Mac using the adapters if necessary.
2. Next, position the displays and MacBook where you want them on your desk.
3. Power on your MacBook Pro. It should automatically detect and connect to both displays, though you may need to adjust settings for optimal display configuration. If both displays don’t turn on with your MacBook, you must switch them on manually.
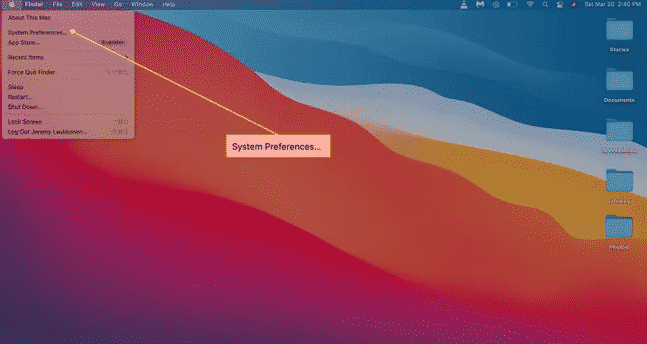
4. Next, click on the Apple Logo in the upper-left corner of your screen.

5. Then click on ‘System Preferences‘ in the drop-down menu.
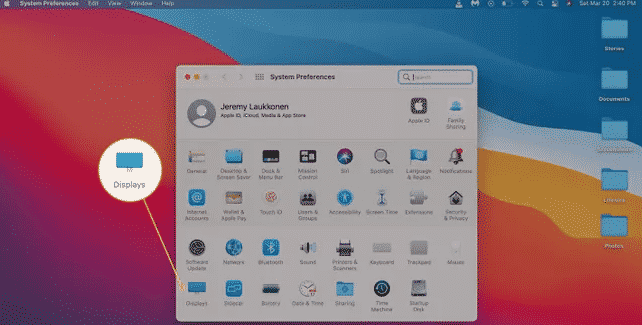
6. Next, click on ‘Displays.’
7. Click on ‘Arrangement.’ If the ‘Mirror Displays‘ option is checked, your two displays and your MacBook’s screen will show the same thing all the time.
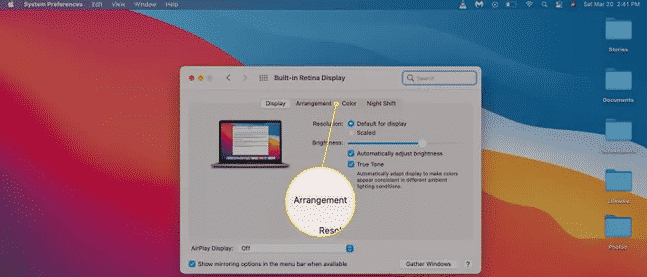
8. Now, you’ll see a diagram showing the arrangement of your monitors. If you feel the arrangement is not okay, look for the secondary display icon. If you’re satisfied with the display arrangement, skip the next two steps.

MacBook Pro Dual Monitor Setup
9. Next, click and drag your monitors to the correct positions.
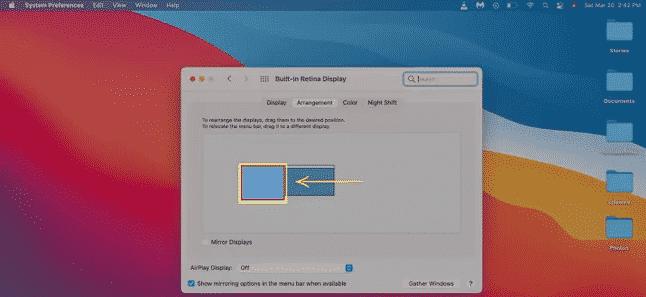
10. Release your mouse, and your monitors will drop into your chosen positions.

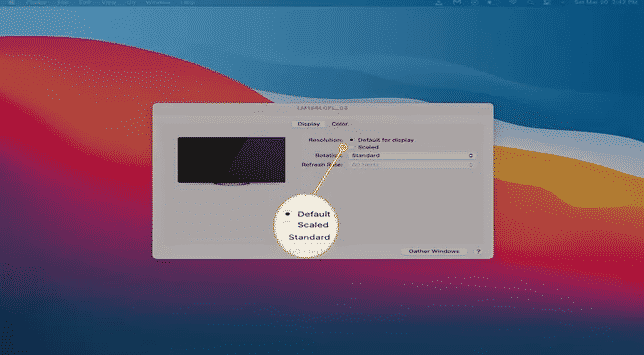
11. Now, your setup is ready to use, but you might need to make changes to your external monitors. You can click ‘Scaled‘ if the images on the external monitors look discolored, squashed, stretched, washed, or anything else.
MacBook Pro Dual Monitor Setup
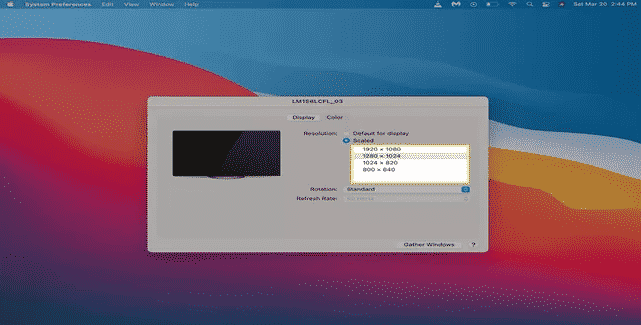
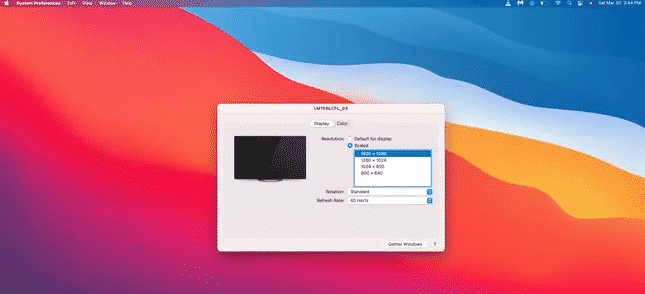
12. Next, click on the correct resolution for your monitors. For best results, use the native display of both monitors. However, keep in mind that the resolution needs to be equal to or lower than what your MacBook Pro can handle.
14. Finally, if both monitors look great, exit settings and start enjoying your setup.
Note: To get the best results on your MacBook Pro dual monitor setup, confirm the native resolution of both monitors and use that on both monitors. However, if the native resolution is higher than your MacBook Pro’s, you need to lower it.
Final Thought
Now that you know how to connect two monitors to your MacBook Pro and boost your productivity, you just need to be cautious when shopping for adapters for your setup. It can be frustrating at first, but with patience, you’ll have your setup up and running quickly.
See Also
Best Triple Display Docking Stations
MacBook Air Dual Monitor Setup