When you purchase through links on our site, we may earn an affiliate commission. Here’s how it works.
How to Control Lights With Your Phone
Learning to control lights with your phone marks a significant step into smart home technology. The appropriate light bulbs can create a more comfortable ambiance in your home.
Smart light technology has advanced significantly in recent years. We have transitioned from conventional incandescent light bulbs to energy-efficient and cost-effective LED lights, easily controllable with your smartphone.
Take Control of the Switches in Your House From Anywhere


You can control the light switches in your house from anywhere using just your smartphone.
This requires installing a smart-home-enabled light fixture in your house and downloading the correct app on your smartphone.
These apps allow you to control lights and various other appliances in your home, such as heaters, air conditioners, and water heaters.
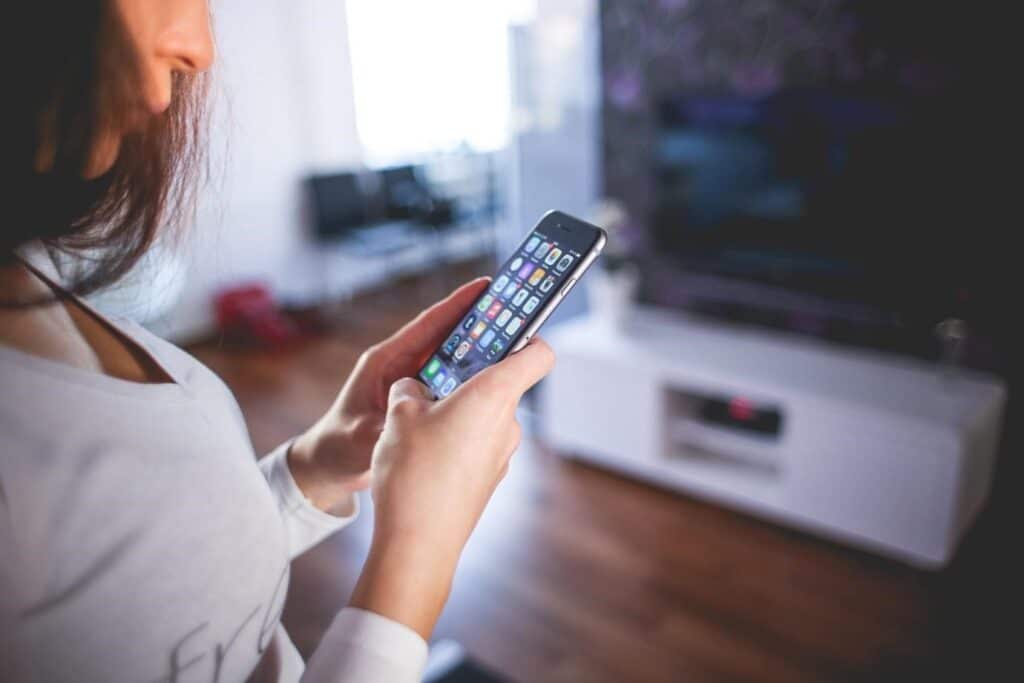
How to control lights with a phone
The app on your smartphone connects to your home Wi-Fi network, which, in turn, connects to various smart-home appliances, including light fixtures.
Thus, you can use your phone to command the smart-home system to turn the lights off or on, both from within your home or remotely.
Interaction with smart-home devices from distant locations is a significant advantage of using phones to control lights.
What You Need to Control Lights With Your Phone
Here are the essentials for transforming your home into a smart home.
1 – A Platform to Control Lights
Before purchasing fixtures, it is critical to select the right platform for remote light control. Most platforms provide compatible smartphone apps.
These apps enable you to group several lights and set schedules for when you want the lights turned on or off.
In addition to lighting, these platforms can control other smart-home appliances connected to your Wi-Fi network.
Moreover, you can pair your lights with virtual assistants, such as Siri or Alexa.
2 – Connectivity Hub for Smart Appliances
Smart homes rely on wireless communication channels to transmit and receive signals. The method for controlling smart lights varies primarily with the type of bulb you use.
Many smart-home light fixtures have built-in Wi-Fi, which connects directly to your router and allows remote control as long as you have an internet connection.
Other smart-home devices utilize Bluetooth technology for connectivity.
These devices can be controlled with your smartphone from approximately 50 feet away. However, to control them remotely, a connectivity hub is needed to relay your smartphone’s signals to the device.
3 – Smartphone Apps to Control Smart Devices
A significant benefit of smart homes is the ability to control your lights even when you’re not home.
You must download and install a mobile app compatible with your house’s smart-home platform to achieve this.
Typically, there are two types of smart-home apps: single-task apps designed for specific devices, helpful in operating lights but not other smart-home devices, and multi-task apps that control the entire IoT system of your smart-home platform, enabling the control of various devices with a single smartphone.
Different Types of Smart-Home Lighting Technologies
Today’s market offers a variety of smart-home lights, each providing different benefits and advantages, including remarkable convenience, energy savings, and ease of accessibility.
An essential aspect of smart lighting systems is the technology that keeps smart lights constantly connected to the internet.
This continuous connection is vital for remote lighting system control.
Let’s briefly review some popular smart-home lighting technologies available for purchase:
1 – Wi-Fi Enabled Smart Lighting System
These lights use Wi-Fi technology to connect to the internet via Wi-Fi routers, allowing easy control inside and outside the house using smartphone apps. However, these smart lights require a constant internet connection for remote operation.
2 – Bluetooth Enabled Smart Lighting System
Bluetooth-based smart lighting systems can be controlled locally using BLE (Bluetooth Low Energy)-enabled smartphones. A Bluetooth hub is necessary to connect various smart-home fixtures to control these systems remotely.
3 – Z-Wave Enabled Smart Lighting System
Z-Wave-enabled lighting systems function similarly to Bluetooth-enabled systems. They create a network that requires a hub for remote operation.
Conclusion
Thanks to technological advances, our regular lives have become highly convenient. Smart-home technology has revolutionized the industry everywhere.
If you also want to enjoy smart-home features in your house, you should buy and install smart lighting fixtures that can be controlled remotely.
See Also
How to Set up Smart Bulbs With Google Home
Best 3 Way Smart Dimmer Switch
References