When you purchase through links on our site, we may earn an affiliate commission. Here’s how it works.
Connect Canon Rebel T7 to Computer to Transfer Pictures
One thing you should know before you connect the Canon Rebel T7 to your computer: you can’t transfer pictures over Wi-Fi/NFC. The gear you’d need for that isn’t included in the box.
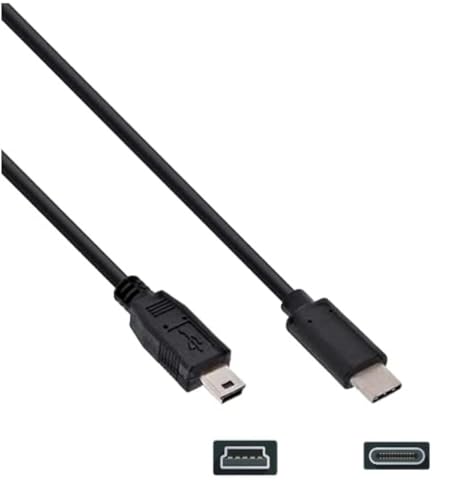
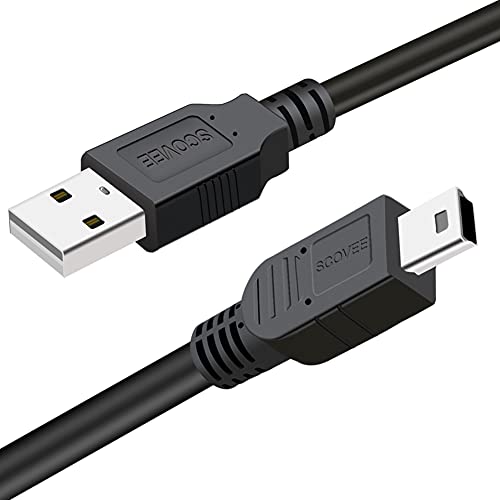
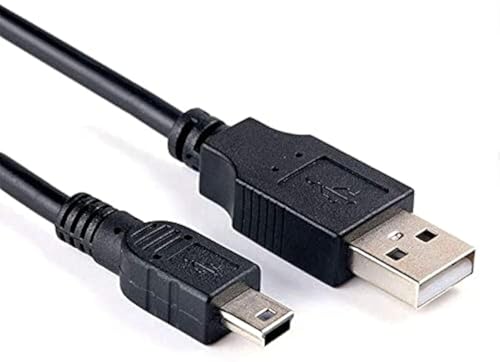
Grab a high-speed USB cable, because high-resolution files can take forever with a standard one. A USB cable with 480 Mbps data transfer speed will get the job done (Hey! It’s on Amazon)
Connect Canon Rebel T7 to Computer with a 480 Mbps cable:
You can also use a memory card reader to transfer the files. These 7 simple steps will show you exactly how to connect Canon Rebel T7 to a computer and transfer your files.
How to Connect Canon EOS Rebel T7 to Computer
Step 1. Make sure your Canon Rebel T7 is charged
The couple charger will power your camera directly, which saves your battery. It pulls continuous power straight from the wall outlet.
Turn off your Canon Rebel T7, pop out the battery, plug the coupler in, and hook the camera up to the computer. You won’t have to worry about the battery dying mid-transfer, and using less battery overall helps it last longer.
Connect the Canon Rebel T7 to the computer. The first and most important step when moving files from your Canon flip-screen EOS Rebel T7 to your computer is making sure it’s fully charged.
If your Canon EOS Rebel T7 battery dies while files are transferring, you could permanently lose those pictures.
High-resolution photos and videos are big files. They can take a while to move over, so a high-speed USB cable really makes a difference.
Step 2. Be patient. Allow your computer to finish starting
Turn on your computer and let it fully boot up. Wait for all the startup programs to load, then give it a couple of refreshes before plugging in the Canon EOS Rebel T7.
Step 3. Turn off wifi on Canon Rebel T7
Pick up your camera and go to the main menu > Wi-Fi/NFC setting. Make sure Wi-Fi/NFC is turned off. This matters because when the Wi-Fi/NFC on the Canon vlogging camera EOS Rebel T7 is active, file transfer gets disabled automatically.
Step 4. Connect USB Cable
Once you’ve turned off the camera’s Wi-Fi and NFC, power down the Canon EOS Rebel T7. Then grab your USB cable and plug the smaller end into the camera’s USB port and the larger end into your computer.
The USB port on the Canon EOS Rebel T7 is hidden behind a small rubber flap on the left side of the camera, right next to the screen.
Step 5. Turn on the Camera
Go ahead and turn the camera on. If the Canon EOS utility window doesn’t show up on its own, you may need to open it yourself from the camera software.
Step 6. Start transferring
With your computer now connected to the Canon EOS Rebel T7 vlogging camera, you’ll see an option called “Select and download images from your camera” pop up on your screen.
Step 7. Choose destination folder
Browse through the folders and pick the images you want to download. Check the boxes next to each one, and when you’re done selecting, hit the download button.
You’ll then be asked to choose a destination folder. You can either make a new folder or pick an existing one where your images will be saved.
The Canon EOS Rebel T7 is still one of the best cameras you can get in 2026.
The Canon EOS Rebel T7/2000D comes with some standout features that really set it apart.
When you go with the Canon flip screen EOS Rebel T7, you’re getting a bunch of great features bundled into this DSLR camera that can capture some seriously impressive shots.
One of the biggest selling points of the Canon EOS Rebel T7 is how easy it is to transfer pictures directly from the camera to your computer.
This guide walks you through transferring pictures directly from your Canon EOS Rebel T7 flip-screen camera to your computer. This is how to connect the Canon Rebel T7 to the laptop.
See Also