Canon 7D Mark II WiFi Setup and Connectivity
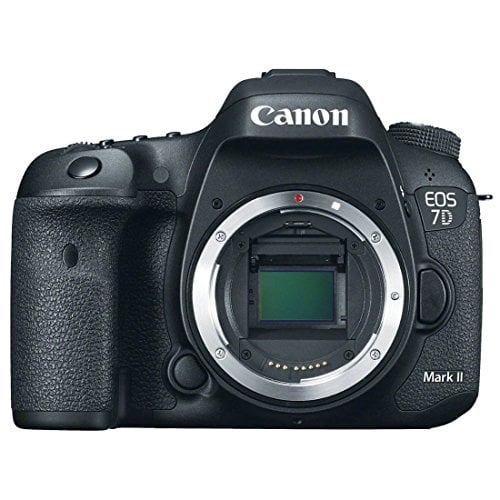
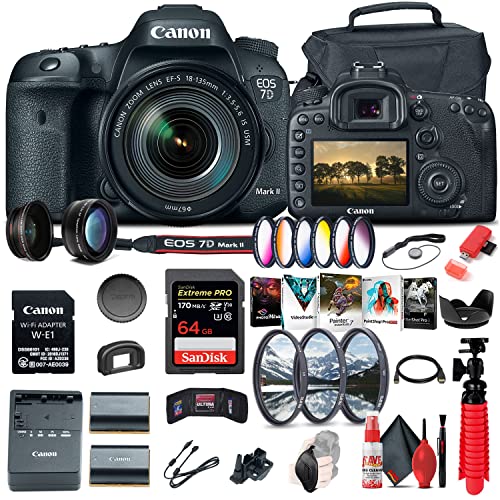
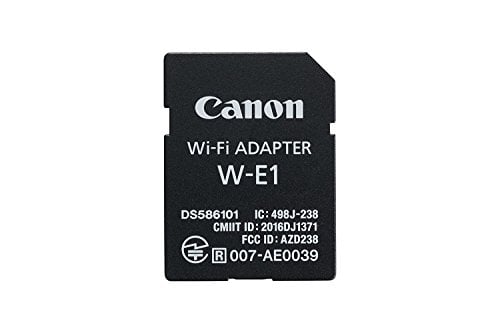
The Canon 7D Mark II WiFi setup is a bit different from most modern cameras because the 7D Mark II doesn’t have built-in WiFi. Instead, it uses a separate WiFi adapter called the W-E1, which slots into the SD card bay. Once installed, this adapter lets you wirelessly transfer photos and videos to smartphones, tablets, and computers.
The Canon 7D Mark II WiFi card adds two useful features: “Connect to Smartphone” for transferring images to your phone, and EOS Utility remote control for tethered shooting over WiFi. Here’s how to get everything set up.
Canon 7D Mark II WiFi Setup: Step by Step
Step 1: Check Your Firmware Version
Before anything else, check your camera’s firmware version for a proper Canon 7D Mark II WiFi setup. If the version is below 1.1.0, you’ll need to update the firmware before the camera can recognize the W-E1 adapter.
Without the update, the camera will treat the WiFi card as a write-protected SD card and nothing will work. A startup delay of about 0.05 seconds from switching on will be experienced once the firmware has been updated, which is completely normal.
Step 2: Insert a CF Card
The W-E1 WiFi adapter takes up the SD card slot, and it can’t store photos on its own since it has no memory. You’ll need a CompactFlash (CF) card inserted in the CF card slot to actually save your images.
If you previously had the camera set to record to both the CF and SD cards, be aware that with the W-E1 installed, only the CF card will be used for recording data and images.
Step 3: Remove HDMI and USB Cables
Make sure you disconnect any HDMI or USB cables from the camera before trying to connect via WiFi. If a cable is plugged in, the WiFi will automatically shut off. The camera’s manual includes these same instructions.
The same goes for Movie mode. If you try to start recording video while WiFi is active, a notice will flash stating that the camera can’t record movies while WiFi is still in operation.
Step 4: Connect to a WiFi Network
To perform a network connection with the W-E1, you’ll need to connect to a local wireless network. You can use your home or office WiFi for this.
Alternatively, to make the connection more practical, you can create a separate SSID that you can use to connect with both your smartphone and computer. This keeps your camera traffic separate from your main network.
Step 5: Turn On WiFi Each Time
Here’s one thing to know about the Canon 7D Mark II WiFi: it doesn’t automatically reconnect to your network when you turn the camera on. You’ll need to manually enable WiFi and go through the process of reconnecting the camera to your WiFi network each time you power up.
It may seem like extra steps for a Canon 7D Mark II WiFi setup, but it takes less than 60 seconds once you get used to it.
Connecting Canon 7D WiFi to Your Smartphone
With the “Connect to Smartphone” option, you can pair your EOS 7D Mark II with your phone. This lets you browse and transfer photos wirelessly from the camera to the personal space of your smartphone. It’s a convenient way to share images quickly without needing a computer or card reader.
To set this up, make sure you have Canon’s Camera Connect app installed on your phone. Open the app, enable WiFi on the camera, and follow the on-screen prompts to pair the devices. Once connected, you can browse your camera’s memory card directly from your phone and download any images you want.
Using EOS Utility for Remote Control
With the Remote Control feature (EOS Utility), the Mark II works over WiFi in the same way it would when connected via USB cable. The main difference is the freedom of movement. Through this mode, you can:
- Change all kinds of settings for your camera remotely from your computer.
- Use the Live View feature on your computer screen.
- Transfer photos directly from your camera to your PC as you shoot.
- Move around freely while staying tethered (no USB cable needed).
This WiFi capability lets photographers stay tethered to their computers without having to use a USB cable. It’s especially useful for studio work, product photography, or any setup where you want to review images on a bigger screen while shooting.
Canon 7D Mark II Key Specs
For reference, here are some of the key specs that make the 7D Mark II a strong choice for photographers:
- ISO range: 100 to 16,000 (expandable)
- Burst shooting: 10 frames per second
- AF system: 65-point all cross-type autofocus
- Dual Pixel CMOS AF for smooth Live View and video focusing
- Dual card slots: SD card slot and CF card slot
- USB 3.0 compatible for fast wired transfers
- 20.2-megapixel CMOS sensor with Dual DIGIC 6 image processors
With the Canon 7D Mark II WiFi adapter, you can shoot at ISOs ranging from 100 to 16,000 at 10 frames per second. The 65-point all cross-type AF system keeps subjects sharp, and the Dual Pixel CMOS AF feature enhances the quality of Live View focusing.
You don’t have to worry about space constraints either, since the camera has both an SD card slot (used by the W-E1 when WiFi is active) and a CF card slot for image storage. The USB 3.0 feature also allows you to transfer images and data easily across all types of computers when you prefer a wired connection.
The EOS 7D Mark II remains a solid choice for photographers who need fast autofocus, high frame rates, and reliable wireless connectivity through the W-E1 adapter. Its 20.2-megapixel capacity and CMOS sensor, combined with the Dual DIGIC 6 image processors, deliver sharp and detailed imagery even in challenging shooting situations.