When you purchase through links on our site, we may earn an affiliate commission. Here’s how it works.
How to adjust Canon M50 cinematic settings?
Canon M50 flip screen DSLR camera is a cinematic beast with its amazing battery life and usable video mode. It has a 24.2 MP with CMOS AP-S sensor.
This small device is suitable not just for a beginner but for advanced professionals as well. Make sure that you use a Canon m50 lens that is engineered for cinematic shots (Hey! It’s on Amazon).
Here are a few steps on how to adjust your Canon m50 cinematic settings:
Cinematic shots using Canon M50
Steps on adjusting Canon M50 for cinematic settings
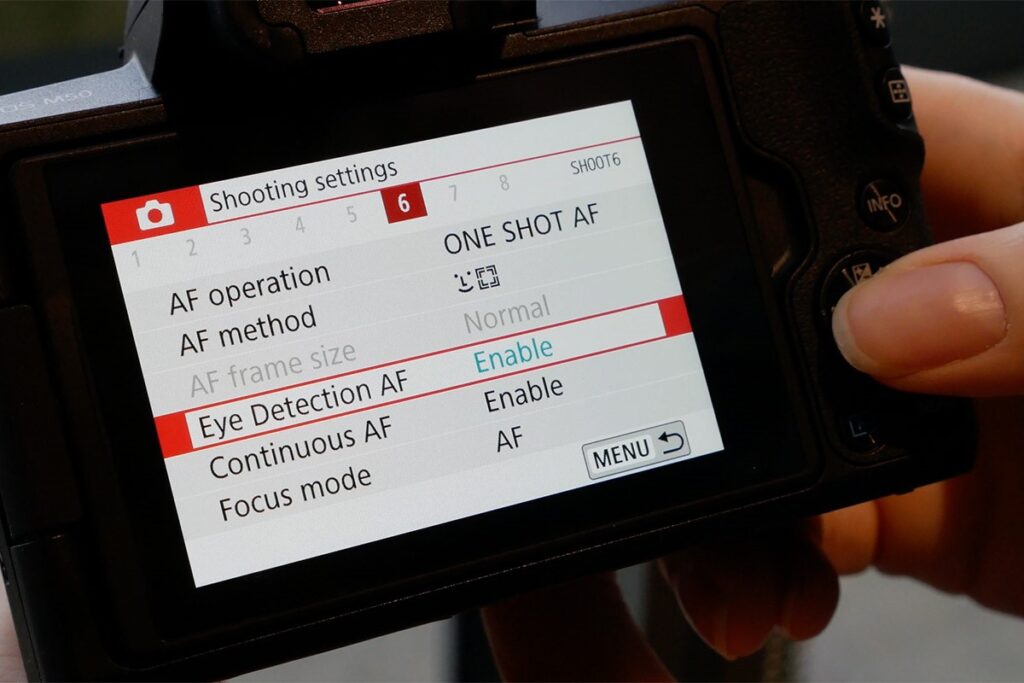
Canon M50 cinematic settings – standard menu
A lot of the latest camera models, such as the Canon M50, have a default menu set, which is for beginners.
Though it might be easy to use, it is not very effective when it comes to adjusting Canon m50 cinematic settings. You have to click on the Menu option on your Canon M50.
You will be able to see that the display is set to guide. Click on it to disable it and switch to the Standard option.
It will help you to go back to the older menu version that is for advanced individuals.
Step 2. Choosing the exposure mode
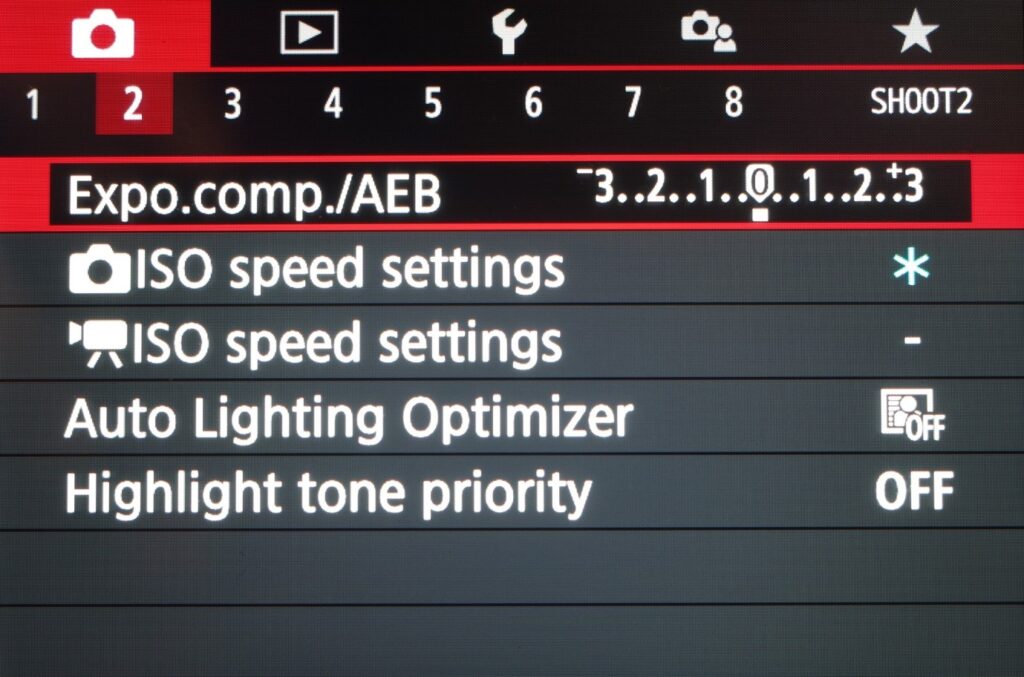
Canon M50 cinematic settings – exposure mode
From the menu, you will be able to choose the model that you want. There will be plenty of options for you to choose from.
While beginners mostly choose movie auto exposure, it is better to click on the movie manual exposure in case you are a professional.
Moreover, it helps you to experiment with different settings. It is better to shoot at 60 fps with 4K resolution.
Do not choose the irate 120 frames per second option as you will only be able to shoot in 720p.
Step 3. Aberration control
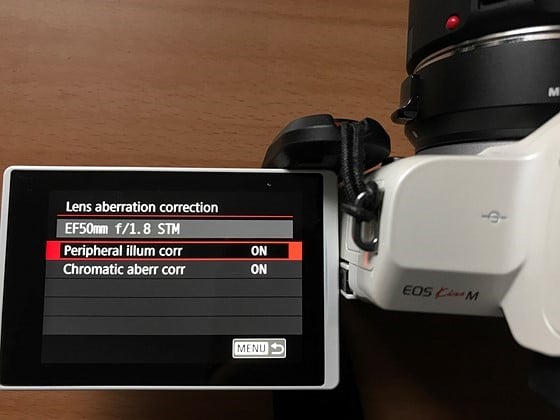
Canon M50 cinematic settings – aberration correction
To choose what colors will affect your video, you need to switch on the aberration control option. Just click on the menu and go through the options until you find the option for Aberration control.
Click on it to turn it on. However, this is not a mandatory step every time. Whenever you feel the need for it, you can switch on this option.
Step 4. Turning on the Auto white balance and ISO settings
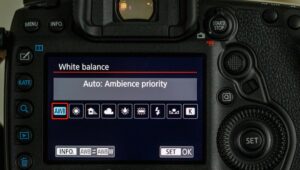
Canon M50 cinematic settings – ISO settings
As you move on to the second screen of the Canon M50 menu, you will see a lot of options for ISO settings. Do not try to tamper with it unless you have an idea about what you are doing.
Switch the auto white balance for Canon m50 cinematic settings. The next thing is to choose the type of picture style that you want. There are several options for you to choose from – from neutral to landscape to fine detail.
It is better to choose a neutral picture style for most cases. Under the style option that you pick, you can tweak the saturation, contrast, and color tone accordingly.
By default, these options are set fixedly according to the style it is allocated to.
Step 5. Other settings
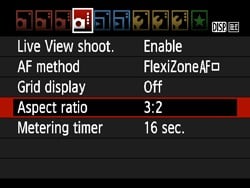
Canon M50 cinematic settings – other settings
Another thing that you can choose to adjust Canon m50 cinematic settings is choosing image quality. It is better to choose the ‘raw’ option as it helps to retain its information.
Next, you need to move on to the aspect ratio. It is set to 2:3, but you can change it to your liking. A lot of people recommend an aspect ratio of 16:9 on their Canon m50.
In case you want to click a lot of pictures, then you need to tweak the drive mode. Just click on the drive mode option to choose from the options given.
It is recommended to choose high-speed continuous drive mode over anything else. Canon is known for its dual-pixel autofocus and hence, turns on the AF mode for the touch and drag option.
Canon M50 is the best camera in the market that is not only affordable but helps you to feel the cinematic experience. It is incredibly easy to adjust the Canon M50 Cinematic settings.
While other camera brands allow touchscreen only when you need to autofocus, that is not the case with Canon. The whole menu of Canon is touchscreen and easy to use.
Hence a lot of people are interested in Canon M50.