How to Connect Ring to WiFi – Setup Guide
The Ring Doorbell looks and works like a regular doorbell at first glance. The big difference is the built-in livestream camera that lets you see who’s at your door from your phone, even when you’re away from home.
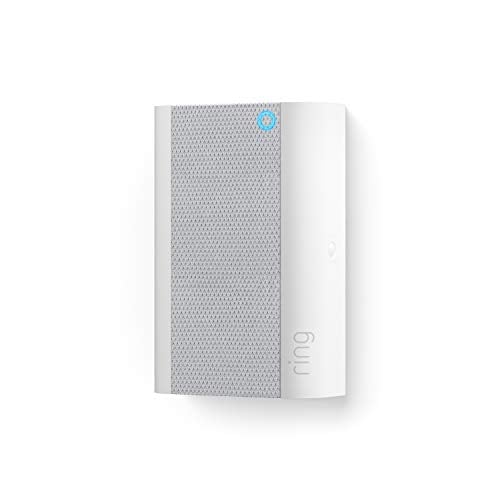
It runs on a rechargeable battery, so you don’t need a wired power connection. You can also add WiFi chimes around your house to make sure you hear the doorbell ring from any room.
Getting the Ring Doorbell connected to WiFi and installed isn’t complicated. Here’s how to do it step by step.
The Setup Process
- Start by downloading the Ring app on your phone. You’ll find it on Google Play for Android or the App Store for iPhones.
- Install the app, open it, and tap ‘Set up a Device.’
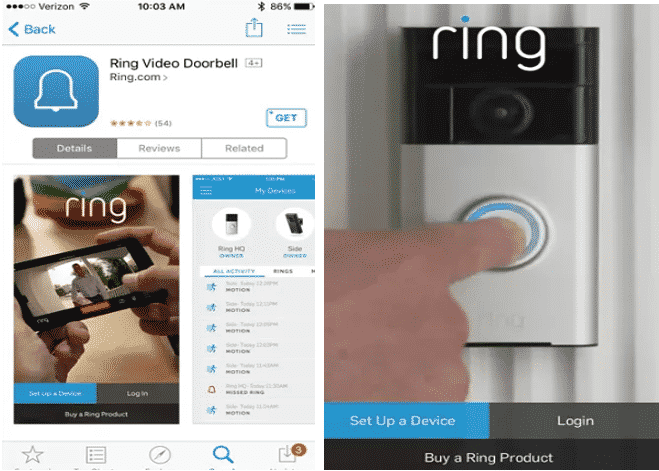
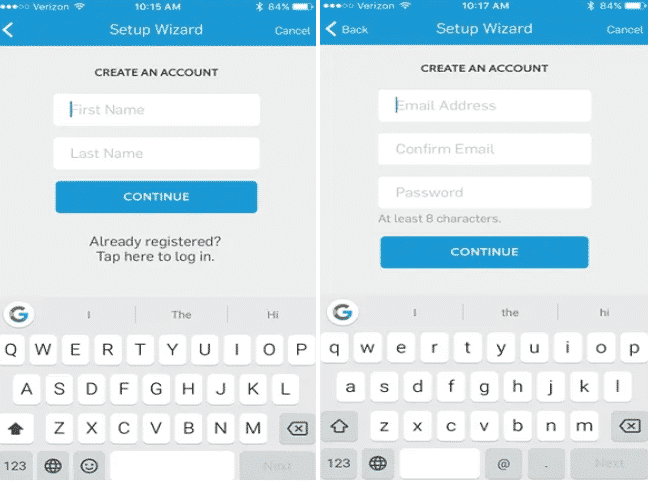
3. If you don’t have a Ring account yet, create one by entering your first and last names and tapping ‘Continue.’ Already have an account? Just choose ‘Login.’
4. Enter your email address and create a password for your Ring account. Tap ‘Continue’ when you’re done.
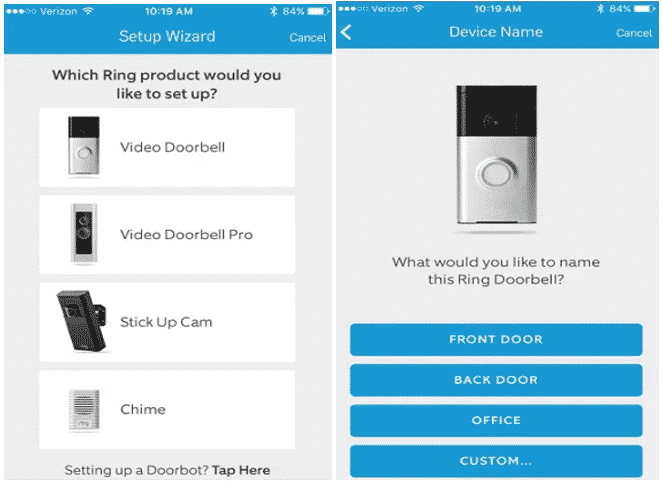
5. Pick the Ring device you want to set up. For this walkthrough, we’ll select ‘Video Doorbell’ from the list.
6. Give your Ring Doorbell a name. You can pick from the preset options or tap ‘Custom’ to type in your own.
This topic ties into our how to reset Ring camera guide, which covers the next steps.
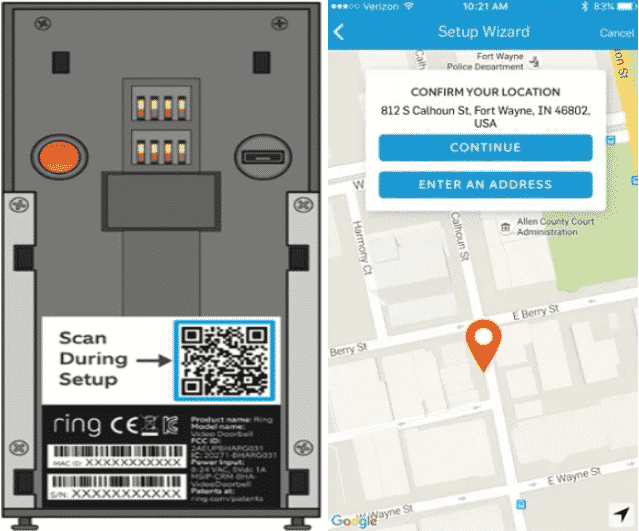
7. Use your phone to scan the QR code on the back of the Ring Doorbell. You can also find the QR code in the Quick Start Guide that comes in the box. Once you see a green box around the QR code, move on to the next step.
8. If scanning doesn’t work, tap ‘Setup Without Scanning.’
9. Type in your address to set your location and tap ‘Confirm.’ Keep in mind that skipping this step may disable some features like emergency service dispatch and light scheduling.
10. Press the orange button on the back of the doorbell to start pairing mode. You’ll see a rotating white light on the front.
11. Tap ‘Continue.’
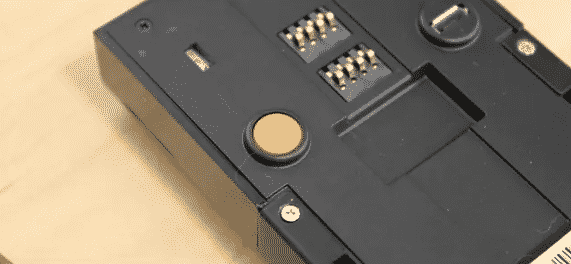
Our guide on does Ring work with Google Home goes into more detail if you need it.
12. Now you need to connect your phone to the Ring WiFi network. On iPhone, go to Settings > WiFi and select the Ring network. On Android, swipe down from the top of the screen, tap WiFi, and choose the Ring network.
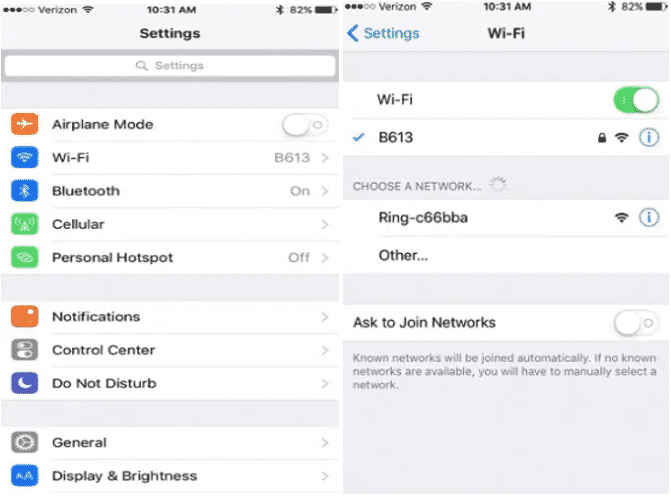
13. Make sure you’re doing this setup where the doorbell will actually be installed. Enter your WiFi password when it asks and tap ‘Connect.’
14. After connecting to the Ring WiFi network, go back to the Ring app, pick your home WiFi network from the list, and enter your WiFi password.
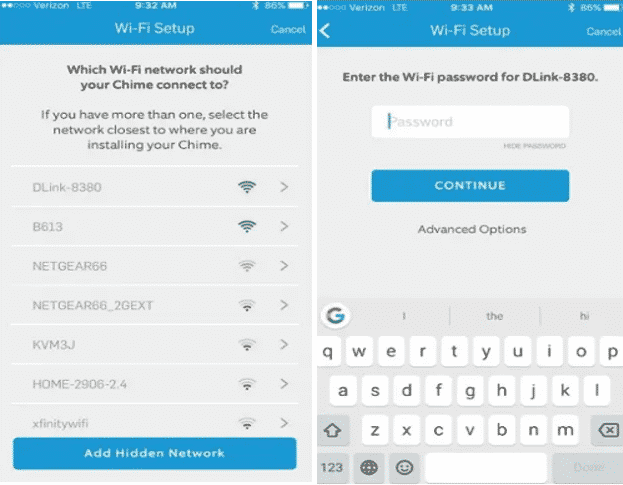
15. The doorbell should connect to your WiFi within a few minutes.
16. Tap ‘Continue’ once the doorbell is connected to the internet.
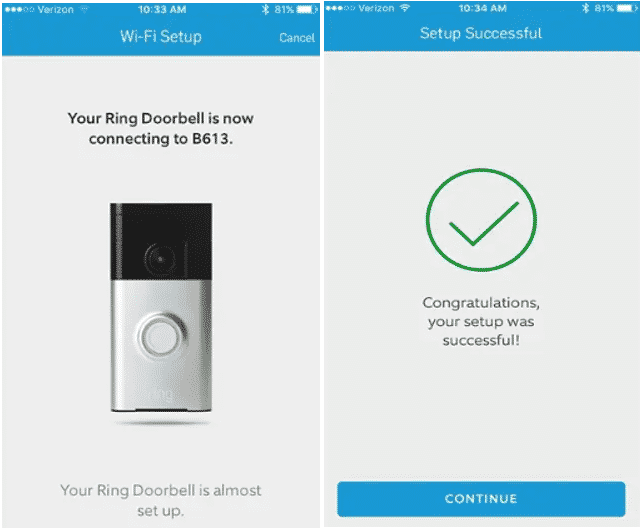
The doorbell may start a firmware update once it’s connected to WiFi. You’ll see a flickering white light on the front during the download. Wait until the light stops before doing anything else.
After the update finishes, test your doorbell by pressing the front button to make a test call.
Why Won’t My Ring Connect to WiFi
Low Battery
A low battery can stop your Ring Doorbell from connecting to WiFi properly. Make sure the battery is charged, or swap it out for a fresh one if needed.
Poor WiFi Reception
Weak WiFi signal is another common culprit. Check your router’s status and try connecting your phone to WiFi first. If your phone connects fine but the Ring won’t, it might be a frequency issue. Ring Doorbells only work on 2.4GHz networks, not 5GHz. Check your router settings and make sure 2.4GHz is turned on.
Final Thought
The Ring Doorbell is a handy smart device for keeping an eye on your doorstep and letting people in remotely. Follow the steps above and you should have it connected to WiFi in no time.