What Is a Ring Bridge and Why Do You Need One?
Smart lighting does more than make your home look nice. It also improves outdoor security by illuminating dark corners and potential hiding spots around your property. Ring, one of the most well-known names in home security, offers a full lineup of smart lights for both indoor and outdoor use. You can control these lights from the Ring app on your smartphone, set schedules, and trigger them with built-in motion sensors.
Ring’s smart lights also work with their security cameras and video doorbells, creating a connected security system. Solar-powered options are available for spots where running wiring is not practical. But to get the most out of Ring Smart Lights, you need one specific piece of hardware: a Ring Bridge.
What Is a Ring Bridge?
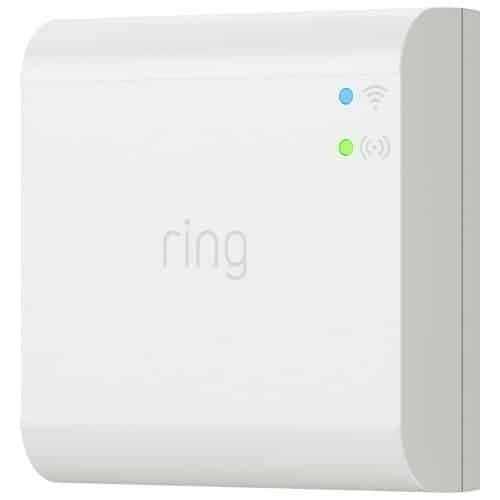
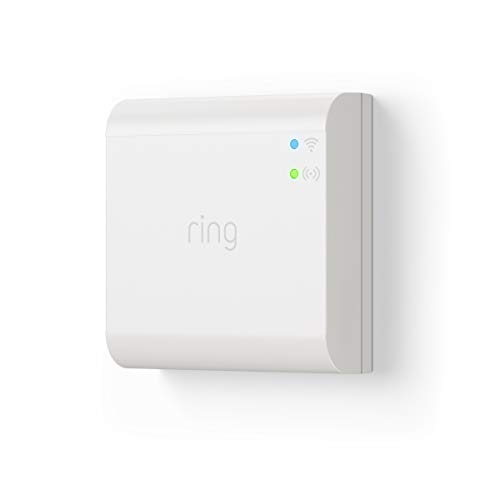
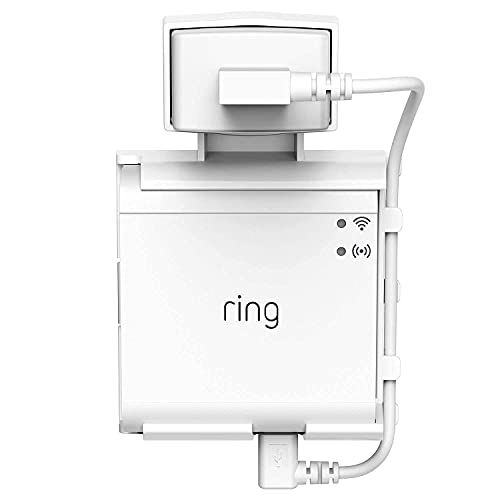
The Ring Bridge is a small hub that acts as the central connection point for your Ring Smart Lights, transformers, cameras, doorbells, and motion detectors. Think of it as the brain that lets all your Ring devices talk to each other. It ties your lighting system together so that everything works as a coordinated unit rather than a collection of independent gadgets.
What Does a Ring Bridge Do?
A device connected through the Ring Bridge can detect motion or activity on your property and then trigger your cameras, smart lights, video doorbells, and any other linked systems to respond. For example, if a motion sensor on your driveway detects movement, it can automatically turn on the porch lights and start recording on a nearby camera.
A single Ring Bridge supports your entire household, and the number of possible device combinations is practically unlimited. You can set up lighting groups, create custom schedules, and build automation rules that make sense for your home layout.
Beyond security, the Ring Bridge also lets you integrate smart lights with compatible Alexa voice assistant devices. That means you can turn lights on and off with voice commands and receive spoken notifications when motion is detected.
You might also want to read our how to setup philips hue without bridge guide for the full picture.
Without the Ring Bridge, your Ring Smart Lights still work as basic motion-sensing lights, but they lose the ability to communicate with other Ring devices and you miss out on app-based control and automation.
How to Install a Ring Bridge
Setting up the Ring Bridge is straightforward and does not require any technical expertise. Here is a step-by-step walkthrough of the process.
1. Choose a Central Location
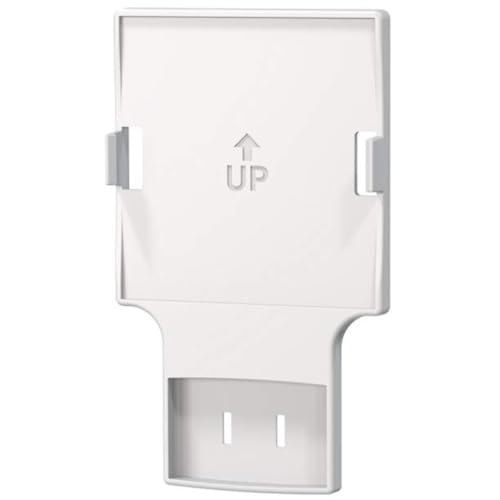
Pick a spot for the Ring Bridge that is close to a power outlet and within strong range of your WiFi router. A central location in your home gives the best wireless coverage to all your outdoor Ring devices. If you plan to mount it on a wall, have the right brackets or screws ready.

Keep the Ring Bridge at least 7 feet away from any home alarm panels to avoid wireless interference.
2. Plug In the Power Supply
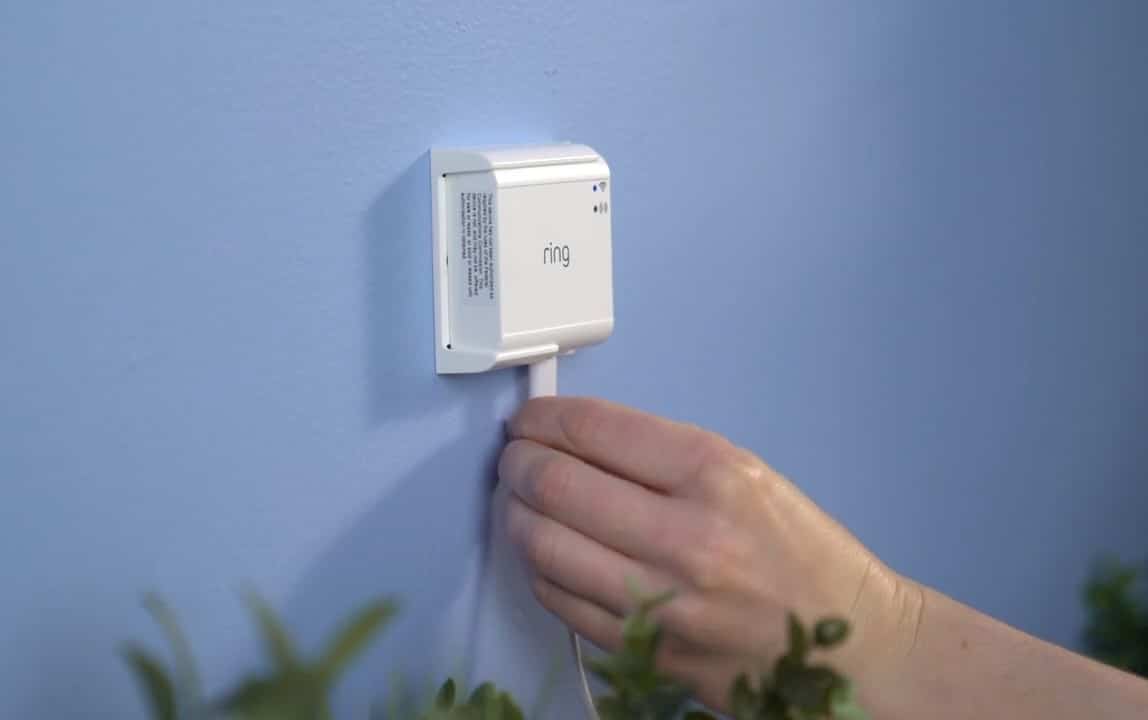
Connect the included AC adapter to a nearby power outlet. The adapter comes in the box with the Ring Bridge.
Interested in this area? We go deeper in our smart bulbs for Alexa guide.
3. Connect the USB Cable
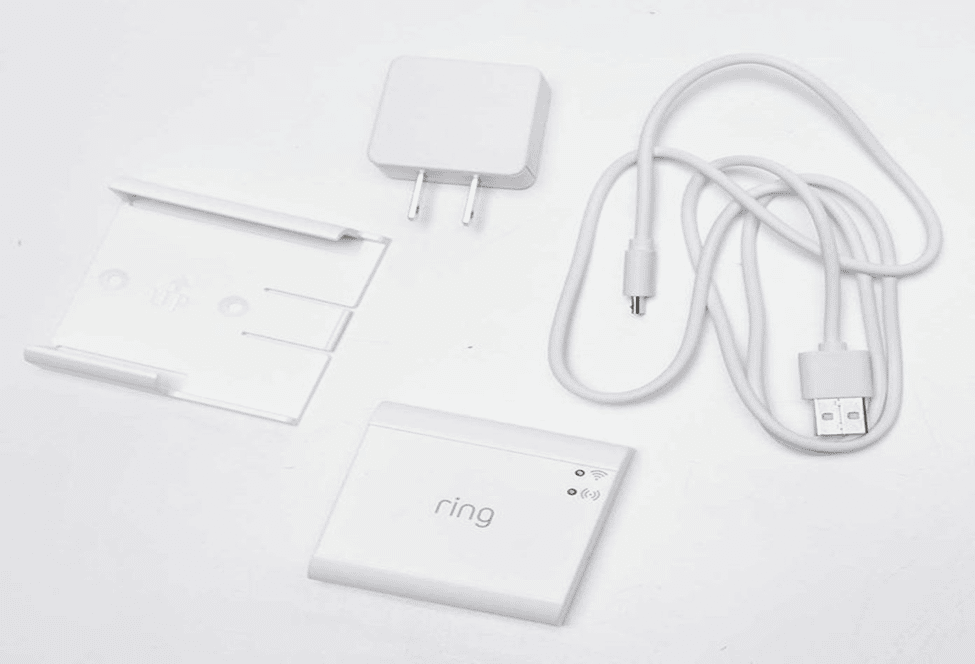
Use the included USB cable to connect the Ring Bridge to the power adapter.
4. Set Up the Ring Bridge in the Ring App
After plugging in the bridge, wait for its blue light to start flashing. That flashing light means the device is ready to pair with the app.
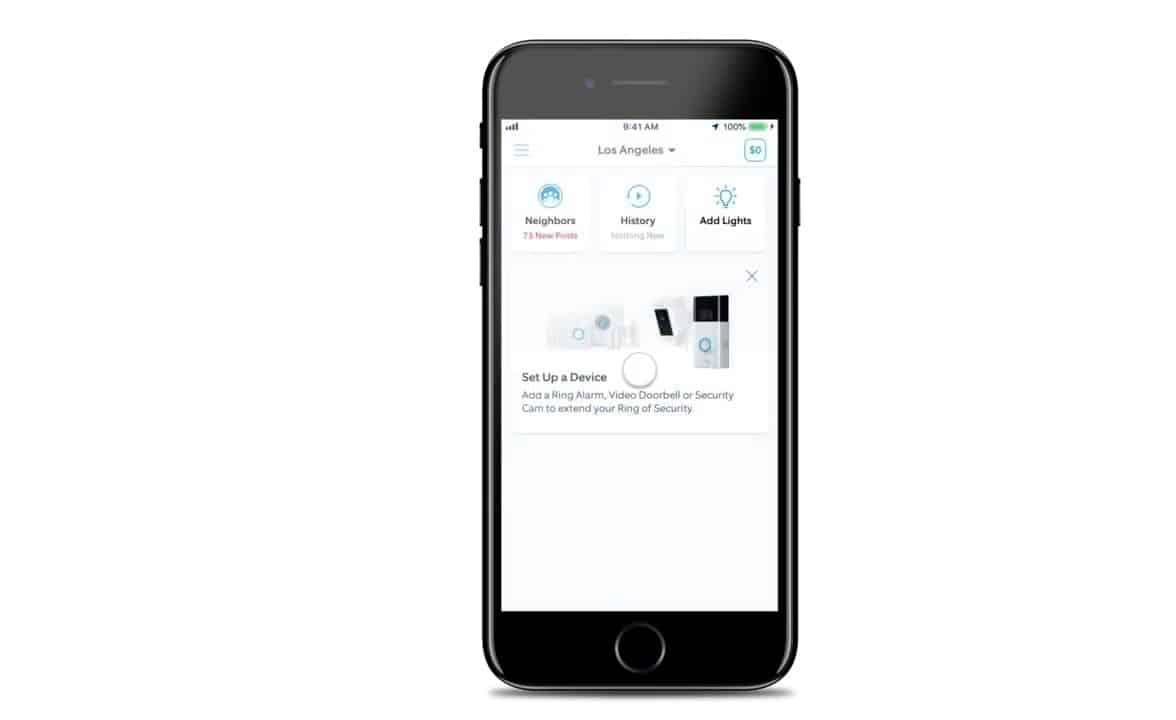
- Open the Ring app and tap Set Up A Device.
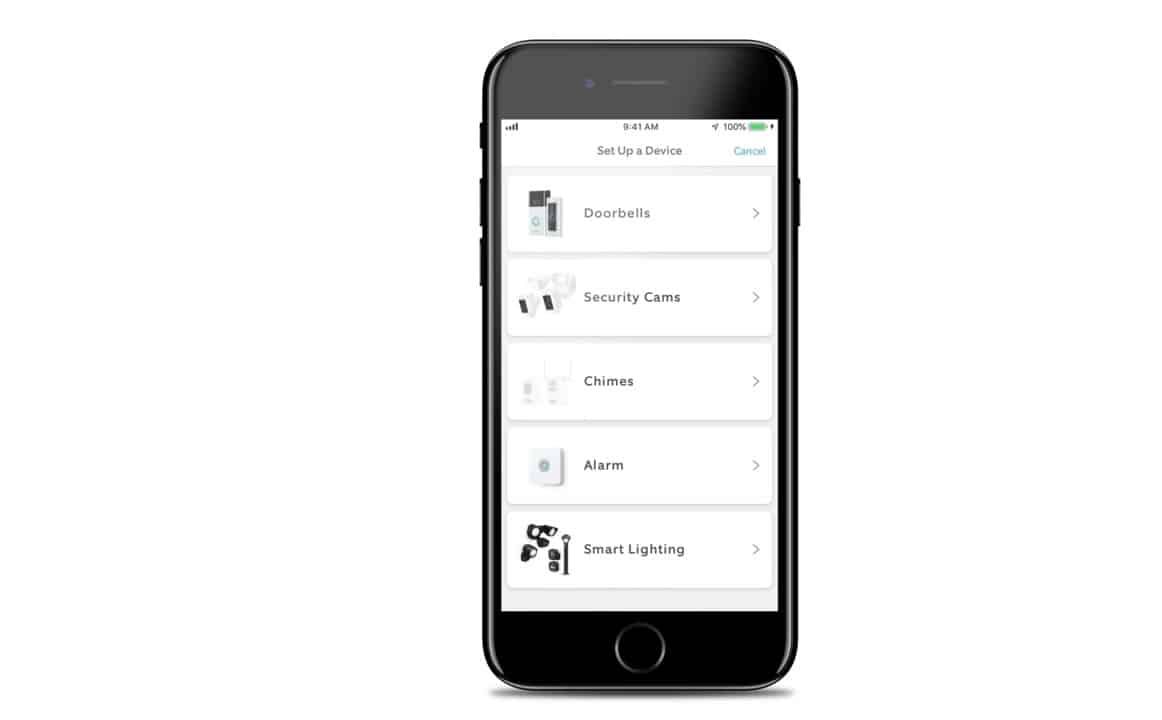
- Select Smart Lighting Bridge from the list of device types.
5. Scan the QR Code
Use your phone’s camera to scan the QR code printed on the bottom of the Ring Bridge or on the product packaging. If the scan does not work, tap Set Up Without Scanning to continue manually.
6. Connect Ring Bridge to Your Device
On Android, the WiFi connection process happens automatically. On iOS, the app will prompt you to join a specific WiFi network. Follow the on-screen instructions to continue.
7. Select Your WiFi Network
Choose your home WiFi network from the list, enter your password, and tap Continue to finish the connection.
8. Add Your Ring Smart Lights
Once the bridge is connected, you can start adding individual Ring Smart Light devices through the Ring app. Each light or sensor you add will be linked through the bridge for centralized control.
Wrapping Up
The Ring Bridge is a small but important piece of the Ring Smart Lights ecosystem. It links your lights, cameras, motion sensors, and doorbells together so they work as a single coordinated system instead of a collection of standalone devices. Setup takes about 15 minutes, requires no special tools or knowledge, and the app walks you through every step. If you are building out a Ring-based smart home security system, the bridge is the piece that makes everything work together.