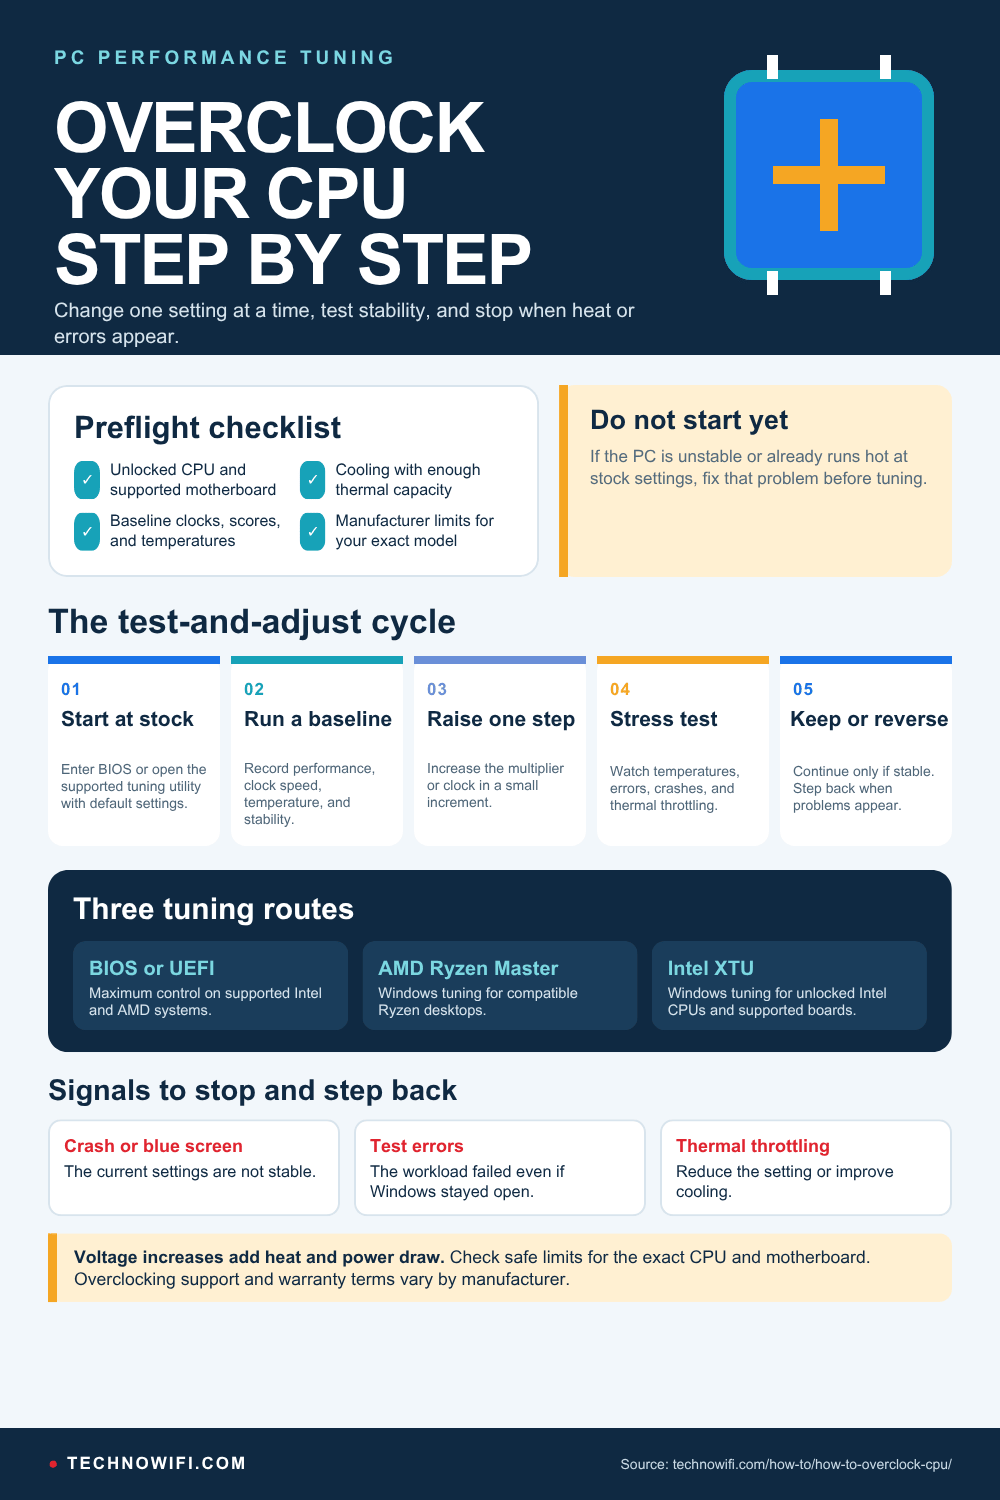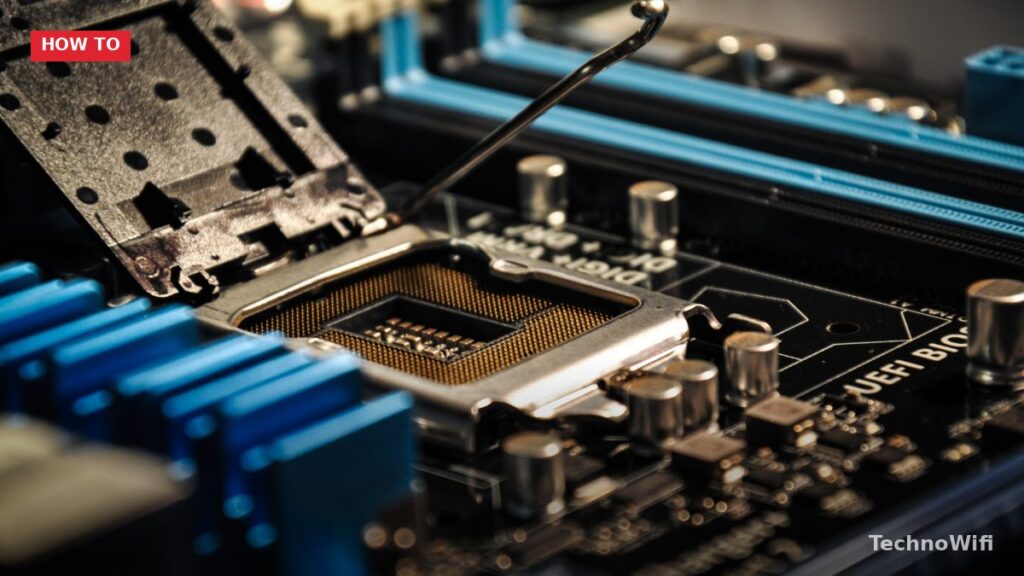
How to Overclock CPU in 2026
Overclocking your CPU is one of the simplest ways to squeeze extra performance out of your PC without spending money on new hardware. By increasing your processor’s clock speed beyond its factory settings, you can get faster performance in games, video rendering and other demanding workloads.
Overclocking used to be a niche hobby for enthusiasts with advanced technical knowledge, but today it is more accessible than ever. Both AMD and Intel offer dedicated software tools that simplify the process, and modern motherboards come with user-friendly UEFI interfaces that make manual tuning straightforward.
We break down CPU for mining in a separate post that complements this one.
Before you start, there are a few important things to know. Overclocking increases heat output, so you need a solid cooling solution (a good tower cooler or AIO liquid cooler at minimum). It can also void your warranty depending on the manufacturer. And not every CPU is unlocked for overclocking. Intel requires a “K” or “KF” series processor paired with a Z-series motherboard, while AMD Ryzen processors are generally unlocked on B-series and X-series boards.
This guide covers three overclocking methods: manual BIOS tuning, AMD’s Ryzen Master software, and Intel’s XTU (Extreme Tuning Utility).
Method 1: Overclocking Through BIOS
The BIOS (or UEFI) method gives you the most control over your overclock. It works with both Intel and AMD systems.
Step 1: Boot into BIOS at Stock Settings
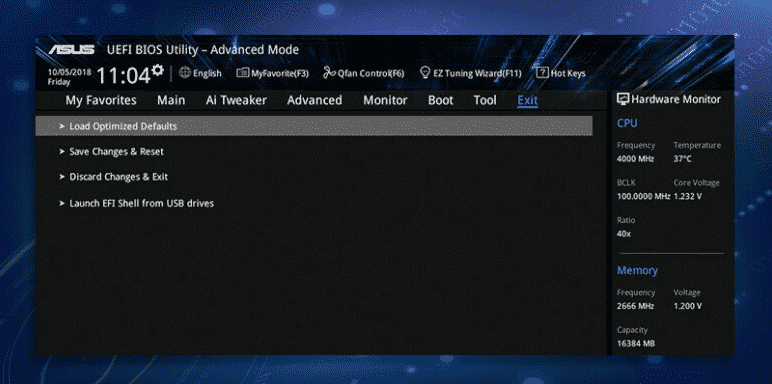
Restart your computer and enter the BIOS by pressing the appropriate key during boot. This is usually Delete, F2 or F12, depending on your motherboard brand.
For a different take, see our guide on how to check CPU temp.
Take a moment to explore the BIOS layout. Look for sections labeled “Overclocking,” “OC Tweaker” or “AI Tweaker,” depending on whether you are using an ASUS, MSI, Gigabyte or ASRock board.
Step 2: Run a Baseline Stress Test
Before changing anything, boot into Windows and run a stress test at stock settings. Tools like Cinebench R24, Prime95 or AIDA64 are all good choices. Record your baseline performance scores, clock speeds and temperatures. If your system is not stable at stock settings, you have a hardware issue to fix before attempting any overclock.
Step 3: Increase the CPU Multiplier
Your CPU’s clock speed is calculated by multiplying the base clock (BCLK) by the CPU multiplier. For example, a 100 MHz base clock with a 50x multiplier gives you 5000 MHz, or 5.0 GHz.
Start by increasing the multiplier by 1x (for example, from 50x to 51x). Save your settings, reboot into Windows and run a quick stress test. If the system stays stable, go back into BIOS and bump the multiplier up by another 1x. Repeat this process until you hit instability, which typically shows up as a system crash, blue screen or a failed stress test.
Step 4: Adjust the Core Voltage
When your overclock becomes unstable at a given multiplier, you may need to increase the core voltage (often labeled “Vcore”) to stabilize it. Switch the voltage setting from “Auto” to “Manual” and increase it in small steps of 0.01V to 0.025V.
Be careful with voltage adjustments. Higher voltage means more heat and more power draw. For Intel 14th and 15th gen Core processors, try to stay below 1.35V for daily use. For AMD Ryzen 9000 series chips, AMD also recommends keeping voltage below 1.35V. Always check the safe voltage limits for your specific CPU model before pushing higher.
Step 5: Run a Full Stability Test
After finding a clock speed and voltage combination that seems stable, run a longer stress test. Let Cinebench, Prime95 or AIDA64 run for at least one to two hours while monitoring temperatures. If your CPU stays below 90 degrees C and the test finishes without errors, your overclock is stable and ready for daily use.
If you see crashes, blue screens or thermal throttling, either drop the multiplier back by 1x or improve your cooling setup before trying again.
Method 2: AMD Ryzen Master
AMD’s Ryzen Master software provides a Windows-based alternative to manual BIOS overclocking. It is free to download from AMD’s website and works with all Ryzen desktop processors.
Getting Started with Ryzen Master
Install Ryzen Master and open it. The main dashboard shows your current clock speeds, temperatures and voltages in real time. Before making any changes, run the built-in stress test to record your baseline numbers.
Manual Tuning
Switch the “Control Mode” from “Auto” to “Manual.” From here, you can adjust the clock speed and voltage for individual cores or apply a uniform overclock across all cores at once.
Increase the clock speed by 50 MHz at a time and click “Apply” to test each change. If the system remains stable, push another 50 MHz. When you hit instability, bump the voltage up slightly (staying at or below 1.35V for Ryzen 9000 chips) and test again.
Saving Your Profile
Ryzen Master lets you save multiple overclock profiles so you can switch between them easily. Once you find a stable configuration, save it for quick access later. Note that Ryzen Master settings reset after a reboot unless you also apply the same overclock values in BIOS for persistence.
Method 3: Intel XTU
Intel’s Extreme Tuning Utility (XTU) is a Windows-based overclocking tool designed for Intel K-series and KF-series processors paired with Z-series motherboards.
Baseline and Temperature Check
Open XTU and run the built-in benchmark to get baseline performance numbers. Pay close attention to the package temperature during the test. If temperatures already exceed 80 degrees C at stock settings, you should upgrade your cooling before attempting an overclock.
Adjusting Multipliers in XTU
In the “Advanced Tuning” tab, locate the “Multipliers” section. Increase the all-core multiplier by 1x, then click “Apply.” Run another stress test to confirm stability. Repeat the process, stepping up one multiplier at a time, until you find the limit.
Voltage Adjustments
If you need more stability at higher clock speeds, adjust the “Core Voltage Offset” to give the CPU a bit more power. Small increments are important here. XTU also displays real-time power draw, temperature and throttling data, making it easy to spot potential issues before they cause a crash.
Important Compatibility Notes
Not every motherboard supports overclocking. Intel requires a Z-series chipset (such as Z790 or Z890) for unlocked multiplier control. Many laptop motherboards lock overclocking entirely. AMD is more flexible, allowing overclocking on both B-series and X-series chipsets. Before you start, always verify your motherboard and CPU support overclocking by checking the manufacturer specs.
Final Thoughts
Overclocking in 2026 is safer and more approachable than it has ever been. Modern CPUs include built-in thermal protections that will throttle or shut down the processor before serious damage can occur, and software tools from AMD and Intel make the entire process manageable even for beginners.
The keys to a successful overclock are patience and caution. Increase settings in small steps, stress test at every stage and keep a close eye on temperatures. Done right, overclocking can give an older system a meaningful performance boost or help you get the absolute most out of a new build.