Best Sony A9 Video Settings
The Sony A9 shoots gorgeous video, but getting the best Sony A9 video settings dialed in takes a bit of setup. Video is a different ballgame than stills, and the menu system has plenty of options buried across multiple screens.
Don’t worry. Once you run through these six steps, you’ll have your A9 ready to capture sharp, well-exposed footage every time.
Step 1. Choose the Right Mode
You can technically record video in any mode on the A9, but you’ll want to switch to dedicated Video mode. Use the main dial on top of the camera to get there.
Video mode gives you a different display layout with video-specific info, making it much easier to frame shots and monitor exposure as you record.
Step 2. Set Your Focus
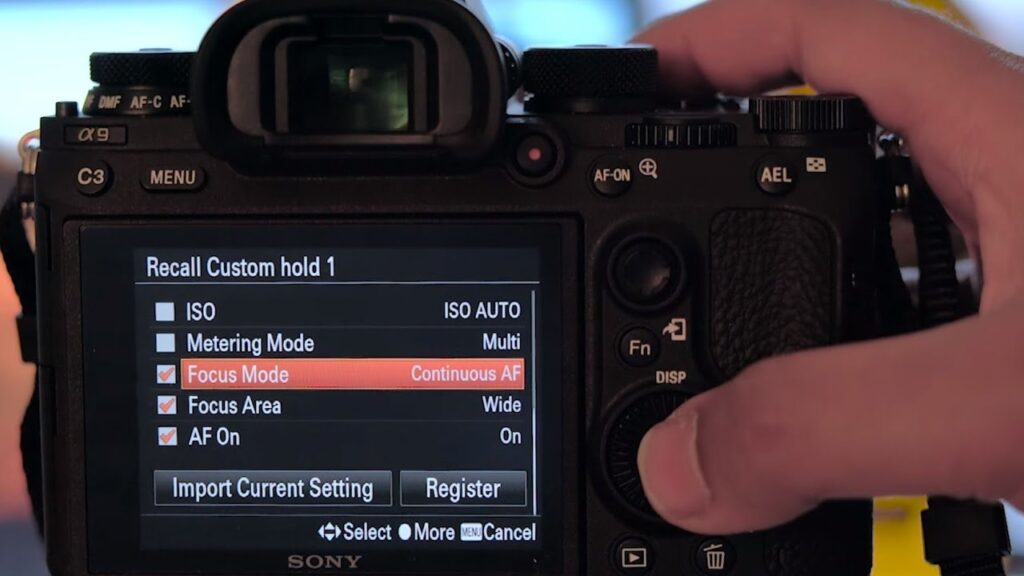
Next up is the focus mode. You can choose between AF-S (single) and AF-C (continuous). For most video work, AF-C is the better option since it keeps tracking your subject as they move through the frame.
Auto-selection is on by default in Video mode. One thing to check: make sure your EV compensation dial is set to zero so you’re starting from a neutral exposure point.
Step 3. Configure Record Media Settings
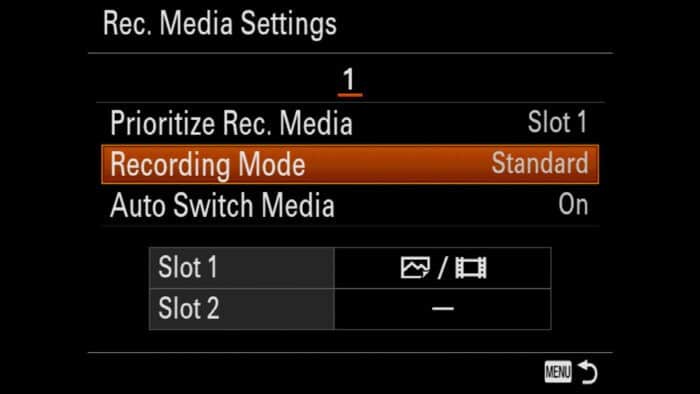
Navigate to tab five, screen five, and select “Select Record Media.” If you’re running a single memory card, pick Slot 1 and confirm the mode is set to Recording.
Got two cards in the camera? Switch to “Simultaneous Recording” under the recording tab. This writes footage to both cards at once, giving you an instant backup. Smart insurance for any paid work.
Step 4. Adjust Screen Two Settings
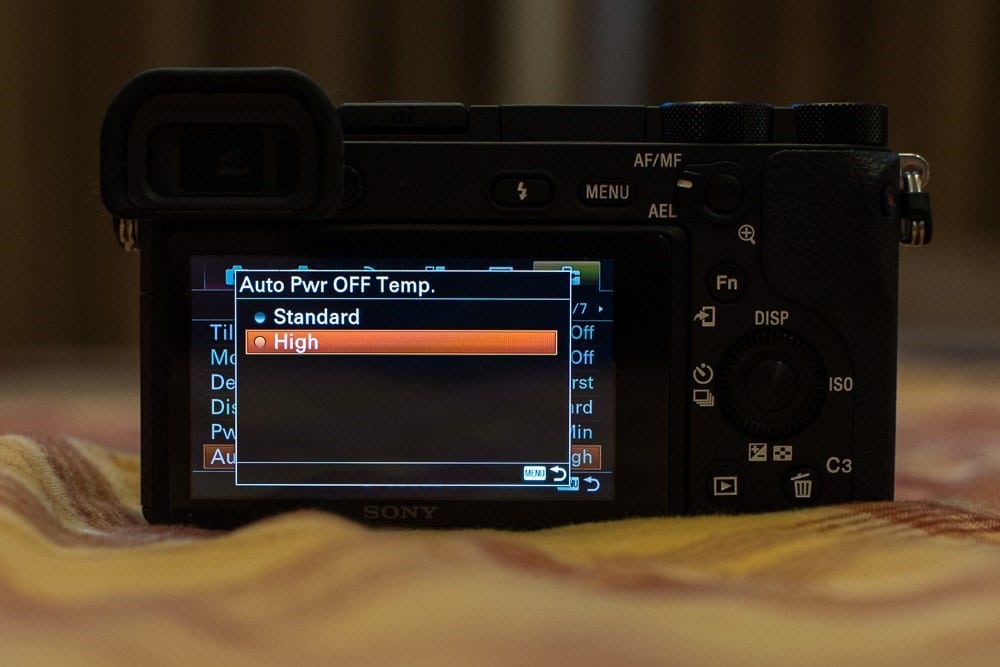
Move to Screen 2 in the menu. Find “Auto Power Off Temperature” and set it to High. This keeps the camera rolling even when it starts heating up, which happens during longer recording sessions.
Turn on Touch Operation while you’re here. It makes pulling focus between subjects much smoother during a take.
Switch your exposure to Manual for full control. Then choose your file format. Pick the HD option for the best quality. Set your recording to 30 frames per second for a standard, natural-looking result.
Step 5. Turn On Auto ISO
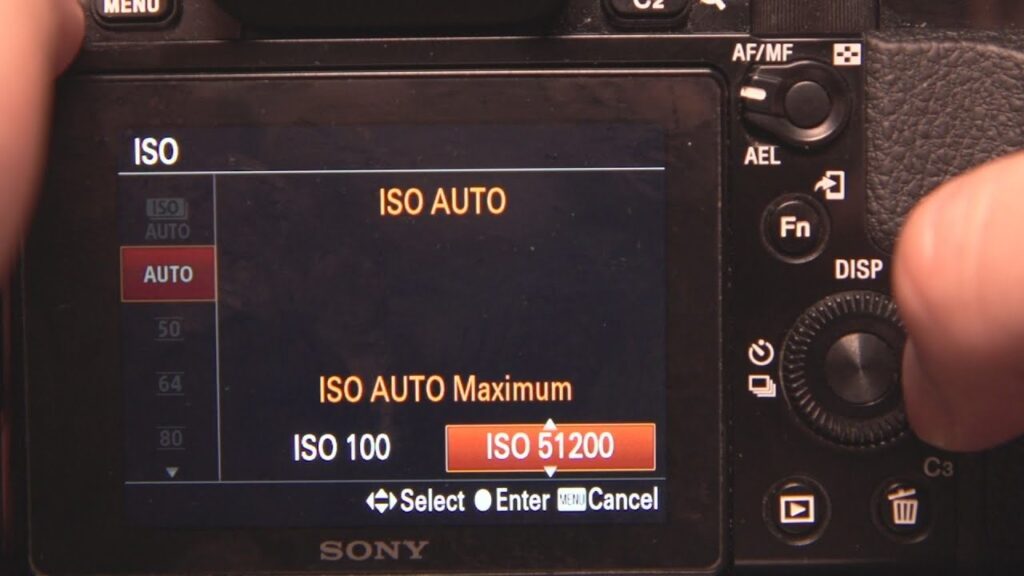
Head to tab one, then scroll to screen seven. Enable Auto ISO. If you’re shooting handheld without a tripod, also turn on the viewfinder mode so you can keep an eye on exposure through the EVF.
Auto ISO is a lifesaver for video because lighting can shift fast as you or your subject moves. The camera adjusts sensitivity on the fly, so you can focus on composition instead of constantly tweaking settings.
Step 6. Enable SteadyShot
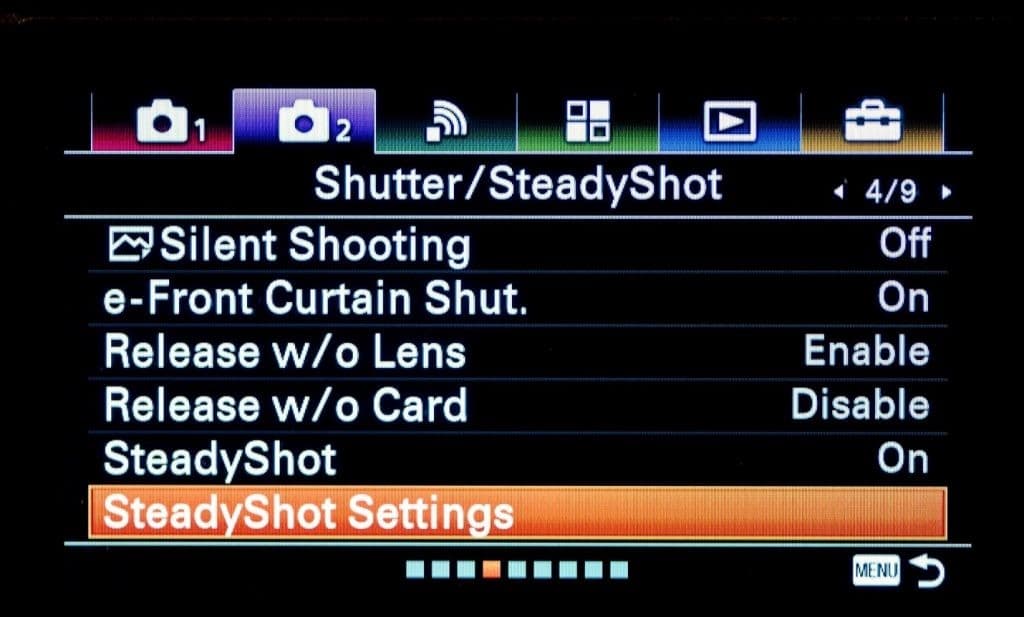
Turn on SteadyShot for smoother footage. It helps on a tripod for fine stabilization and is absolutely essential for handheld shooting.
Check your audio levels too. Keep the output at a minimum of 26 and leave Audio Display turned on so you can monitor levels in real time. Bad audio ruins otherwise great video, so don’t skip this.
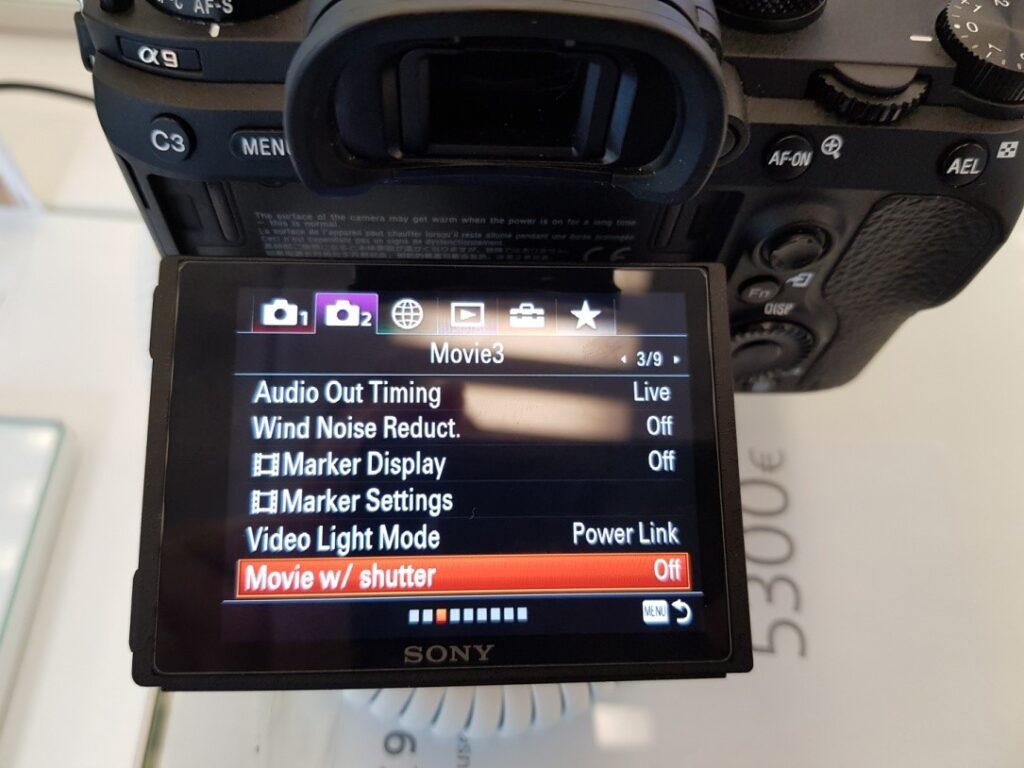
One more tip: use the shutter button to start and stop recording instead of the tiny red record button. You can enable this through the “Movie w/ shutter” option in the menu. The shutter button is larger and easier to press without shaking the camera.
That covers all six settings. The whole process takes just a few minutes once you know where everything lives in the Sony A9’s menu system.
Best DSLR Cameras for Beginners