Sony a9 Wildlife Photography Settings
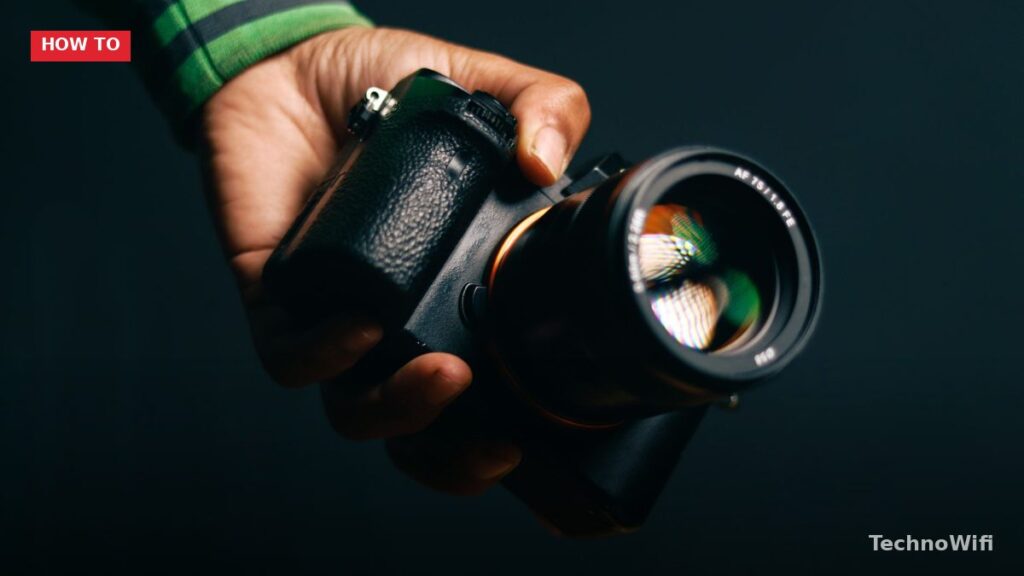
The Sony a9 is one of the best cameras Sony has ever built, and it’s a seriously capable tool for Sony a9 wildlife photography. Whether you’re just getting started or you’ve been shooting wildlife for years, the silent shutter alone is enough to make you a fan.
Beyond that, the camera packs a 24.2MP full-frame back-illuminated stacked CMOS sensor and burst shooting at 20 fps. That’s a lot of firepower for catching fast-moving animals in the field.
But to get the most out of this camera in the wild, you’ll need to tweak some settings. Here’s a breakdown of the recommended settings for Sony a9 wildlife photography.
Step 1. Shoot in RAW Mode
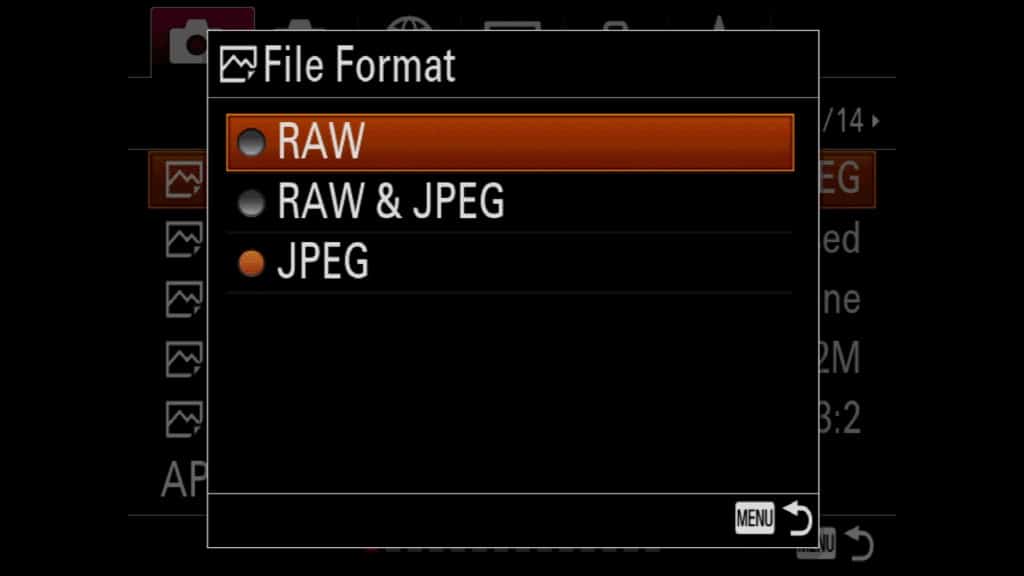
Always shoot RAW when doing Sony a9 wildlife photography. You’ll run into low-light situations constantly in the field, and RAW gives you the flexibility to push exposure in post without destroying image quality.
The Sony a9 lets you choose between Compressed and Uncompressed RAW. If you’re shooting in continuous mode (and you probably will be), go with Compressed. The smaller file sizes help the camera clear its buffer faster, which means longer bursts at full speed.
Since you’re shooting RAW, don’t worry about the creative style settings. Those color profiles only apply to JPEGs.
Step 2. Turn On APS-C Mode
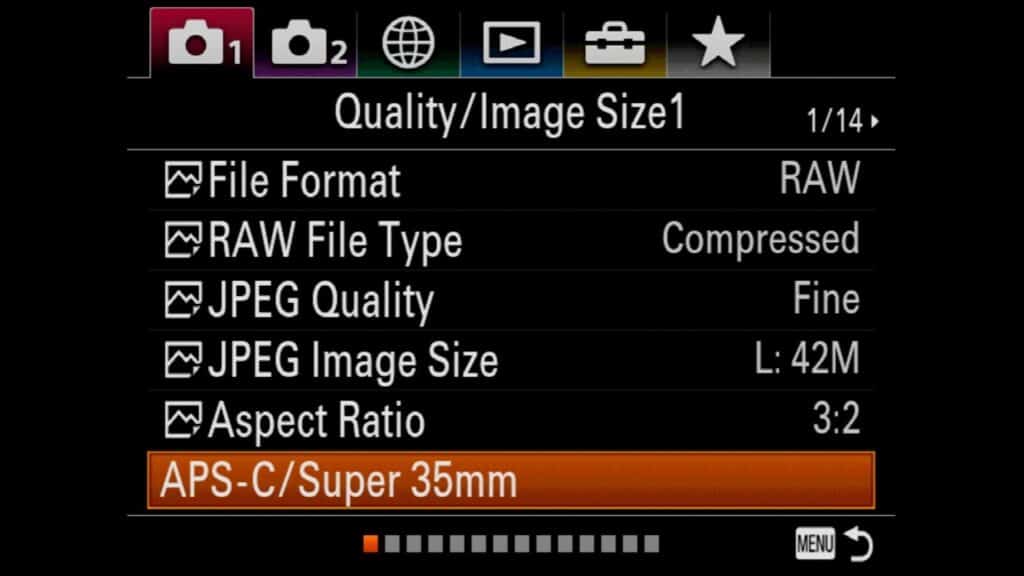
APS-C capture mode on the Sony a9 gives you extra reach without needing a longer lens. It uses the center portion of the sensor, effectively giving you a 1.5x crop. So that 200mm lens starts acting more like a 300mm.
This is great when your subject is far away. Whether it’s a hyena on the move or an eagle in flight, you’ll get tighter framing without changing glass.
Just keep in mind that the crop does reduce resolution, so use it wisely. It’s a trade-off between reach and image size.
Step 3. Enable SteadyShot
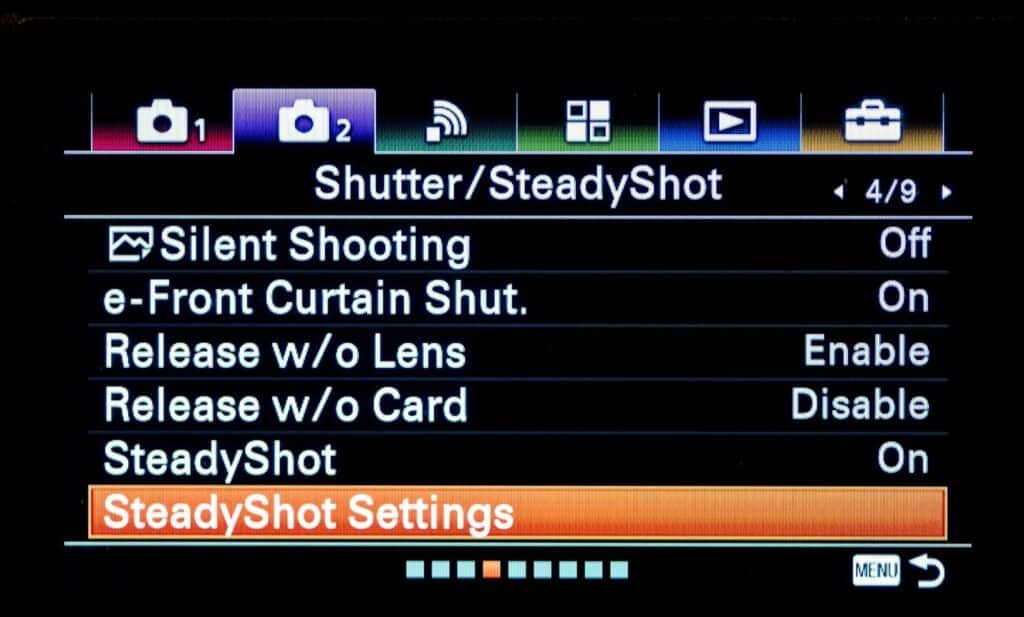
Image stabilization matters a lot when you’re shooting with long focal lengths. Even a tiny hand movement can blur your shot at 200mm or beyond. SteadyShot helps cancel that out, and it also reduces motion blur when your subject is sitting still.
A nice bonus: with SteadyShot active, you can preview the stabilization effect in the EVF by half-pressing the shutter button. This helps with framing when you’re using longer lenses.
Step 4. Set Your Shutter Speed
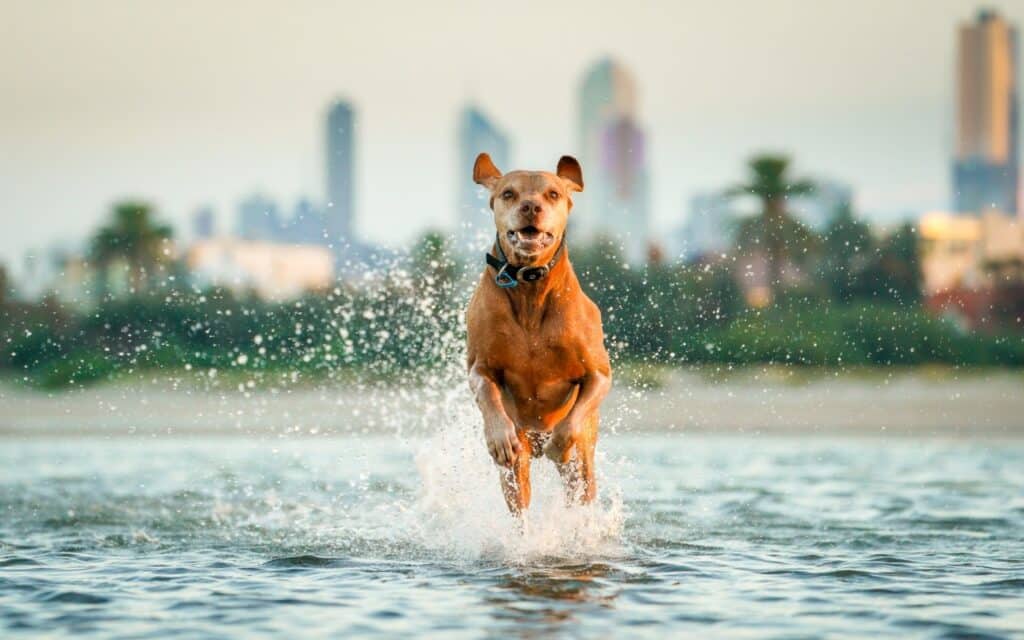
The old rule of thumb says your shutter speed should be at least the reciprocal of your focal length. So with a 600mm lens, you’d want 1/600s or faster.
That’s a decent starting point, but it doesn’t account for how fast your subject is moving or how much the image stabilization helps.
For stationary or slow-moving wildlife, 1/500s works well. For faster subjects like running animals or birds in flight, bump it up to 1/1000s or higher.
Step 5. Pick the Right Lens
Wildlife photography means dealing with tough conditions, so you need a lens that can handle it. The Sony FE 70-200mm f/4 G OSS and the FE 70-200mm f/2.8 GM OSS are both excellent choices.
They’re weather-resistant, which matters when you’re out in the elements. Both lenses have handy side switches for quick control over focus and stabilization modes, plus two dedicated focus hold buttons. Either one will serve you well in the field.