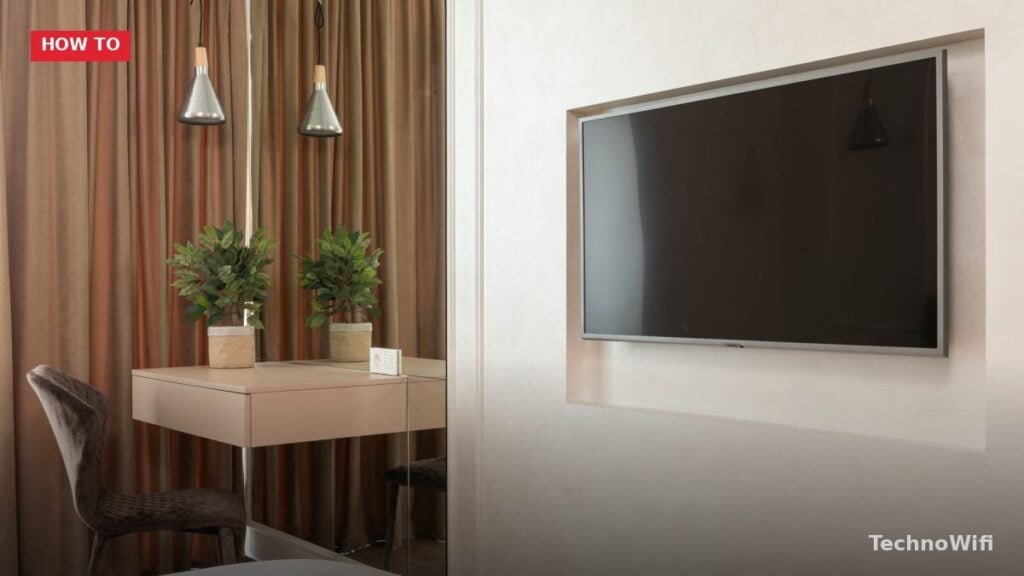
Why Cast Your Quest 2 to a TV?
Virtual reality is an incredible experience, but it can feel isolating. The person wearing the headset sees everything, while everyone else in the room just watches them wave their arms around. Casting your Meta Quest 2 (originally called Oculus Quest 2) to a TV changes that completely. Friends, family, and guests can follow along on the big screen and see exactly what you see inside the headset.
Casting is useful beyond just entertainment, too. Fitness apps like Supernatural and Beat Saber become more fun when others can cheer you on. VR demos are easier to explain when people can watch the screen instead of waiting for their turn. And if you are streaming or recording VR content, a TV output gives you a live preview of your gameplay.
There are two main ways to connect your Quest 2 to a TV: casting directly from the headset, or using the Meta Quest smartphone app. This guide covers both methods along with troubleshooting tips for common issues in 2026.
What You Need Before Casting
Before you start, make sure you have the following:
- A Meta Quest 2 headset powered on and updated to the latest software.
- A Chromecast device (Chromecast with Google TV or any Chromecast model from 2014 onward) or a smart TV with Chromecast built in. Many TVs from Google, Sony, Hisense, TCL, and Vizio have Chromecast built in.
- All devices (headset, TV or Chromecast, and smartphone if using the app method) connected to the same WiFi network.
- The Meta Quest app installed on your smartphone if you plan to use the app-based casting method.
If your TV does not have Chromecast built in and you do not own a Chromecast device, you will not be able to cast directly. However, you can cast to the Meta Quest app on your phone and then mirror your phone’s screen to the TV using AirPlay or screen mirroring, though this adds some lag.
Method 1: Cast Directly from the Headset
The fastest way to get your VR view on a TV is to start the cast from inside the headset itself. This method sends the video feed directly from the Quest 2 to your Chromecast or Chromecast-enabled TV.
- Turn on your Quest 2 headset and your TV. If you are using a separate Chromecast device, make sure it is plugged in and your TV is set to the correct HDMI input.
- Press the Meta button (the Oculus button) on your right controller to open the universal menu.
- Point your controller at the camera icon in the menu bar. This is the Share button (previously labeled “Sharing” on older software versions).
- Select Cast from the sharing options.
- A window titled “Cast From This Headset” will appear. You will see a list of available casting devices on your network.
- Select your Chromecast device or Chromecast-enabled TV from the list.
- Tap Next or confirm the selection. After a few seconds, your TV should display what you see in the headset.
A small red dot or casting indicator will appear in the headset’s view to remind you that you are broadcasting. Everything you see, including menus, apps, and games, will be visible on the TV, though the TV shows a flat 2D version of the 3D experience.
We walk through how to connect Bluetooth headphones to Xbox one step by step in a separate post.
Method 2: Cast Using the Meta Quest App
If the direct method does not work, or if you want to control casting from your phone, you can use the Meta Quest app. This is also helpful if your TV does not appear in the headset’s casting menu.
- Download the Meta Quest app from the App Store (iPhone) or Google Play (Android) if you have not already.
- Open the app and sign in with your Meta account. Make sure the app recognizes your Quest 2 headset (it should appear on the main screen).
- Turn on your Quest 2 headset and your TV. Connect everything to the same WiFi network.
- In the Meta Quest app, tap the Cast button (a screen icon with signal waves) near the top-right corner of the screen.
- Under “Cast From,” make sure your Quest 2 is selected.
- Under “Cast To,” tap the dropdown arrow and choose your TV or Chromecast device. If you see “This Phone” selected, tap it to switch to your TV.
- Tap Start to begin casting.
The Meta Quest app gives you a bit more control over the process. You can start and stop casting, switch devices, and even see a live preview on your phone while the feed also goes to the TV.
How to Stop Casting
When you are done, you can stop casting from either the headset or the smartphone app.
From the Headset
- Press the Meta button on your right controller to open the menu.
- Tap the Share (camera) icon.
- Select Cast.
- Tap Stop Casting.
From the Smartphone App
- Open the Meta Quest app on your phone.
- You should see an active casting notification or banner at the top.
- Tap Stop Casting.
The TV will return to its normal input, and the casting indicator inside the headset will disappear.
Casting to a TV Without Chromecast
If your TV does not support Chromecast and you do not want to buy one, there is a workaround. Cast the VR feed to the Meta Quest app on your phone first, and then use your phone’s screen mirroring feature to send the image to the TV.
- iPhone users: Use AirPlay to mirror your iPhone screen to an Apple TV or AirPlay-compatible smart TV.
- Android users: Use Smart View, Miracast, or your phone’s built-in screen casting feature to mirror to a compatible TV or streaming stick.
This indirect method adds a noticeable delay (roughly one to two seconds) and the quality may not be as sharp, but it works when direct Chromecast casting is not an option.
Troubleshooting Casting Problems
Casting from a Quest 2 to a TV is usually straightforward, but there are a few common issues that can get in the way. Here is how to fix them.
You might also want to read our how to connect soundbar to TV guide for the full picture.
TV Does Not Appear in the Cast List
This is the most common problem. Double-check that your TV (or Chromecast) and your Quest 2 are connected to the exact same WiFi network. If your router has separate 2.4 GHz and 5 GHz networks, make sure both devices are on the same one. Restart your TV and headset, then try casting again.
Casting Starts but the Screen is Black or Frozen
This can happen when the WiFi connection is unstable. Move closer to your router if possible. If other devices on your network are streaming video or downloading large files, that can steal bandwidth and cause the cast to freeze. Restarting your router usually clears up temporary network congestion.
Audio Is Missing from the TV
By default, the Quest 2 plays audio through the headset’s built-in speakers. When you cast, audio should also play through the TV, but some Chromecast configurations do not pass audio correctly. Check your TV’s volume and make sure it is not muted. In some cases, unpairing and repairing the Chromecast device fixes audio routing issues.
High Lag or Delay on the TV
Some delay between what you see in the headset and what appears on the TV is normal. Typically the lag is about half a second to one second. If the delay is much longer than that, your WiFi may be congested. Try using a 5 GHz WiFi connection for both the headset and the Chromecast, as it offers more bandwidth and less interference than 2.4 GHz.
Casting Keeps Disconnecting
If the cast drops repeatedly, the headset may be going into sleep mode. Go to Settings in the headset, select System, then Power, and increase the auto-sleep timer. You can also check for a software update on the headset, as older firmware versions had known casting stability issues that Meta has since patched.
Full Reset Steps
If nothing else works, try these steps in order:
- Restart your WiFi router.
- Restart your TV (or unplug your Chromecast for 30 seconds).
- Restart your Quest 2 by holding the power button on the right side of the headset until the power menu appears, then selecting Restart.
- Delete and reinstall the Meta Quest app on your phone.
- If you are using a Chromecast, factory reset it by holding the button on the device for about 25 seconds until the LED starts blinking.
What the TV Audience Sees
It is worth knowing that the TV does not show a true 3D or VR experience. The audience sees a flat, 2D version of whatever the headset wearer sees. The field of view is also slightly narrower than what the headset displays. Despite that, casting still gives spectators a good sense of the action, whether it is a boxing game, a virtual tour, or a creative app like Tilt Brush.
Audio from the VR experience plays through the TV speakers, so the room gets the full sound of the game or app. The headset wearer can still hear audio through the headset’s built-in speakers or connected headphones.
Wrapping Up
Casting your Quest 2 to a TV turns VR from a solo activity into something everyone in the room can enjoy. The direct casting method is the quickest option if you have a Chromecast-enabled TV, while the Meta Quest app gives you more control and a phone-based alternative. If you run into issues, the troubleshooting steps above cover the most common fixes. Get everything on the same WiFi network, restart your devices if needed, and you should be up and running in minutes.