Why You Might Want an External Camera on Your Chromebook
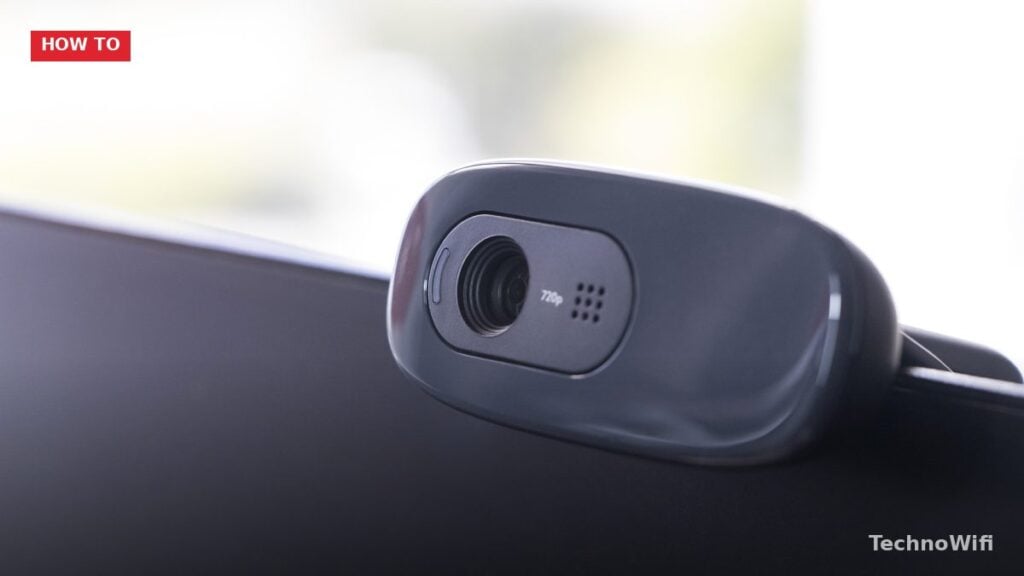
Every modern Chromebook ships with a built-in webcam, but the image quality can be underwhelming. If you rely on video calls for work, school, or staying in touch with family, a dedicated external webcam can make a noticeable difference. External cameras typically offer higher resolution, better low-light performance, and improved microphones compared to the small sensor built into your Chromebook lid.
The good news: ChromeOS supports most USB webcams right out of the box with no extra drivers needed. Below is a step-by-step walkthrough for getting your external camera up and running in 2026.
What You Need Before You Start
- A USB webcam that supports UVC (USB Video Class). Most major brands like Logitech, Razer, and Anker work with ChromeOS.
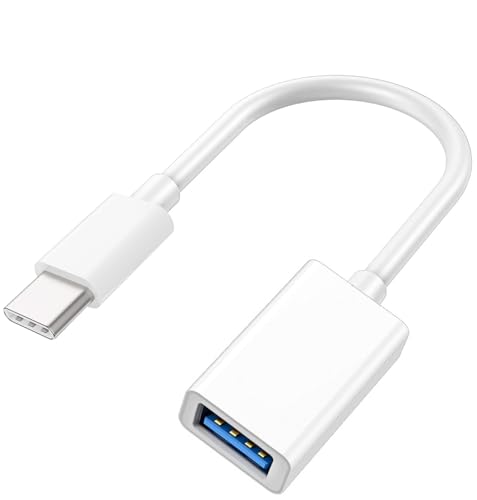
- A free USB-A or USB-C port on your Chromebook. If your Chromebook only has USB-C ports, grab a USB-C to USB-A adapter or a USB-C hub.
- ChromeOS updated to the latest version (check under Settings > About ChromeOS).
Step-by-Step: How to Connect a Camera to a Chromebook
- Plug in the webcam. Connect the USB cable from your external webcam into an available USB port on your Chromebook. If you need an adapter, connect that first.
- Wait a few seconds. ChromeOS should detect the webcam automatically. You may see a brief notification confirming a new device was recognized.
- Open Chrome and go to Settings. Click the three-dot menu in the top-right corner of the Chrome browser, then select Settings.
- Navigate to Privacy and Security. In the left sidebar, click “Privacy and security,” then choose “Site settings.”
- Select Camera. Under the Permissions section, click “Camera.” You will see a dropdown menu listing available cameras.
- Choose your external webcam. Click the dropdown and select the name of your external webcam from the list. This sets it as the default camera for websites that request camera access.
- Test the camera. Open the built-in Camera app (search for “Camera” in the launcher) or visit a site like Google Meet to confirm the external webcam feed appears correctly.
Setting Your External Webcam as Default in Apps
Some web apps, like Google Meet, Zoom, and Microsoft Teams, let you pick which camera to use inside their own settings. If your external webcam does not activate automatically during a call, look for a camera or video settings option within the app and select your external webcam from the list there.
Parental controls needed? See our block YouTube on Chromebook guide.
For Google Meet, click the three-dot menu during a call, choose “Settings,” and switch the camera under the “Video” tab. Zoom users can click the arrow next to the camera icon and pick the preferred device.
We break down how to connect 2 monitors to Chromebook in a separate post that complements this one.
Benefits of Using an External Webcam
Better Image Quality
Most built-in Chromebook cameras cap out at 720p. A good external webcam delivers 1080p or even 4K resolution, which means sharper video and more detail during calls and recordings.
Flexible Positioning
An external webcam can be placed on a tripod, clipped to an external monitor, or positioned at any angle you prefer. You do not need to tilt or move your entire Chromebook to adjust the frame.
Improved Audio
Many external webcams include built-in microphones that pick up sound more clearly and reduce background noise compared to the Chromebook’s internal mic.
Troubleshooting Common Webcam Issues on ChromeOS
Webcam Not Detected
Unplug the webcam, wait ten seconds, and plug it back in. Try a different USB port if available. If your Chromebook only has USB-C ports, make sure your adapter or hub supports data transfer (not just charging).
For a different take, see our guide on minecraft on a Chromebook.
Camera Shows a Black Screen
Close any other apps that might be using the camera (only one app can access the webcam at a time on ChromeOS). Then reopen your camera or video app.
Poor Video Quality
Check your lighting. Even a high-quality webcam struggles in dim rooms. Position yourself facing a light source rather than having it behind you. Also confirm that the app you are using is set to the webcam’s highest available resolution in its video settings.
Reset Chrome Settings
If nothing else works, reset your Chrome browser settings. Go to Settings > Reset settings > “Restore settings to their original defaults.” This clears any permission conflicts that may be blocking the camera. You will need to re-enable your preferred camera afterward.
Switching Back to the Built-in Camera
If you want to go back to using the Chromebook’s internal webcam, simply disconnect the external webcam. ChromeOS will automatically revert to the built-in camera. You can also manually switch by going to Settings > Privacy and security > Site settings > Camera and selecting the internal camera from the dropdown.
Do You Always Need an External Webcam?
New to Chromebook? Our Chromebook beginners guide covers the basics.
Not sure if a Chromebook is the right fit? See our Chromebook vs laptop breakdown for a side-by-side look.
Not necessarily. If you only make occasional video calls and the lighting in your space is decent, the built-in camera may be perfectly fine. External webcams are most worthwhile for people who spend a lot of time on video, create content, or need specific features like autofocus tracking or wide-angle lenses. Evaluate your own needs before investing in one.