When you purchase through links on our site, we may earn an affiliate commission. Here’s how it works.
How To Use External Webcam On Laptop Windows 10 – Getting Started
Webcams are digital devices that record pictures and videos and transmit them to the internet. In newer laptop models, webcams are usually built-in but older versions mostly don’t.
The older versions would usually require an external webcam. This would allow the videos and pictures to be inputted into the laptop which in turn will transmit them.
Webcams have many useful benefits, the most important probably being that it allows for communication in real-time. In this article, we look at how to use external webcam on laptop windows 10.
How To Connect and Install A Webcam To A Laptop Via USBMost external webcams can be connected to a laptop using a USB cable.
- Connect the webcam to the laptop – Usually, the webcam comes with an external cable that can be plugged into the laptop’s USB port
- Install The Webcam’s Software – This step will be different for different types of webcams. Many models usually don’t require installation.
- For the ones that require installation, there may be a CD that comes with the webcam. If it does, place the CD into the laptop’s CD Drive.
- A set-up page for the webcam should appear on the screen. For Webcams that don’t come with CDs, this should appear automatically i.e. as soon as it is plugged in.
- Follow the instructions provided on the screen. They are usually straightforward and shouldn’t be very difficult to follow along.
- After completing all the steps, click on the install icon. Usually, a popup icon shows up on the screen, letting you know that the installation is complete. You may then select and settings you prefer for the webcam.
- When the installation and settings are in place, you may begin testing the webcam to ensure that it is working correctly.
How To Enable Webcam On Laptop Windows 10
There are apps such as Skype and Zoom that allow video calls but webcams may not be automatically configured to work with them, even after the webcam’s software has been installed in the laptop.
This is why you need to enable the webcam to work with the laptop’s camera, after software installation.
- On the homepage, click on the start icon.
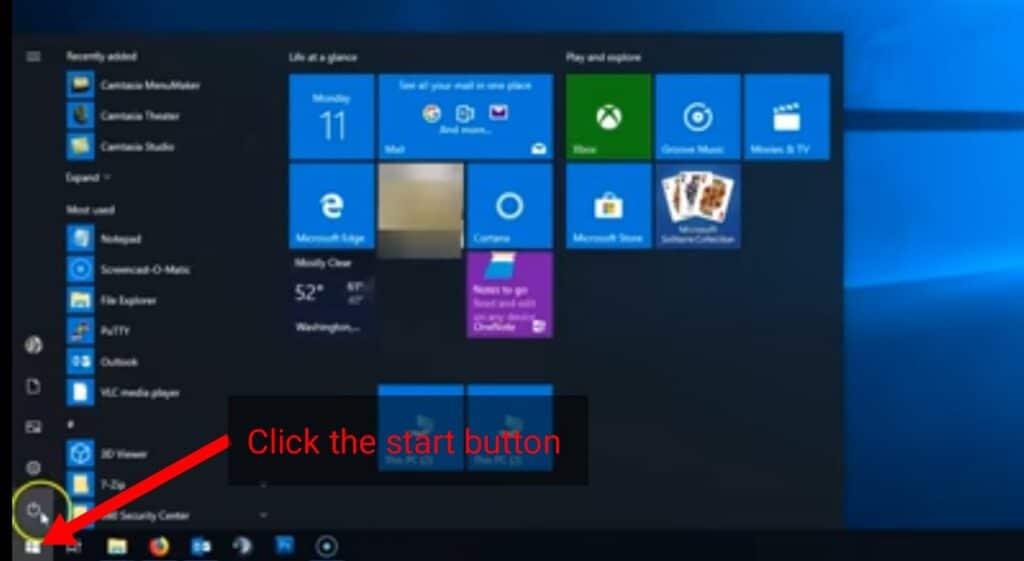
Start
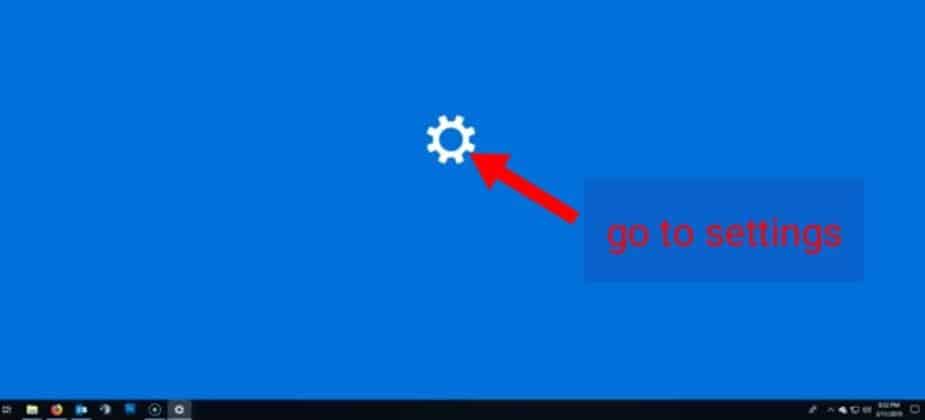
- Then select settings
- Click the privacy option

Privacy
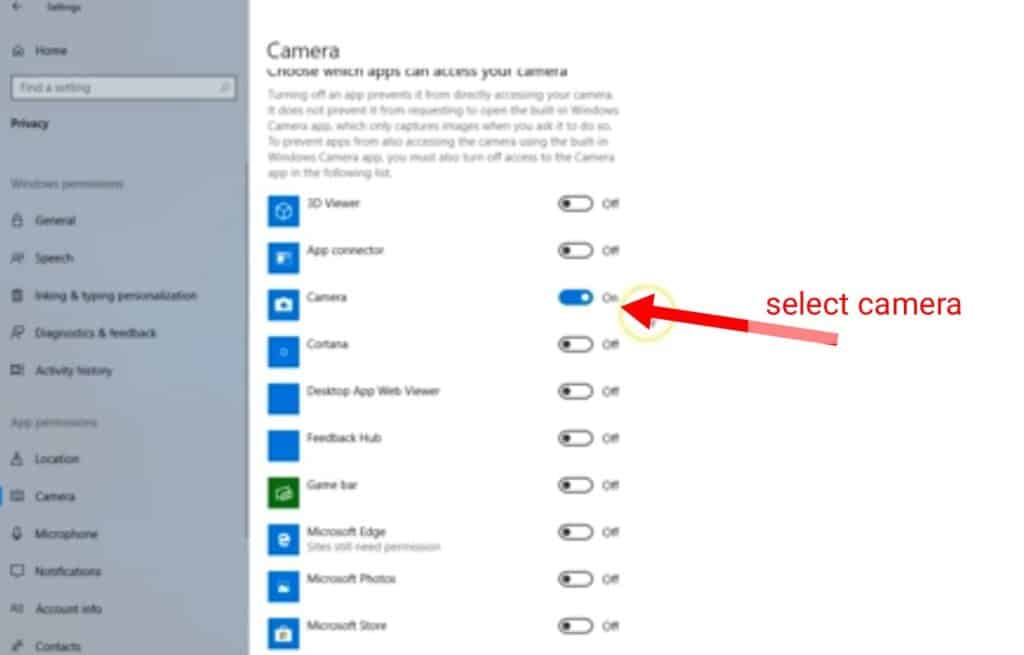
- On the left side, look for the camera and select it.
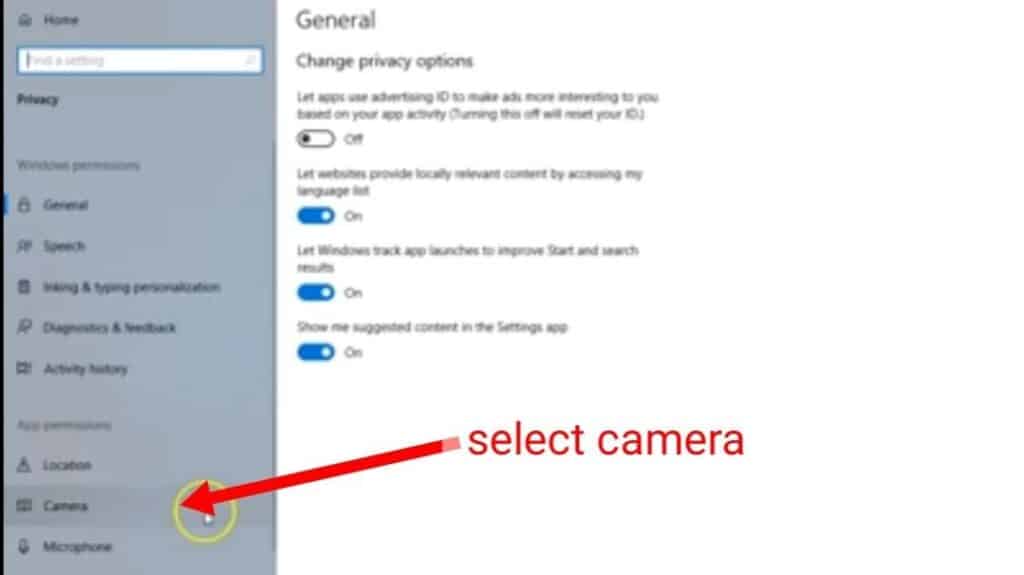
Select Camera
- Under the option ‘choose which apps can access your camera’, toggle it so that it is turned on.
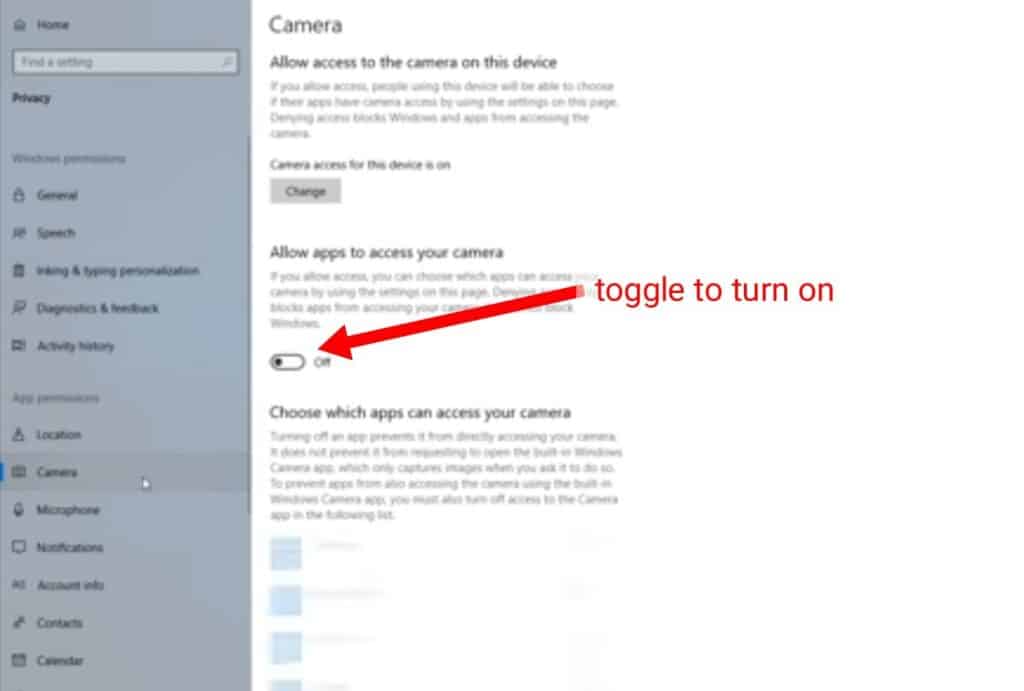
- You can select the camera app. If you are unsure which app to choose, you can select several or all of them.
- Close the settings.
- Go back to the homepage and from the menu select camera. You should now be able to test whether your webcam is working correctly or not.
How To Test The Webcam
Once you have enabled the webcam, you can test whether it is working or not. For Windows 10, the camera is a good app to check if the webcam is working. You can do the test with these simple steps.
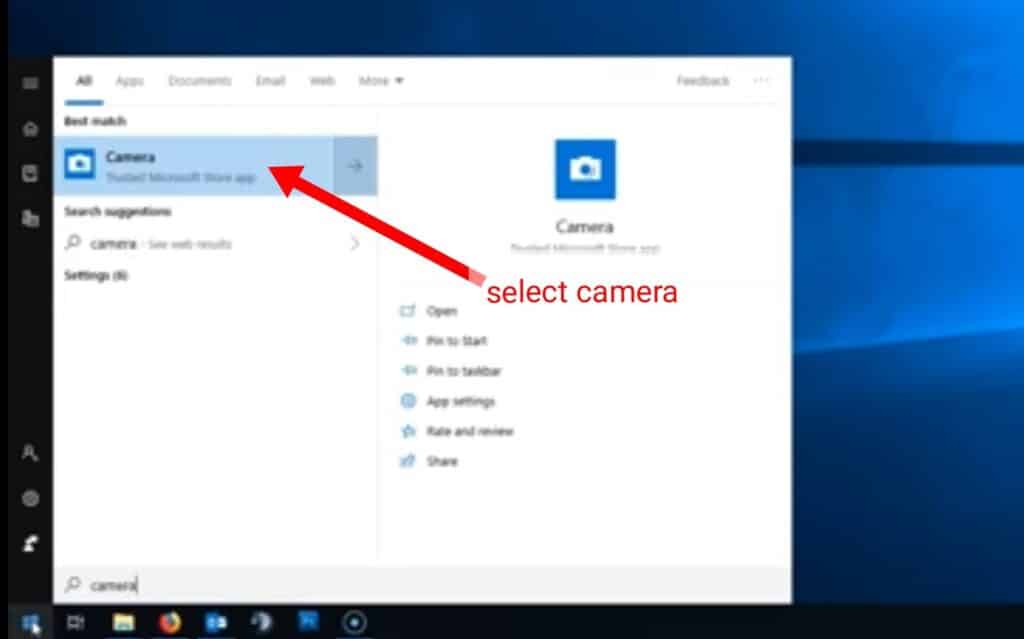
- On the homepage, click the Windows start menu button.
- In the windows search box, type camera.
- From the results provided, select the Camera app.
- The camera app should open up, allowing you to see a live video of yourself on the screen.
- First, confirm whether you can see yourself on the screen. You can adjust the camera for a better angle, till your face is centered on the screen.
- Most webcams have inbuilt microphones, so they should be able to pick up sound. You can test this feature, by recording a sample video.
- Click the record button. While it’s recording, try speaking.
- Stop recording when you’re done.
- You can playback the video by clicking on the camera roll.
- Once you have viewed the video and confirmed that the webcam is working, you’re done. The webcam should be able to run effectively when used in the future.
How to Use the Webcam
- After installing, enabling, and testing the webcam, you can now begin using it to take real-time videos through video conferencing services.
- When you connect to a conference call, you can activate the webcam to display a live video. The app should have a button that looks like a camera, clicking on it will activate the webcam.
- The video will start immediately in some apps. Other apps will display a preview first. In such cases, click on the ‘start video’ option. This will begin with sharing the live video.
Final Thoughts
Webcams are useful in that they make video conferencing possible. They allow you to reach anyone, anywhere in the world in real-time. Whether you need to make a social or business call, webcams help make it possible.
See Also
How to Connect AirPods to Windows 10
How to Use Dual Monitors on Windows 10