When you purchase through links on our site, we may earn an affiliate commission. Here’s how it works.
How to Connect a Webcam to Your Laptop – Overview
A webcam is quite essential for your laptop.
It allows your computer to serve as a video conference station and a video phone. It is also useful for surveillance, video broadcasting, and computer vision.
While all laptops have a built-in camera, acquiring an external webcam is beneficial due to its higher resolution and superior audio quality. This ensures better quality videos or photos for Zoom and Skype meetings.
We understand that high-quality sound and pictures can make a significant difference in securing a good business opportunity.
Therefore, this article provides an easy step-by-step guide on how to connect a webcam to your laptop.
Steps to Connecting Your Webcam to a Laptop
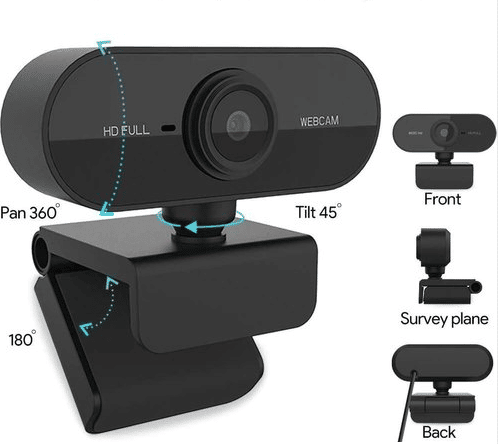
When purchasing a webcam for your laptop, we recommend selecting one that:
- Offers full HD quality,
- It can be mounted on both flat and curved screens,
- Features a built-in microphone with digital noise reduction,
- It provides a 360-degree rotation angle,
- Includes a USB cable compatible with both Mac and Windows,
- It comes from a brand that is both affordable and reputable.
How to Connect Webcam to Laptop
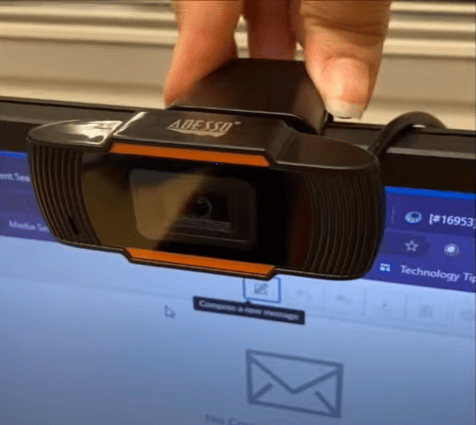
Step 1: Mount the webcam on your laptop and secure it firmly.
Step 2: Connect the webcam’s USB cable to your laptop.
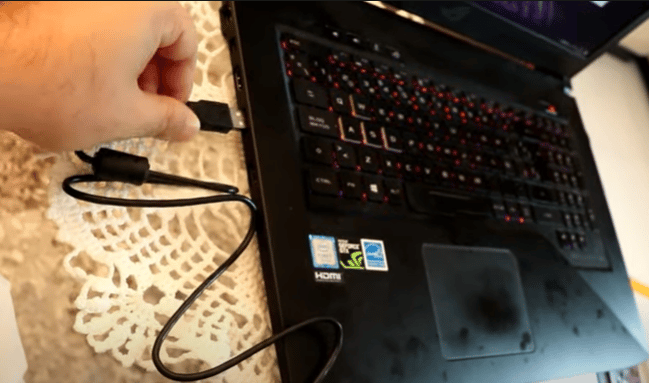
If it does not fit at first, rotate it 180 degrees and try again.
Note: If your webcam’s USB cable is incompatible with your laptop, you may need a Type-C USB adapter.
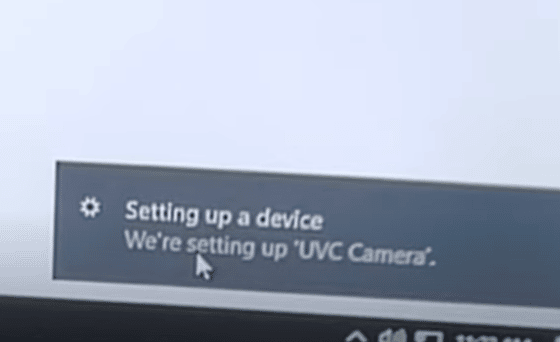
Upon connection, your computer should automatically recognize the new device.
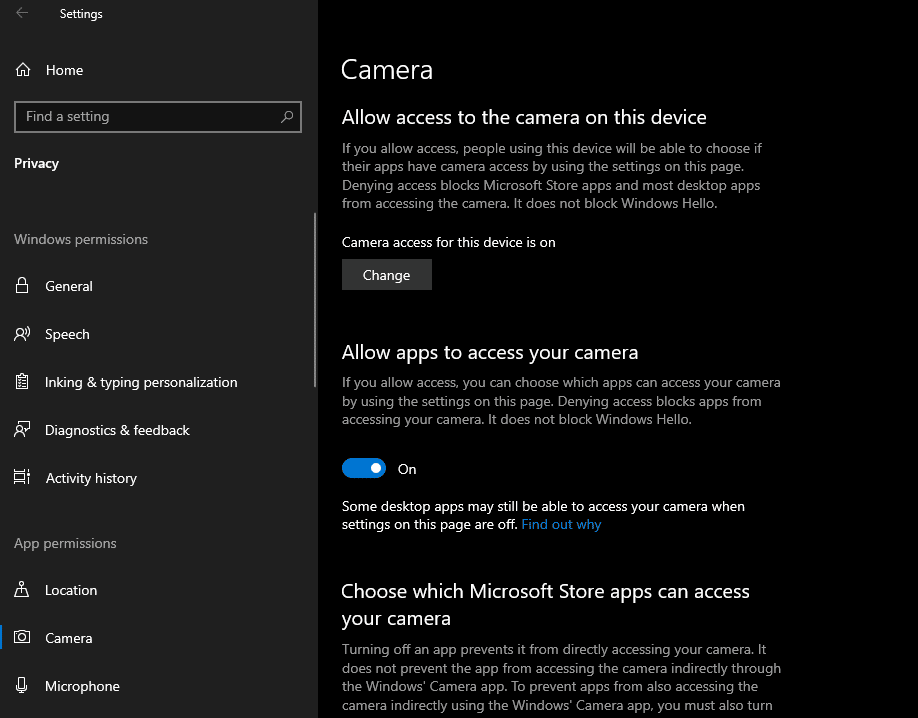
Step 3: Navigate to settings from the home screen.
Step 4: Select ‘System’ and then ‘Sound’.
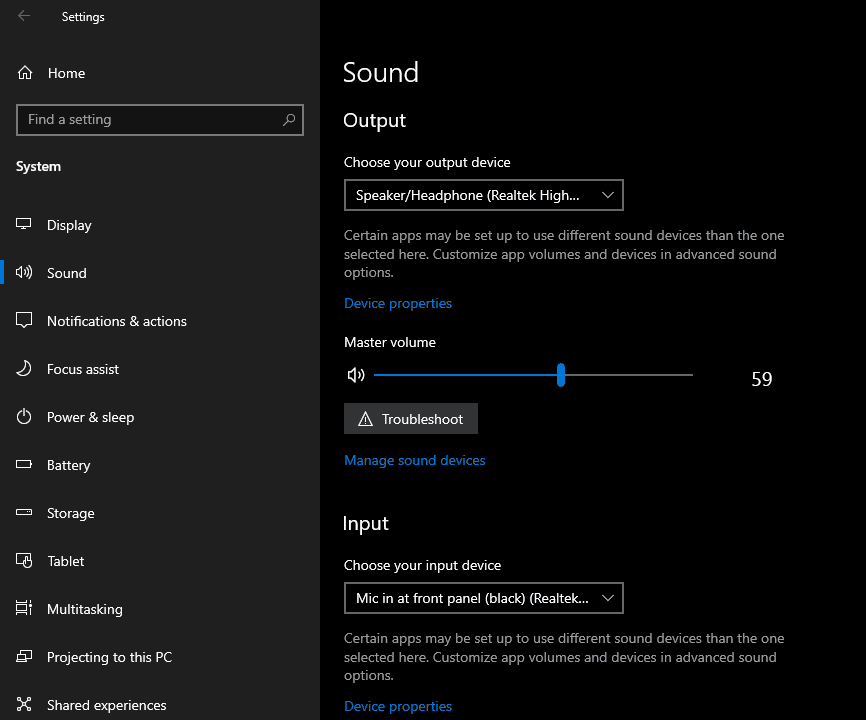
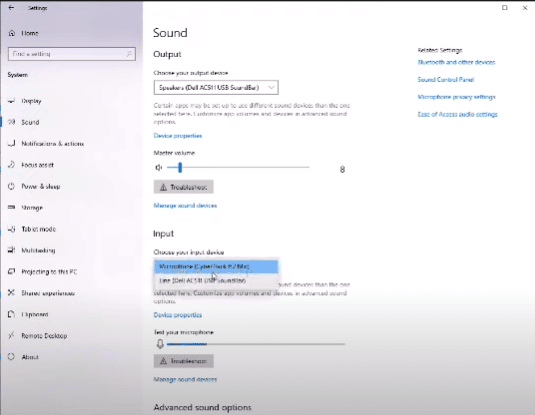
Step 5: In the input section, choose your webcam’s microphone, labeled as ‘Microphone cybertrack H2 MC’.
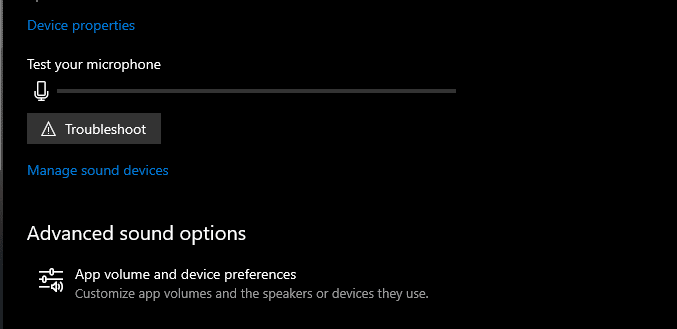
Step 6: Below this section, find ‘Device Properties’. There should be a visual representation of the sound being captured. Ensure it is active.

Step 7: If not transmitting, adjust the microphone volume to its maximum in-device properties.
Step 8: Navigate to additional device settings and adjust the microphone volume. A level between 86-96 is recommended.
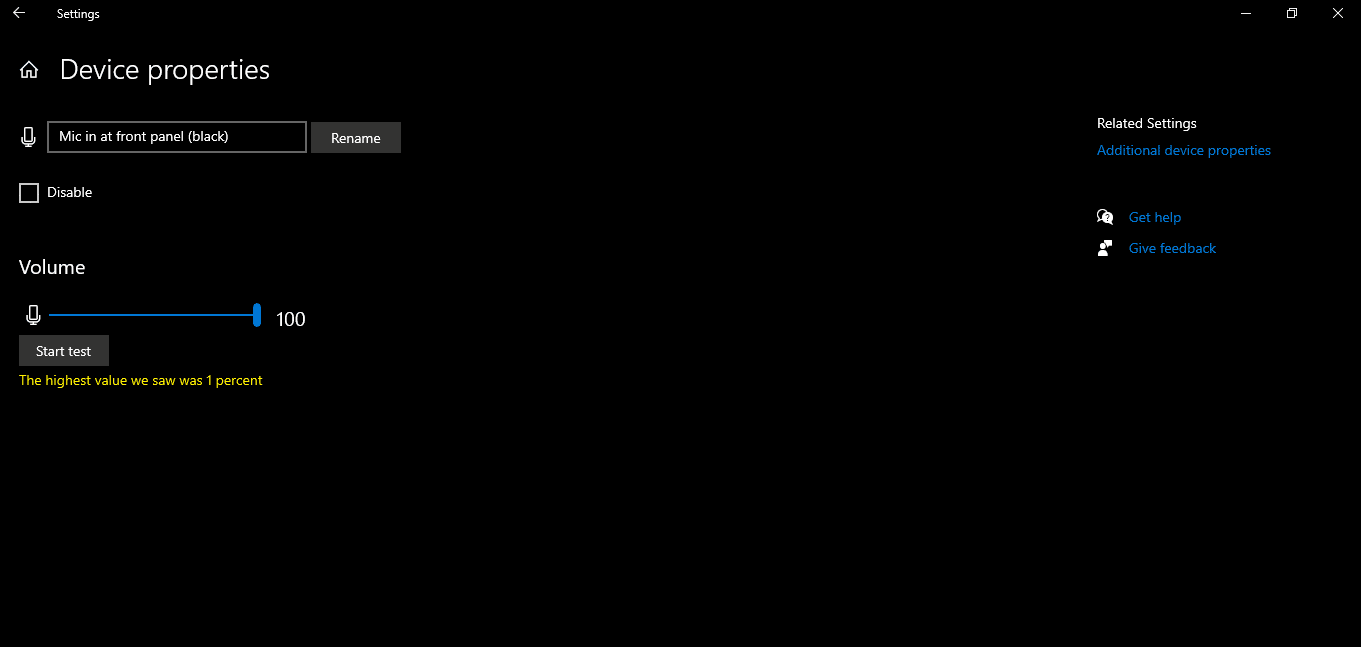
Step 9: Ensure your microphone is not muted and increase the volume to the maximum or the recommended level. Then, exit the settings.
Does Your Webcam Work Correctly?
Step 1: Open the camera app to test the webcam.
Step 2: Adjust the webcam to ensure it captures your face correctly.
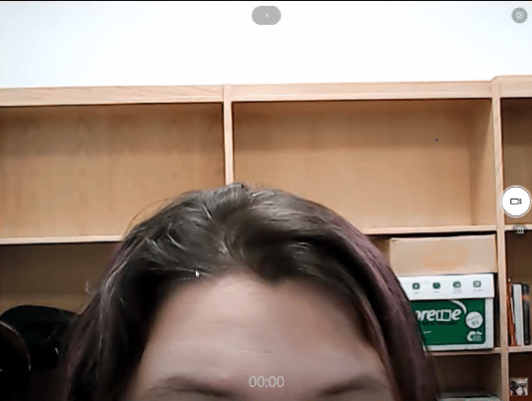
Positioning the Webcam
How to Disable In-built Webcams on Windows
If your laptop defaults to the inbuilt webcam instead of the external one, follow these steps to disable it:
Step 1: Access the device manager through settings.
Step 2: Navigate to ‘Imaging Devices’ and select your laptop’s inbuilt camera.
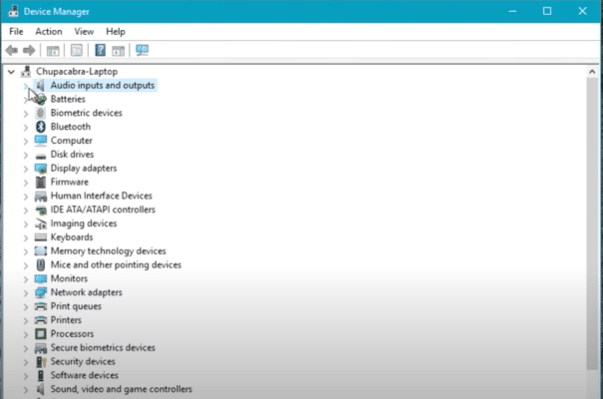
Step 3: Choose ‘Disable’ from the options to stop the inbuilt camera from functioning.

Step 4: Confirm the action when prompted, disabling the in-built camera.
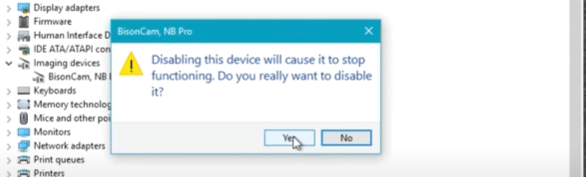
This action will deactivate the in-built webcam, enabling the external webcam to function as the primary camera.
Summary
You no longer have to compromise on business opportunities due to poor-quality video calls.
This guide should help you easily install an external webcam on your PC, enhancing your interactions with customers, business partners, and loved ones.
Moreover, it allows for better home surveillance while you’re away. Technowifi is always available to assist with installation issues.
See Also