Your new Roku remote should pair on its own during setup, but it doesn’t always cooperate. Maybe you replaced a lost remote, swapped batteries and something went wrong, or picked up a second Roku for another room. Whatever happened, connecting a Roku remote manually takes about a minute once you know what to do.
This guide covers both types of Roku remotes, both pairing methods (Roku player vs. Roku TV), and the TV power/volume setup that most people skip during their first install.
Two Types of Roku Remotes and How to Tell Them Apart
Before you do anything, figure out which remote you’re working with. Roku makes two types, and they pair differently.
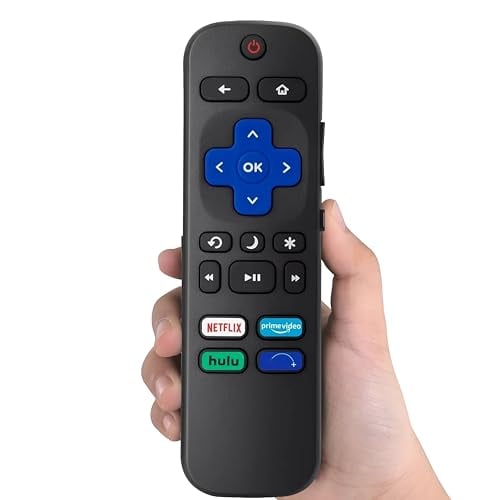
The standard IR (infrared) remote is the simpler option. It sends a beam of light to the Roku device, so you have to point it directly at the player with nothing in the way. There’s no pairing process at all. It just works as long as it has line-of-sight to the device. If your IR remote isn’t responding, the issue is usually dead batteries or something blocking the signal path.
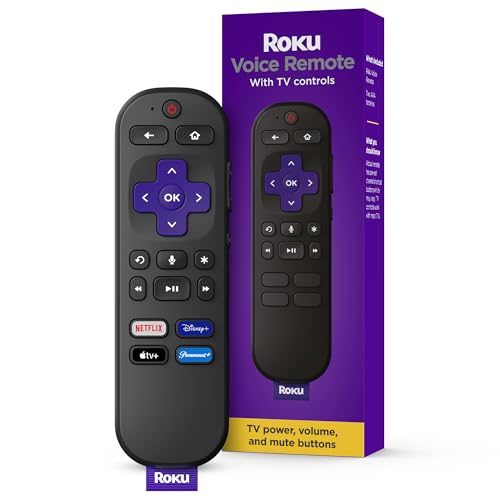
The voice remote (sometimes called the enhanced remote) connects wirelessly over a radio signal. It doesn’t require line-of-sight, and it has a microphone button for voice search. This is the remote that actually needs to be paired, and it’s the focus of this guide.
The fastest way to tell them apart: look for a microphone button near the top. If it’s there, you’ve got a voice remote. No mic button means it’s an IR remote.
Pairing a Roku Voice Remote During First-Time Setup
Setting up a brand-new Roku device? The pairing happens as part of the on-screen setup wizard. When you reach the “Check remote settings” screen, here’s what to do:
Pick “Check remote settings” on your screen. The Roku will play a short music clip through your TV speakers. If you hear it, click “Yes.” If you don’t hear anything, grab your TV’s original remote and turn up the volume, then try again.
Next, Roku tries to identify your TV brand so the remote can control power and volume. It’ll cycle through codes and try to mute the music. When the music stops, select “Yes” to confirm it found the right code. If the music keeps playing, select “No” and you’ll be asked to enter your TV brand manually.
Once the music stops and you confirm, press OK to finish. Your Roku voice remote can now control both the Roku interface and your TV’s power and volume.
One thing to keep in mind: some older TVs only support volume control through the Roku remote, not power on/off. That’s a limitation of the TV itself, not the Roku.
Pairing a Roku Voice Remote After Setup Is Done
This is the method you’ll use most often. Replacing a remote, fixing a glitch, or connecting a remote to a different Roku device all use this process. The steps are slightly different for Roku streaming players vs. Roku TVs.
Pairing with a Roku Player or Soundbar
Step 1: Unplug the player. Pull the power cable from your Roku device, wait about 5 seconds, then plug it back in. This resets the wireless connection and puts the player in pairing mode.
Step 2: Wait for the home screen. Don’t rush this. Let the Roku fully boot up until you see the purple home screen on your TV. If you try to pair before it’s ready, it won’t work.
Step 3: Insert batteries into the remote. Flip the remote over, slide the back cover off, and drop in the batteries. Put the negative (flat) end in first. The correct orientation is marked inside the compartment.
Step 4: Press and hold the pairing button. With the back cover still off, find the small pairing button at the bottom of the battery compartment (near the LED light). Press and hold it for 5 seconds. The LED should start flashing, which means the remote is broadcasting its pairing signal.
Step 5: Wait about 30 seconds. Point the remote in the general direction of your Roku player and wait. Within around 30 seconds, a pairing confirmation should pop up on your TV screen. Once it does, you’re connected.
If the confirmation doesn’t show up, start over from Step 1. Sometimes it takes two attempts, especially if the player didn’t fully reboot the first time.
Pairing with a Roku TV
This is simpler since there’s no separate player to power-cycle.
Step 1: Turn the TV on. Make sure it’s showing the Roku home screen (not an HDMI input or antenna channel).
Step 2: Insert batteries and press the pairing button. Same as above. Put batteries in, then press and hold the pairing button for 5 seconds until the LED starts flashing.
Step 3: Point at the TV and wait. Aim the remote toward your Roku TV and give it about 30 seconds. The pairing dialog will pop up on screen when it connects.
If it doesn’t pair, try again from Step 1.
Setting Up TV Power and Volume Control
This is the step that most people forget or skip entirely. After pairing, your Roku voice remote can also turn your TV on/off and control the volume, but only if you configure it.
Press the Home button on your Roku remote. Scroll down to Settings, then select Remotes & devices. Choose Remote, then pick Set up remote for TV control. Follow the on-screen instructions. Roku will play audio clips and ask you to confirm when the sound stops, just like during initial setup.
Once configured, the volume buttons on your Roku remote will control your TV’s speakers directly, and the power button will turn the TV on and off. No more juggling two remotes.
Voice Search: The Feature Most People Ignore
Since you’ve got a voice remote, you might as well put the microphone button to use. Press and hold the mic button and speak your command. You can say things like “launch Netflix,” “find action movies,” or “turn on closed captions.” It searches across all your installed streaming apps, so you don’t have to dig through each one separately.
Speak at a normal pace and volume. You don’t need to shout. Release the button when you’re done talking.
Troubleshooting: Remote Still Won’t Connect
If you’ve tried the pairing steps twice and the remote still isn’t connecting, work through these checks:
Make sure the batteries are fresh. Weak batteries are the number one cause of pairing failures, and the easiest thing to rule out. Pop in a brand-new pair.
Check that you have the right type of remote. An IR remote can’t be paired wirelessly. It just needs line-of-sight. If your remote doesn’t have a pairing button in the battery compartment, it’s an IR model.
Move closer to the Roku device. During pairing, keep the remote within a few feet of the player or TV. You can move further away once it’s connected.
Try a different USB port or power source for your Roku player. Some USB ports on TVs don’t deliver enough power for the player to maintain a wireless connection.
As a last resort, grab the free Roku mobile app (available on iPhone and Android) to control your Roku device while you sort out the physical remote. The app connects over your Wi-Fi network and works as a full replacement remote.
This guide covers all current Roku voice remotes including the Roku Voice Remote, Voice Remote Pro, and the remotes bundled with Roku Express, Streaming Stick, and Roku Ultra. The steps also apply to Roku Smart Soundbar remotes.