How to Connect Canon 90D to Computer
Want to transfer files from your Canon EOS 90D to your computer? The process isn’t as straightforward as plugging in a USB cable, but once you know the steps to connect Canon 90D to computer, it’s pretty simple. The best way to do it is through Wi-Fi using Canon’s EOS Utility software.
Let’s walk through the whole process step by step so you can get your camera connected and start transferring photos wirelessly.
Steps to connect Canon EOS 90D to computer
Step 1. Prepare your Computer
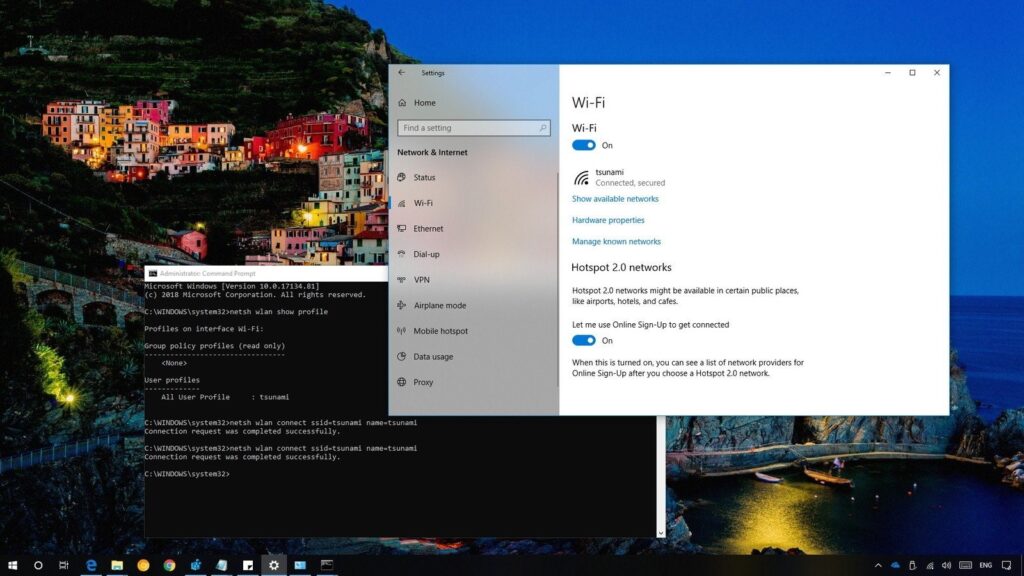
First, make sure your computer is ready. Check that your Wi-Fi connection is active and working properly, then download and install the EOS Utility software from Canon’s official website.
One important thing to keep in mind: your operating system needs to be up to date. If your OS is outdated, the EOS Utility software might not install or run properly. This applies to both Windows and Mac systems, so double-check before you start.
If you want to keep things simple and have more mobility get one of these 64gb x 2 Lexar professional memory cards for Canon ESO 90D
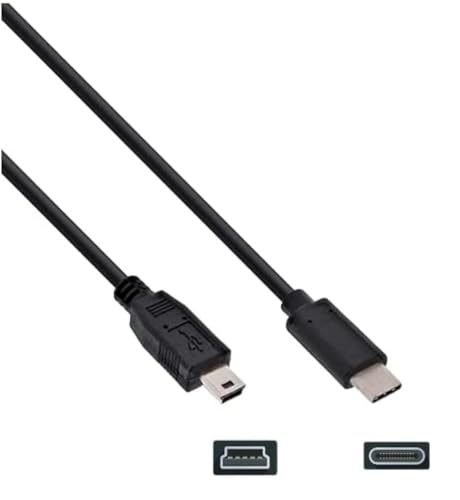 USB-C Data Transfer Interface Cable Cord Wire for Canon EOS Rebel T5i T6 T6i T7 & More, Select Powershot, Vixia, also for Nikon Digital SLR DSLR D610 D90...Amazon.com
 Canon EOS 90D For DummiesAmazon.com
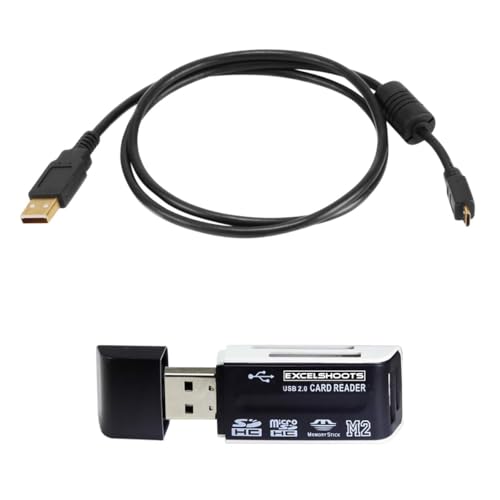 Excelshoots USB Cable fits Canon EOS 90D, M50 Digital DSLR Camera, G9 X, G9 X Mark II, SX620 HS, SX720 HS, SX730 HS, EOS M5, EOS M6 Type-A Fast Data Transfer...Amazon.com
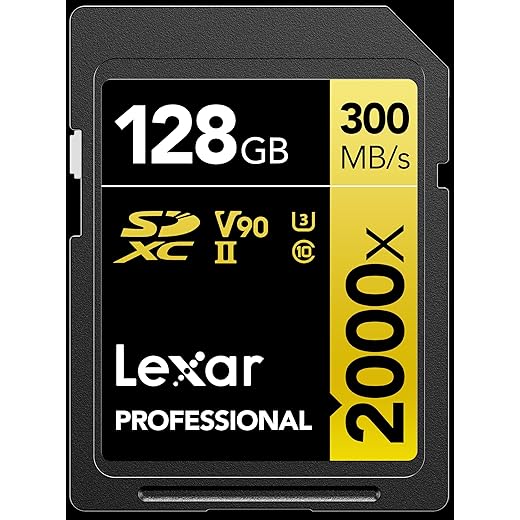 Lexar Professional 2000x 128GB SDXC UHS-II Memory Card, C10, U3, V90, Full-HD & 8K Video, Up To 300MB/s Read, for DSLR, Cinema-Quality Video Cameras...Amazon.com
Step 2. Prepare your camera
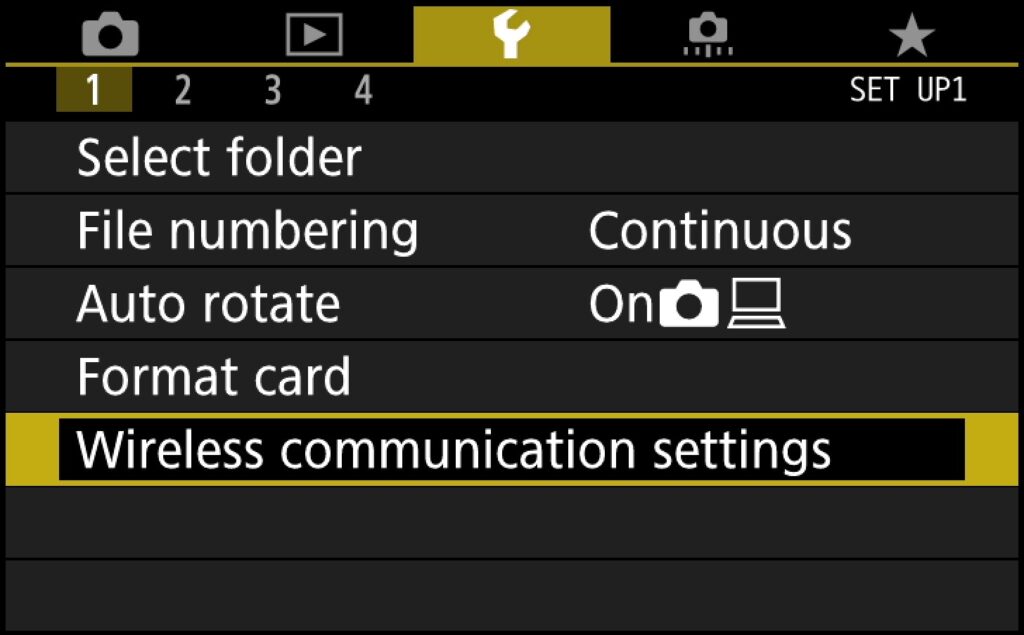
Before you can connect wirelessly, you’ll need to configure the network settings on your Canon EOS 90D. Start by powering on the camera and making sure the battery is sufficiently charged, since the Wi-Fi setup process can take a few minutes.
Next, open the Menu and navigate to the <Q> option. From there, look for the Wi-Fi/Bluetooth connection setting and select it.
Turn the dial and press the “Set” button. Once you’ve selected the Wi-Fi option, turn the dial again to enable it. You’ll see the Wi-Fi icon appear on the camera’s display, confirming that the wireless function is now active.
After enabling Wi-Fi, a screen will appear showing the different devices you can connect your camera to. This is where you’ll pick your computer from the list of available options.
Step 3. Connecting the camera to the computer
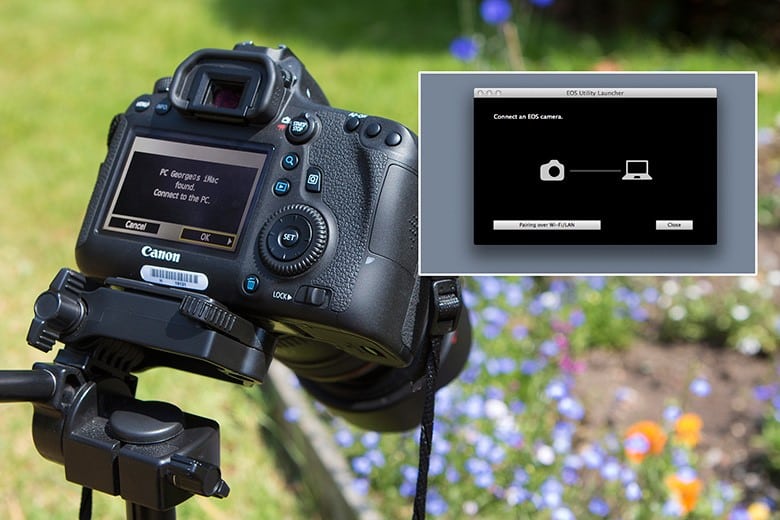
Turn the dial on your Canon EOS 90D and select the desktop option. It shows a computer icon and is labeled Remote Control (EOS Utility).
Press Set, then turn the dial to select or add the device you want to connect to. Once you’ve picked the right one, press Set again to confirm your selection.
Now you’ll need to select the correct SSID (your network name) and enter your Wi-Fi password. Both will be displayed on your Canon EOS 90D DSLR camera screen so you can verify everything is correct.
You do have the option to skip the password if your network doesn’t require one. After that, configure the rest of the Wi-Fi settings based on your network’s requirements.
If your network does require a password, select the SSID and type in the password carefully. Then turn the dial to highlight “OK” and press Set to confirm.
A confirmation message will pop up indicating that your camera is ready to connect to the computer. You’ll also see the last six digits of your camera’s MAC address on screen, which you can use for verification if needed.
Step 4. Starting the EOS Utility software
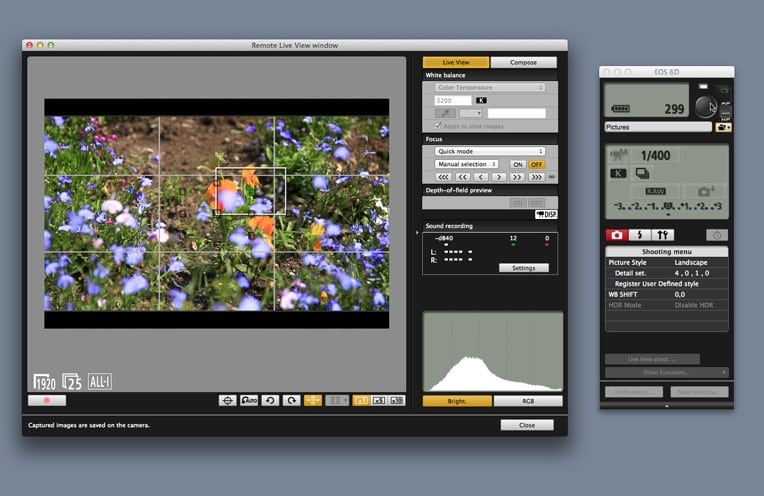
On a Windows 7 machine, click the Start button and go to “All Programs” to find the EOS Utility software in the Canon folder.
On Windows 8.1, click the left side of the home screen and look for EOS Utility under the apps section.
For Windows 10 and 11, the process is the same as Windows 7. Just open the Start menu and search for “EOS Utility” in the search bar. Mac users can find it in the dock or by using Spotlight search.
Once the EOS Utility is open, click “Pairing over Wi-Fi.” Select your camera from the list of available devices, turn the dial on your camera, and press “OK” to complete the pairing.
Now that you know how to connect Canon EOS 90D to the computer, you’re all set! The wireless connection is convenient for transferring images without having to pull out the memory card every time.
Follow these steps and you’ll have a smooth, wireless connection between your computer and your Canon EOS 90D in just a few minutes. Once paired, the camera will remember the connection for future sessions, making the process even faster next time.