When you purchase through links on our site, we may earn an affiliate commission. Here’s how it works.
How to work with Canon EOS 90D landscape settings
Landscape photography is a rage amongst photographers. It can be easily learned and, thus, a popular choice.
We are surrounded by amazing landscapes, both big and small, so there is always enough inspiration.
But only inspiration is not enough as you need to know a few tricks to capture the perfect Canon Eos 90D landscape shot. Here are a few things that you can do:
Recommended settings for Canon Eos 90D Landscape Photography
Step 1. Master the white balance
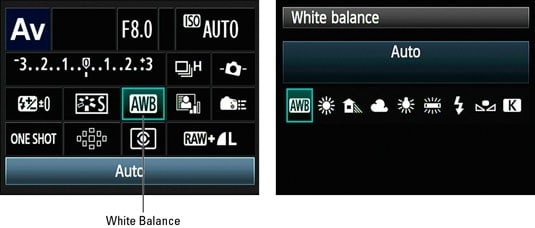
Canon 90D landscape settings – white balance
Mastering the white balance is the key to a beautiful landscape picture. You will be able to find a lot of settings for white balance on your Canon EOS 90D flip screen camera.
However, things can get a little tricky. An auto-white balance setting might just work in maximum situations.
To choose Auto-white balance, you need to fill up your frame with the grey or white side and take an image with the flash on.
Then you need to click on the Menu option. You will be able to find a Custom White Balance option. Click on it and choose the picture that you want to use. But if you want to capture sunrise or sunset, then you need to customize it accordingly.
You have to choose the white balance on your camera to get the perfect Canon Eos 90D landscape photograph according to the light source. You can set it manually as well while shooting any object.
Step 2. Overcome the dynamic range
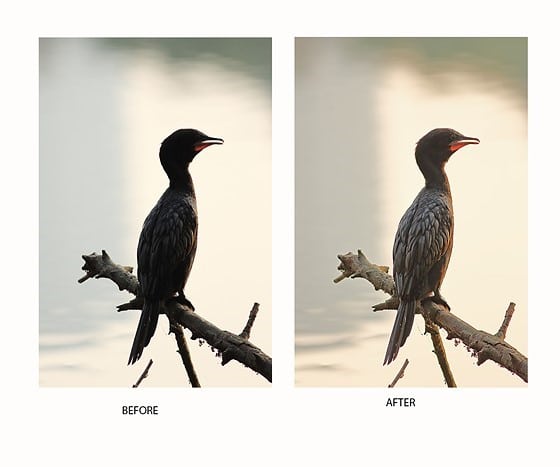
Canon 90D landscape settings – dynamic range
The dynamic range refers to the range of light available for the picture that is being taken. When the sky is too bright, and the landscape is too dark, that can lead to problems.
It can create brightness and contrast issues. Still, there are a few simple ways that you can overcome the obstacles and get the perfect Canon Eos 90D landscape shot.
One such way is to use a reverse filter with neutral density to even out the entire dynamic range.
The filter power of the light is more in the middle, at the horizon. You can also get a meter reading of the brightest frame area and then start shooting in RAW.
Step 3. Camera settings for landscape photography

Canon 90D landscape settings – recommended settings
There are certain camera settings that you need to change to get the perfect Canon Eos 90D photograph.
The exposure mode should be adjusted to the manual. The drive mode should be of a single shot. Keep the aperture at f/16 with the ISO set at 100 or 50.
Step 4. Get the depth of the field right with the right lenses
One of the main reasons that can break or make your Canon Eos 90D landscape photographs is the depth of the field you are using it.
The depth is to be adjusted according to the focused area. It is ideal if the depth of field is deep for landscape photography.
This is where you should use a wide-angle lens for landscape photography. It has a smaller aperture and helps you to set the focus point almost 1/3rd into the image.
Step 5. Using aperture priority mode
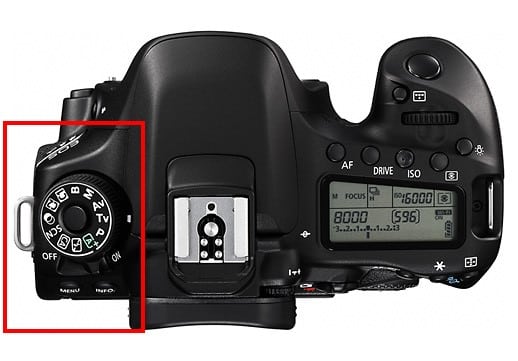
Canon 90D landscape settings – aperture priority mode
To get the perfect landscape shot, the depth needs to be increased. One of the best ways to do it is by using the aperture priority mode or AV.
This mode helps to adjust the aperture, which further helps your Canon Eos 90D to choose the most compatible shutter speed.
It will also help you to get good exposure. To choose the AV mode, you have to choose the f-stop button on your Canon Eos 90D.
Step 6. Getting the right shutter speed
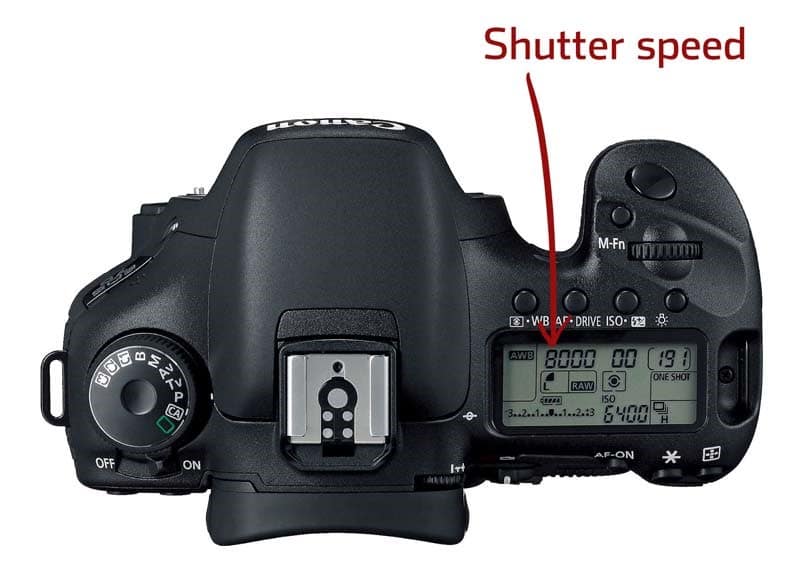
Canon 90D landscape settings – shutter speed
Whether it is to capture the water droplets falling from a fountain or the birds flying in the sky- you need to capture motion in your landscape pictures at times.
The shutter speed is the most important thing when you want to capture motion. This is where setting the shutter speed to 1/1000 can produce a breathtaking Landscape motion shot with your Canon EOS 90 D.
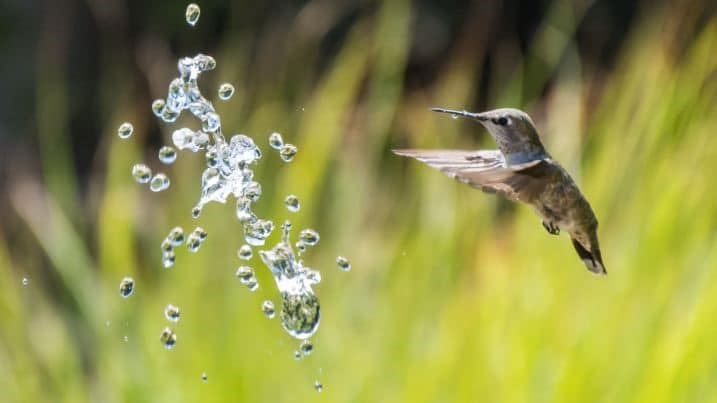
Canon 90D landscape settings – adjusting shutter speed
Now that you know what to do, what are you waiting for? Start clicking amazing Canon Eos 90D landscape photographs right away. It is easy and no more complicated!