Canon 90D Portrait Photography Settings
Shooting a portrait requires a different approach than landscape photography. The Canon EOS 90D is a great camera if you want to do both, but the settings for each are quite different.
There are specific things you’ll need to keep in mind to nail the perfect Canon 90D Portrait shot. Here’s a step-by-step guide to adjusting your settings and getting the results you’re after.
Best Settings for Canon EOS 90D Portrait
Step 1. Using a Wider Aperture
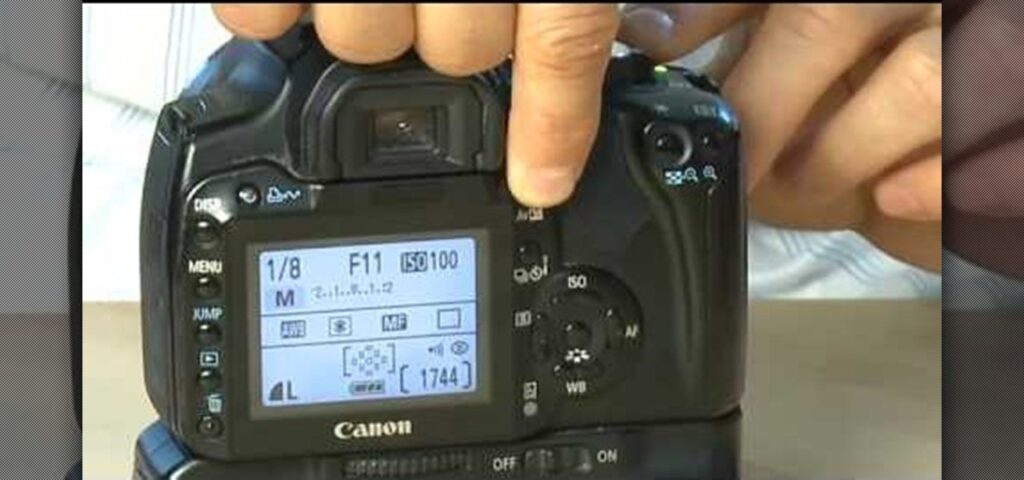
It’s always a good idea to shoot Canon EOS 90D portrait photos with a wider aperture. This is especially true when you’re shooting portraits outdoors, as it helps your subject stand out from the background.
The aperture is built right into the lens and controls how much light enters. The higher the aperture number (f-stop), the less light passes through the lens. Understanding this relationship is essential for getting the look you want.
To change the aperture, press the Av button, then turn the control dial to adjust. You’ll see the current aperture value on your camera screen and can change it to suit your shooting conditions. For most portrait work, try starting around f/2.8 to f/4 for that pleasing background blur.
Step 2. Control the shutter speed
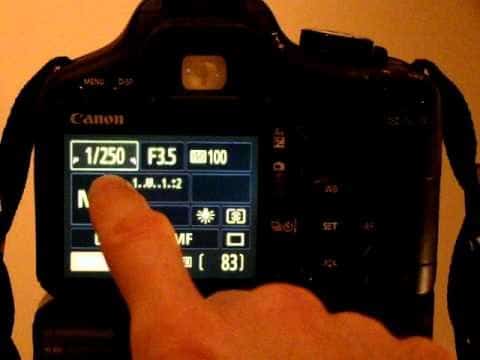
Shutter speed plays a key role in controlling the brightness of your image and in photographing moving subjects.
If your subject is in motion, you’ll want a faster shutter speed like 1/1000. To adjust it, rotate the main dial to select a faster speed. For stationary subjects, you can get away with slower speeds, but try not to go below 1/125 when shooting handheld to avoid camera shake.
You can also fine-tune the shutter speed for a perfect Canon EOS 90D portrait shot using the touchscreen feature on the back of the camera.
It’s important to match the shutter speed to your shooting environment and whether your subject is stationary or moving. In bright outdoor light, you’ll often want faster speeds, while indoor or shaded settings may call for slower speeds paired with a wider aperture.
Step 3. Change the ISO Setting
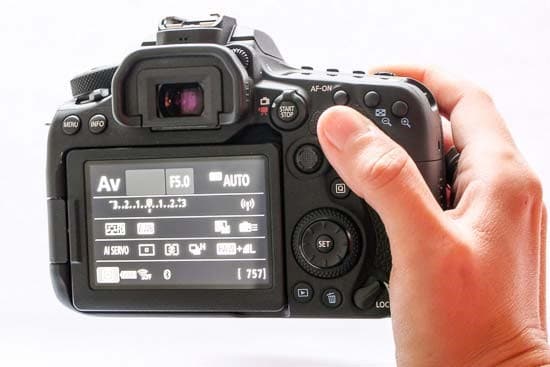
ISO settings matter a lot when you’re shooting Canon EOS 90D portraits. ISO controls how sensitive your camera’s sensor is to light. Checking the ISO on your Canon EOS 90D is straightforward.
For portrait photography, an ISO between 100 and 400 is recommended. This keeps noise levels low and gives you clean, sharp images. If you’re shooting indoors or in low light, you may need to push the ISO higher, but try to stay as low as possible for the cleanest results.
There’s a dedicated ISO button on the camera for quick adjustments. Just locate it, press it, and use the touchscreen or control dial to make changes. The Canon EOS 90D handles higher ISO values better than many cameras in its class, so don’t be afraid to bump it up when the lighting demands it.
Step 4. Shoot in Manual Mode
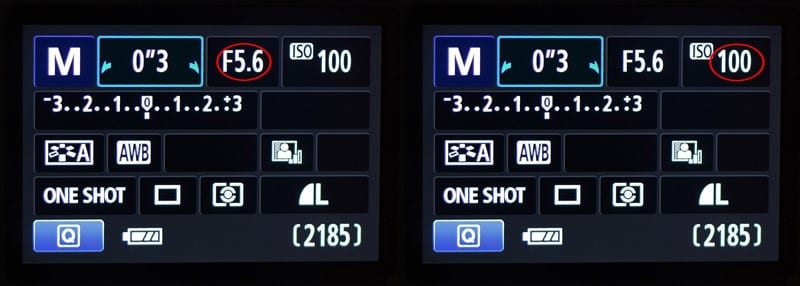
Shooting in Manual mode is recommended when you want full control over your Canon EOS 90D portrait settings. This gives you the ability to independently adjust aperture, shutter speed, and ISO to get exactly the exposure you’re after.
You can switch modes using the Mode dial. Press the lock release button and turn the dial to select the mode you want.
Manual mode gives you maximum control over your Canon EOS 90D portrait settings, and it’s the preferred choice for professional portrait photographers. You can also try Bulb Mode, which is a variation of manual mode that’s useful for long exposures in creative portrait situations.
Step 5. Change the White Balance
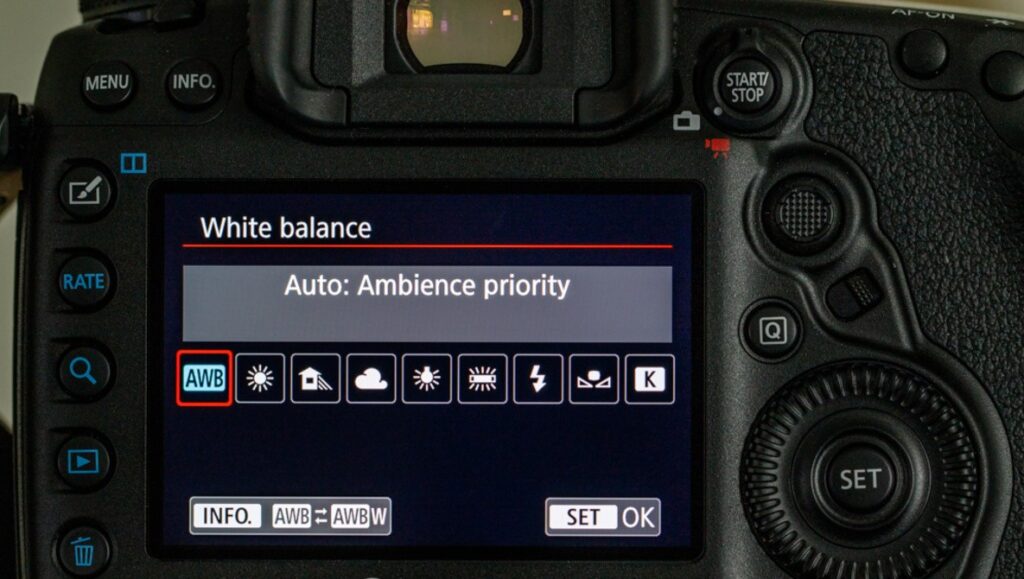
While it’s tempting to leave the white balance on Auto, you’ll often get better results by adjusting it based on your shooting conditions. Accurate white balance is especially important for portraits, since off-color skin tones can ruin an otherwise great shot.
To set a custom white balance, start by keeping the camera in Auto White Balance mode. Fill the frame with a grey or white card and take a photo with the flash on.
Next, go to the Menu setting and choose Custom White Balance. Select the photo you just took, then switch the white balance to the Custom option. This gives you the most accurate color reproduction for your specific lighting situation.
Now that you know the key settings, configuring Canon EOS 90D Portrait settings is a fairly simple process once you get the hang of it. Practice with different combinations and you’ll quickly develop an eye for what works best in each situation.
If you’re a fan of lenses, check out this list of best Canon lenses for portrait photography.
Pro tip: The first step to getting a great portrait is to shoot from different viewpoints. Changing your angle adds variety and interest to your images.
You’ll also want to think about how to position your subject within the frame. Whether it’s a close-up or a wider shot, it all comes down to what story you want the picture to tell. Pay attention to the background, too. A clean, uncluttered background helps your subject take center stage.