When you purchase through links on our site, we may earn an affiliate commission. Here’s how it works.
How to Use a DSLR as a Webcam – Overview
Working from home often requires participating in video conference calls or using video chat apps to stay connected with family. You may have noticed that your laptop’s camera produces blurry images with unflattering viewing angles.
To address this issue, one could opt for a dedicated external webcam or, if available, repurpose an old smartphone as a webcam. These options may slightly improve your PC’s camera quality. However, consider using your DSLR camera as a webcam for a significant enhancement in your video calling experience.
Using a DSLR as a webcam delivers superior video quality compared to standard options within your group chat. The process can be straightforward, installing webcam software and connecting your DSLR to your PC via a USB cable.
Software solutions such as SparkoCam facilitate the connection of your DSLR to a computer through a standard USB cable, allowing it to function as a webcam. This is also possible with dedicated software for brands like Canon, Nikon, Olympus, and Sony.
This guide will demonstrate using a DSLR as a webcam using dedicated software, a capture card, or third-party streaming software like SparkoCam. Using a DSLR as a webcam offers the advantage of adjusting exposure and ISO for improved video quality.
Pros and Cons of Using DSLR Cameras vs. In-Built Webcams
While many desktops and laptops come equipped with built-in webcams and USB external webcams are relatively inexpensive, they share a common limitation in performance. Let’s explore the pros and cons of using DSLR cameras compared to in-built webcams and vice versa.
Audio Quality
DSLR cameras generally provide superior audio quality over in-built or external webcams. An external microphone can further enhance audio quality, whether for DSLR cameras or to improve the capabilities of in-built or external webcams.
Battery Life
Webcams have the advantage regarding battery life, as they are either USB-powered or built-in, eliminating concerns over battery longevity. Conversely, DSLR cameras require regular battery changes or charging, especially during prolonged use. Filming time varies between 50 and 90 minutes, depending on the model.
Extended Filming Sessions
Webcams are preferable for lengthy filming sessions due to their continuous power supply. DSLR batteries deplete quickly under continuous use and may overheat, necessitating frequent battery changes or charging.
Image Adjustment
DSLR cameras excel in image quality adjustments, offering extensive settings modifications like aperture, composition, exposure, and ISO – capabilities that are severely limited in webcams.
Image Quality
Regarding image quality, DSLR cameras surpass even the highest-quality internal or external webcams.
Price
Webcams are generally more cost-effective. However, if you already own a DSLR camera, investing in a capture card might be a worthwhile consideration despite the additional expense. The primary consideration when using a DSLR as a webcam is not the price but the significant improvement in image quality.
Method 1: Using SparkoCam
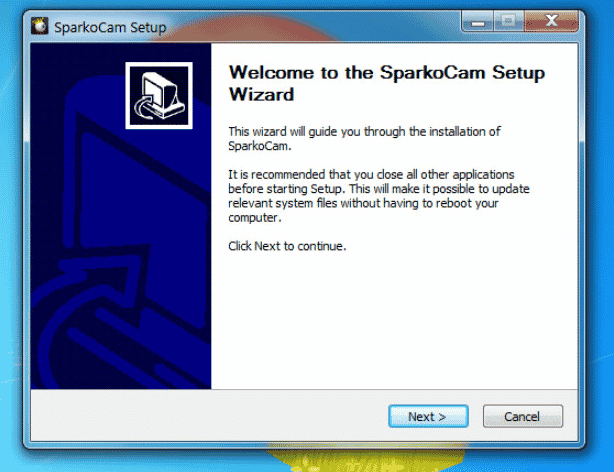
- Download and install SparkoCam. Begin by downloading the installation package and running the SparkoCamInstaller.exe file on your desktop or laptop.
How to Use DSLR as Webcam
- Follow the installation steps carefully until completion.
- Connect your DSLR to your laptop using a USB cable.
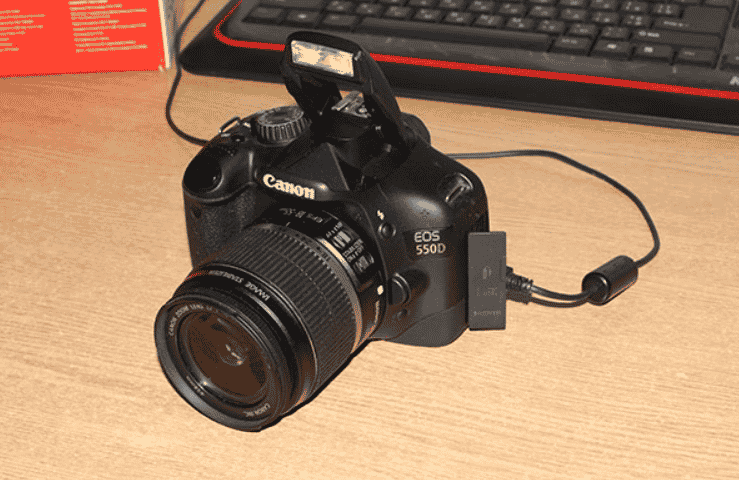
- Connect the camera’s USB cable to your PC.
- Turn on the camera. When the Windows OS recognizes it, you will receive an alert or pop-up window indicating that a new device is available.
- If no notification appears, proceed to the following steps without concern.
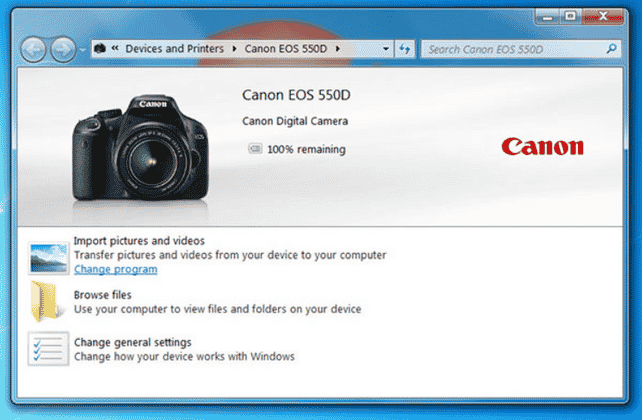
- It might initiate if you have previously installed the camera’s utility software via CD. SparkoCam does not require this software to operate, so you can close the utility software and continue with the subsequent steps.
- Launch SparkoCam and navigate to the ‘Device’ tab.
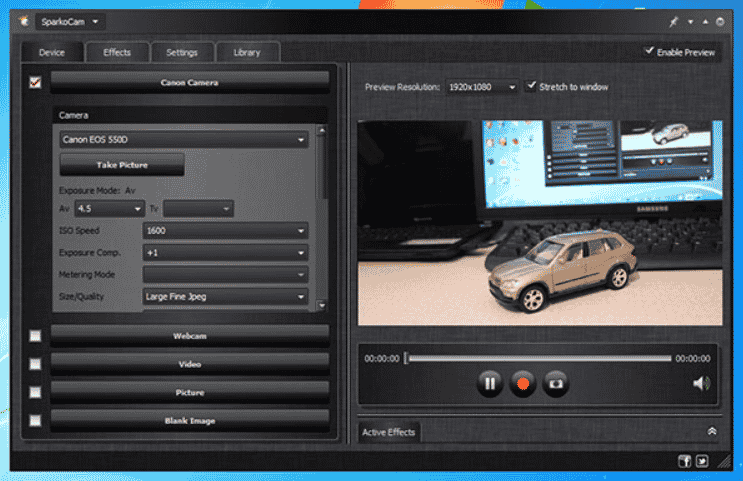
- Select the camera you’ve connected, such as ‘Canon Camera.’
- SparkoCam will automatically recognize the camera if only one is connected; otherwise, select the appropriate camera from the list.
- Choose ‘SparkoCam Virtual Webcam’ as the camera source in your chat application.
- To use SparkoCam as the video source, configure the target app accordingly. For instance, access the ‘Options’ dialogue in Skype and select ‘SparkoCam Virtual Webcam’ from the camera list.
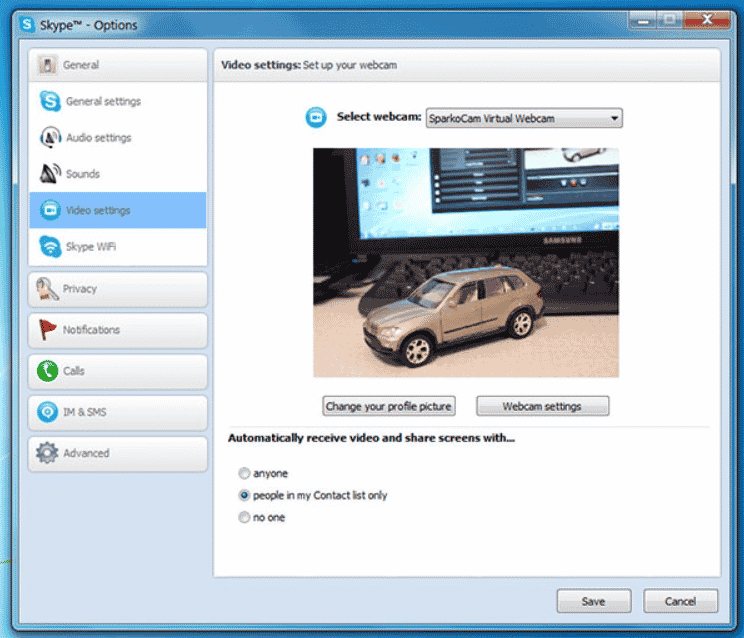
Note that DSLR cameras, such as those from Canon and Nikon, do not support using their built-in microphones for audio capture. Therefore, it is necessary to use an external microphone to record sound.
The Benefits of SparkoCam
Decent Video Quality
Although SparkoCam does not match the quality of dedicated video-capturing hardware, it provides sufficiently good quality, surpassing built-in webcams.
Email Support
If you encounter any issues or bugs you cannot resolve independently; the SparkoCam support team is available via email to address any queries.
SparkoCam is Free!
The standard version of SparkoCam is free, requires no monthly subscription, and offers a range of features and functions at no cost. An upgrade option is available for those seeking additional capabilities.
User-Friendly
SparkoCam is designed to be user-friendly, and abundant online resources are available for troubleshooting should you exhaust all other options.
The Drawbacks of SparkoCam
No Audio Recording for Canon and Nikon Cameras
SparkoCam does not support using internal microphones for audio during streaming; thus, investing in an external microphone is necessary for content creation or video calls via Skype and Zoom. Fortunately, high-quality external microphones are available at reasonable prices.
Despite these limitations, SparkoCam offers more advantages than disadvantages for those new to recording or streaming video with a webcam, providing an accessible entry point.
SparkoCam Adds Watermarks to Your Streams
The free version of SparkoCam includes watermarks on all streams, which may be undesirable for content creators. Upgrading to the premium version removes these watermarks.
Method 2: Using a Capture Card
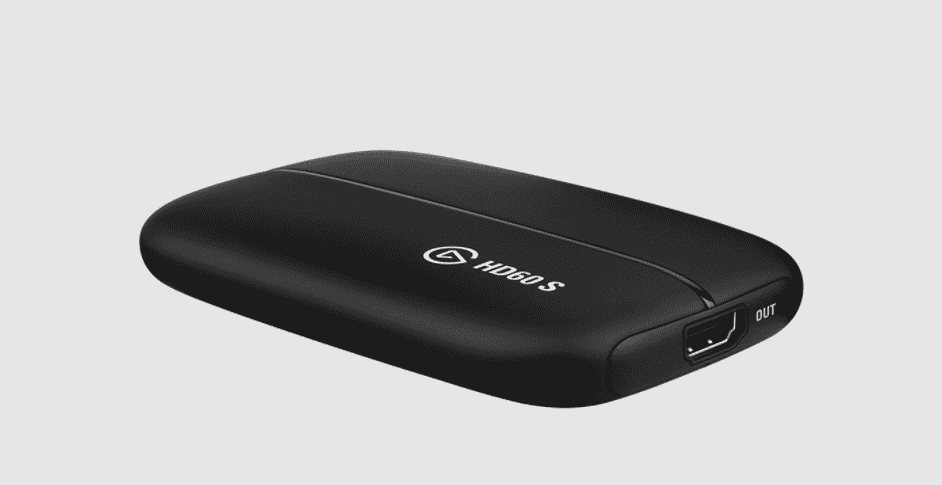
How to Use DSLR as a Webcam
A capture card is preferred because it lacks audio and operating system restrictions. Its cost is comparable to streaming software, though it may be slightly higher.
A capture device is essential for adding functionality not inherently available in DSLRs. By incorporating a capture card, you can effectively transform your DSLR camera into a webcam.
Capture devices convert the DSLR’s signal into a format usable by your PC, allowing for online streaming or saving the feed to a hard drive.
Setting Up Elgato Cam Link with a DSLR
The Elgato Cam Link is a USB capture card that facilitates easy recording and streaming from a DSLR camera via USB 3.0. It is compatible with both macOS and Windows 10 operating systems.
To set up the Elgato Cam Link:
- Connect one end of the HDMI cable to your DSLR and the other end to the capture card.
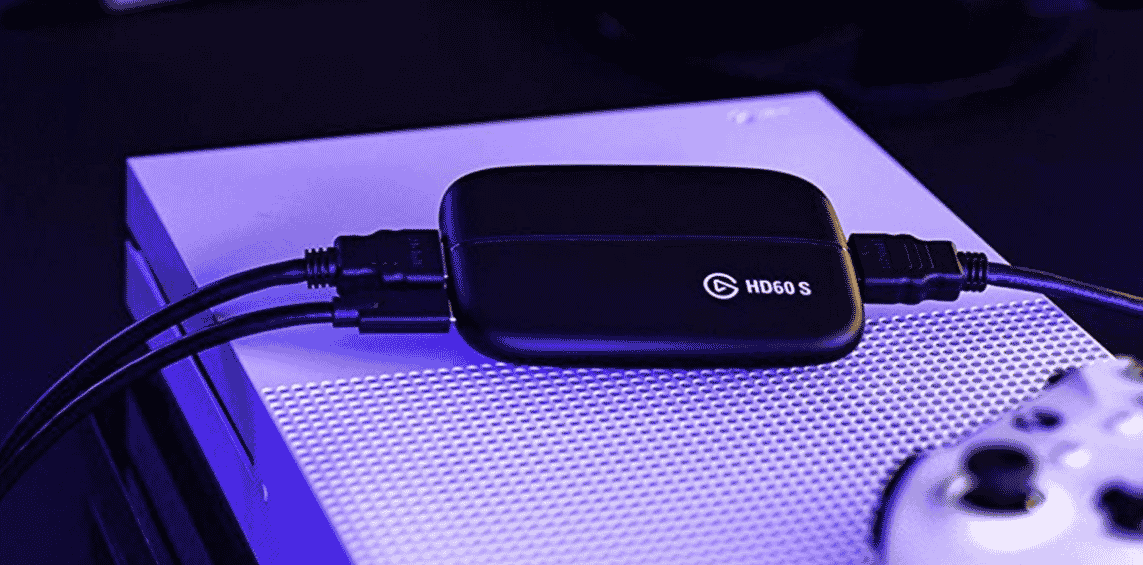
- Turn on the camera.
- In your video conferencing app, access ‘Options’ or ‘Settings’ and select your DSLR camera as the video source, depending on the application.
- You are now ready to stream. Elgato’s plug-and-play setup is notably user-friendly.
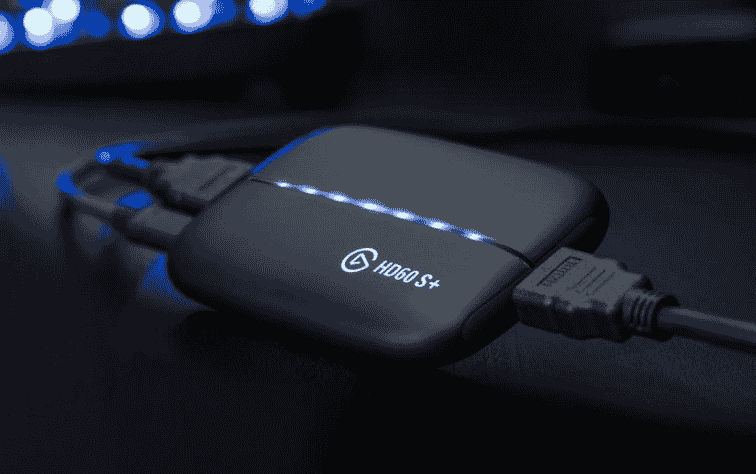
Which Elgato Cam Link Model Is Best?
Elgato offers devices with varying resolutions, including 4K (2160p) and Full HD (1080p). The 1080p model suffices for broadcasting and live streaming. However, if you want to record and save footage to a hard drive, the 4K model is recommended.
The setup process is straightforward, making their Plug ‘n’ Produce approach highly appealing.
How to Set Up Other Capture Cards with a DSLR
How to Use DSLR as a Webcam
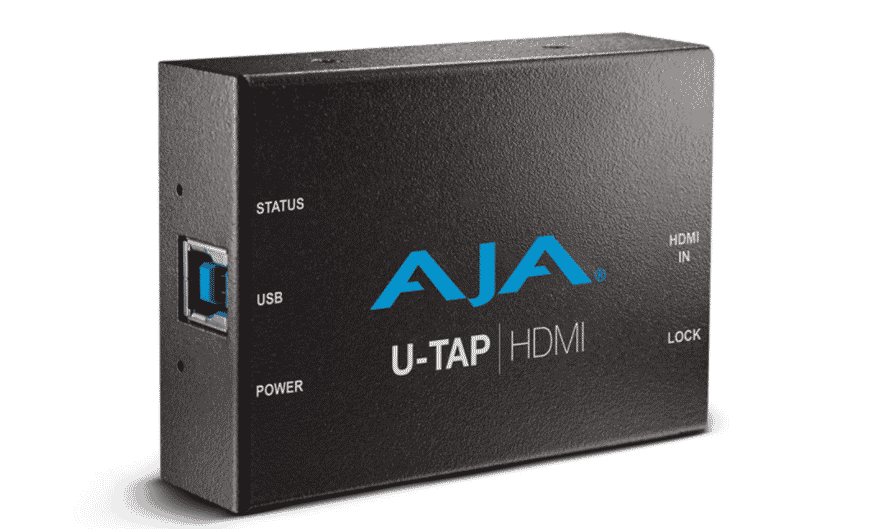
Other capture devices, such as the Aja U-Tap HDMI Converter, offer compatibility with Linux, macOS, and Windows operating systems. These systems require software to capture the incoming video feed, which varies across operating systems.
Opting for plug-and-play capture cards is advisable, as they are generally easier to set up and more affordable than those requiring a more complex setup.
Method 3: Using Camera Web Utility Software
Fortunately, major camera brands have developed software to facilitate the use of cameras as webcams. This software is available for macOS and Windows operating systems, bridging the gap for streaming applications.
Mac OS users may need to use Chrome as their browser, as Safari restricts the use of external webcams.
Canon EOS Utility
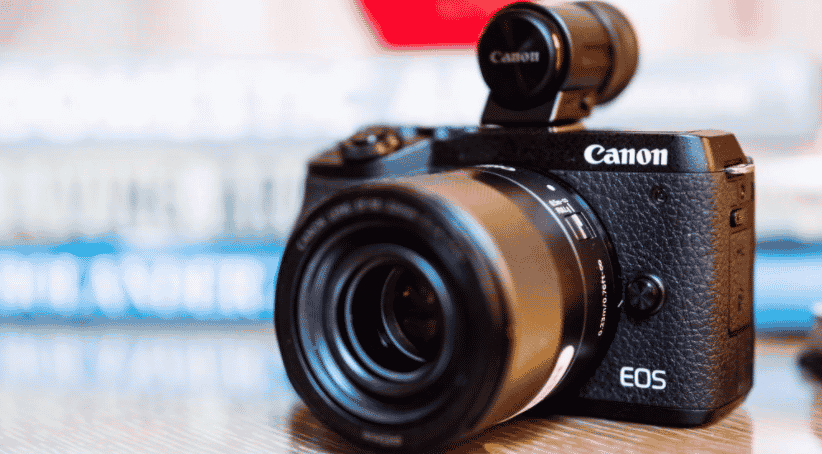
Canon’s webcam utility software supports select DSLR, fixed-lens, and mirrorless cameras and is available for macOS and Windows OS. The software requires a desktop or laptop running macOS Catalina, High Sierra, or Mojave, or Windows 10 and higher.
Canon supports a range of models, including older cameras. If you have a recent Canon camera with an interchangeable lens, it is likely compatible with the utility software.
Canon provides a list of supported models on its website. Once the software is installed and running on your PC, simply connect your DSLR and select the correct video source in your chat app.
Fujifilm X Webcam Utility
How to Use DSLR as a Webcam
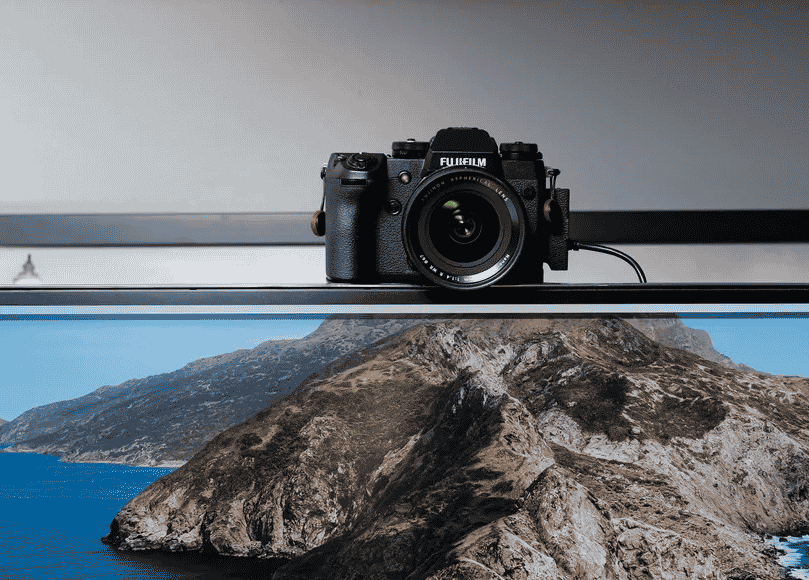
Fujifilm’s webcam utility software supports higher-end GFX and X system cameras, with compatibility extending back several generations. The software functions with desktops or laptops running macOS Catalina, High Sierra, or Mojave, or Windows 10 and higher.
For entry-level support, models such as the Fujifilm X-A7 and X-T200 can function as USB webcams without additional software and are compatible with Google Meet, Microsoft Teams, Skype for Business, and Zoom.
Nikon Utility
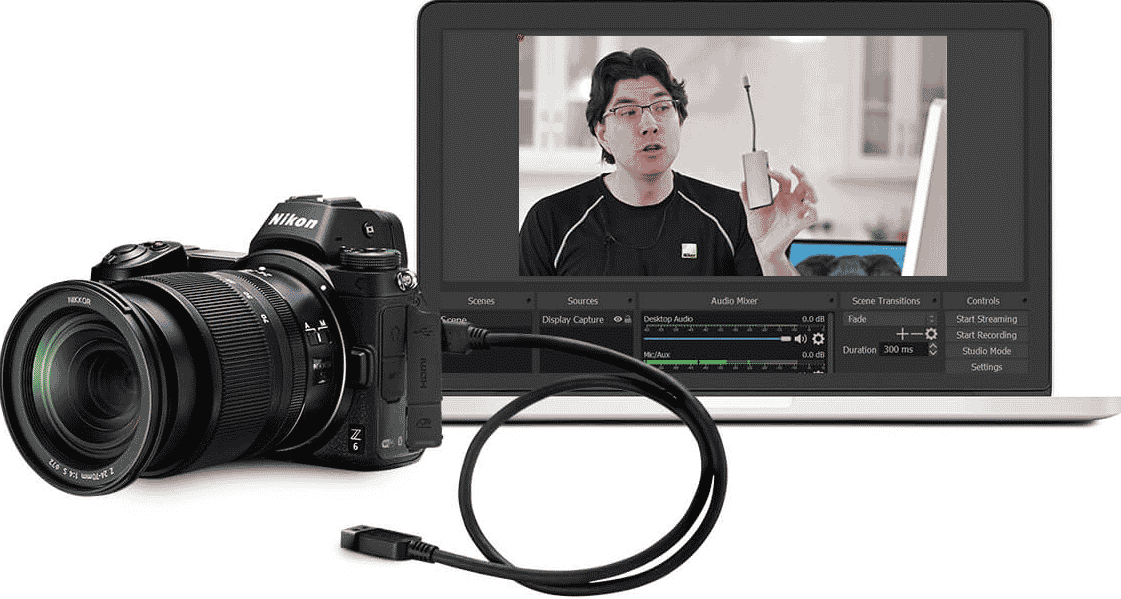
Nikon’s utility software is compatible with macOS Catalina, High Sierra, or Sierra, and 64-bit Windows 10 PCs. Webcam support is limited to recent releases, excluding older DSLR models.
Olympus Utility

How to Use DSLR as a Webcam
The Olympus OM-D Webcam Beta utility software supports PCs running macOS Catalina, High Sierra, or Sierra and both 32-bit and 64-bit Windows 10 PCs.
To enhance image quality when using DSLRs as webcams, consider using the widest lens attachment available, using the lowest aperture setting, and disabling face-detect autofocus.
Final Thoughts
Using a DSLR camera as a webcam guarantees professional-quality footage, whether for chatting with friends, creating YouTube videos, or live streaming on Twitch. Say goodbye to glitchy, grainy film and lagging issues, and embrace clear, high-quality video.
See Also
Best DSLR Cameras for Beginners