When you purchase through links on our site, we may earn an affiliate commission. Here’s how it works.
How to transfer photos from Canon M50 to Computer
The Canon EOS M50 is an excellent choice for vlogging and capturing high-quality images and videos. Its versatile connectivity options facilitate easy transfer of media to other devices.
Contrary to the statement, the Canon EOS M50 supports Wi-Fi for transferring files, offering a convenient alternative to physical cables.
For transferring large files efficiently, using a high-speed data cable is recommended. A USB cable (preferably USB Type-C for faster data transfer, if your model supports it, not a 5-pin USB as previously mentioned) is essential for a wired connection. Before proceeding, familiarize yourself with the following steps to streamline the file transfer process.
Additionally, using a high-capacity memory card, such as a 128 GB SD card with a transfer speed of up to 170MB/s, can enhance your workflow.
6 Steps to transfer photos from Canon M50 to Computer
Step 1
transfer photos from Canon M50 to Computer
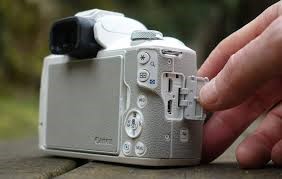
Locate the USB port on your camera, usually covered by a protective cap. Remove the cap to access the port.
Connect your camera to the computer using the USB cable provided with your camera, ensuring the correct end is plugged into each device.
Upon connection, your computer should automatically detect the camera, which a notification indicates. If required, install any necessary drivers or software for file transfer.
Step 2
transfer from Canon EOS m5 to computer
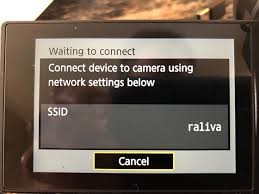
After establishing a connection, a prompt or notification will appear on your computer screen, offering several options to manage your camera remotely.
Select the option to transfer files. This may require navigating through software provided by Canon, such as the EOS Utility.
Step 3
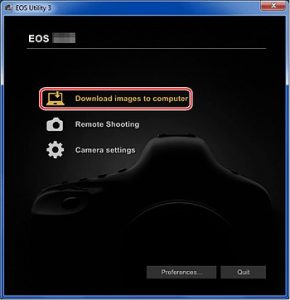
transfer photos from Canon M50 to Computer – eos utility
Choose the “Open Device to View Files” option to access your computer’s camera’s storage via File Explorer.
Step 4
transfer photos from Canon M50 to Computer – DCIM
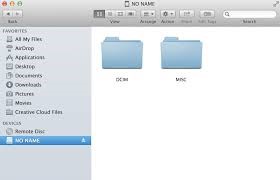
In File Explorer, navigate to the DCIM folder containing all your photographs and videos.
Step 5
transfer photos from Canon M50 to Computer – transfer photos
Select the files you wish to transfer, then right-click and choose ‘Copy’ to copy them to your clipboard.
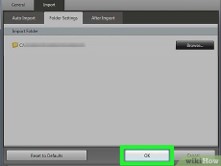
Step 6
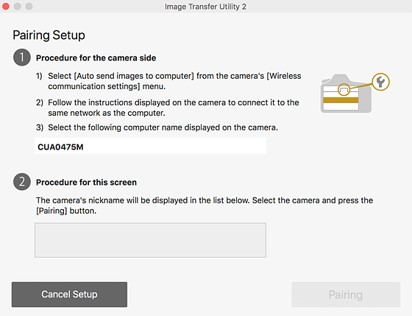
transfer photos from Canon M50 to Computer – pairing setup
Navigate to the desired location on your computer’s hard drive and create a new folder for storing the transferred files. Right-click within the folder and select ‘Paste’ to transfer the copied files from your camera.
Ensure your camera remains powered on throughout the transfer process to ensure a smooth and uninterrupted file transfer.
For detailed instructions on connecting your Canon M50 to a computer via Wi-Fi, visit Connect Canon M50 to Computer.