When you purchase through links on our site, we may earn an affiliate commission. Here’s how it works.
How to Connect Canon m50 to Computer?
The Canon m50 is a mirrorless camera that Canon Inc. equipped with a single-lens autofocus system.
This camera is known for its cutting-edge features, including the ability to automatically transfer photos to a computer.
However, before taking advantage of this feature, you must establish a connection between the camera and a Windows or Mac OS system.
A wired connection between the Canon M50 and your computer is straightforward and dependable. However, transferring high-resolution images and videos might be time-consuming.
For quick transfers, a high-speed USB cable is recommended.
Seamlessly connect the Canon m50 to a computer using this dual charger and connector bundle.
Steps to Connect Canon m50 to Computer Using WIFI
Connecting Canon m50 to Computer
Step 1. Connect to WiFi Network

How to connect Canon m50 to Computer
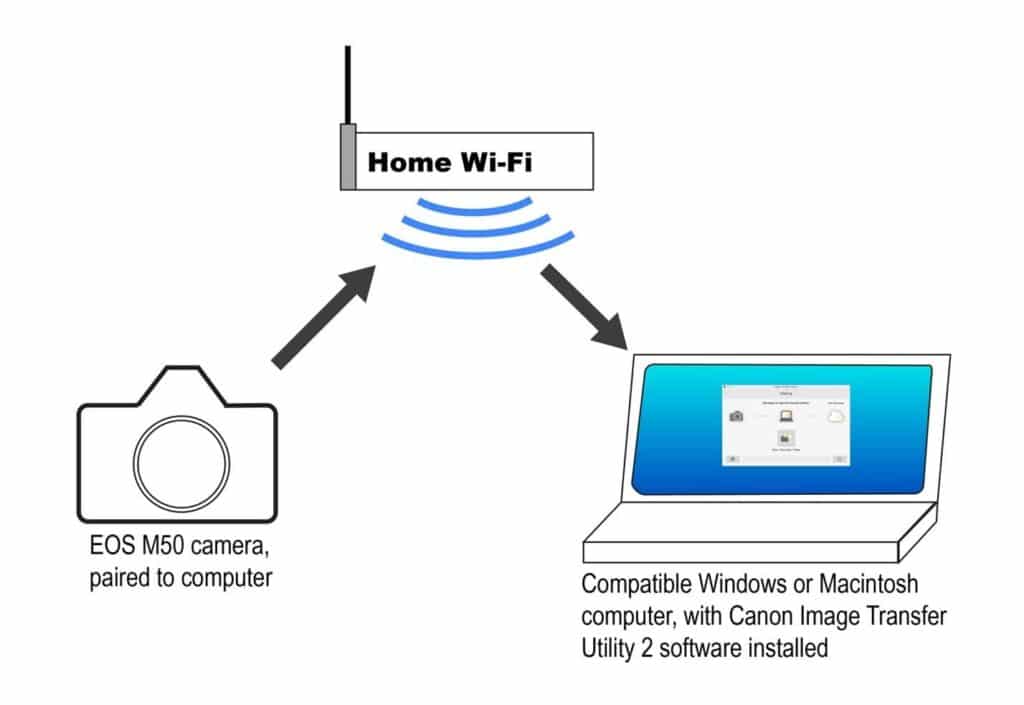
The initial step is to connect both the Canon M50 and your computer to the same Wi-Fi network.
Activate the Wi-Fi feature on the camera and configure it with your network.
To do this, press and hold the Wi-Fi button on the camera, then press the button again to search for and select your Wi-Fi network’s name.
After connecting to the network, enable the Auto Send Images to Computer mode on the camera.
Install the Camera Connect app or the EOS Utility software on your Windows or Mac computer for a smooth connection.
Step 2. Pair the Computer and Canon m50 Camera Before Starting the Photo Transfer

How to Connect Canon m50 to Computer – Pair the Computer and Camera before you connect Canon m50 to the computer
Ensure the Canon M50 camera and the computer are paired after establishing a Wi-Fi connection. Activate the Canon Image Transfer Utility or Camera Connect apps and enable the Wi-Fi feature.
Upon connection to the same network, the camera will prompt you to enter an IP address.
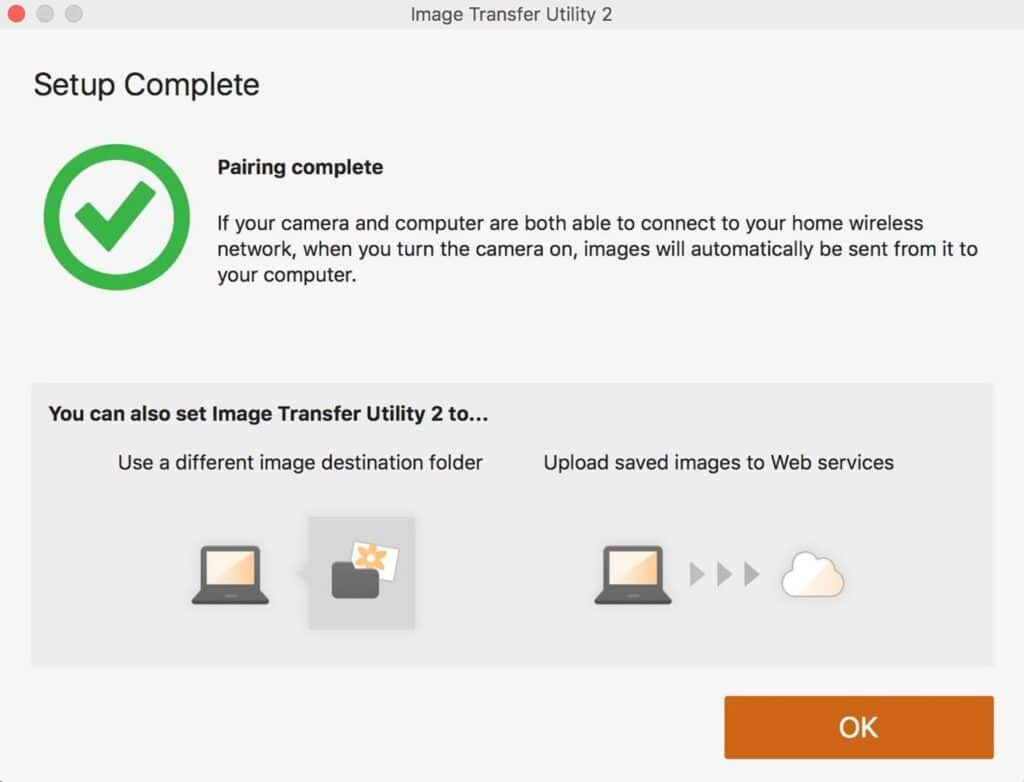
Choose the Auto option and click ok to synchronize the IP addresses of both the Canon m50 camera and the computer, completing the pairing process.
Step 3. Assign a Destination Folder on Your Computer

Assign Destination Folder on Your Computer Before You Start the Transfer
After pairing, choose a destination folder on your computer.
When the m50 camera connects, it will ask permission to transfer photos.
Before agreeing, create and select a specific folder for the camera. This ensures that any future connections between the camera and that computer will automatically transfer photos to the designated folder.
How to verify my Canon m50 is properly connected to my computer and photos are being transferred?
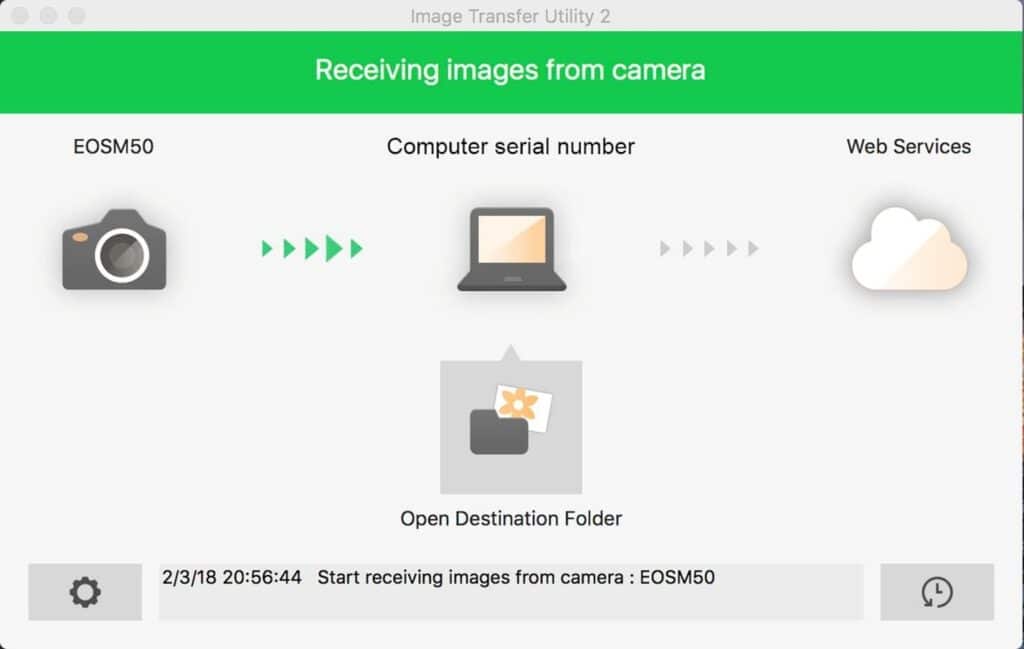
When the connection is successful and the photo transfer begins, you will notice:
The Canon m50’s indicator light blinks rapidly
Your computer displays an estimated time for the photo and video transfer
See Also