When you purchase through links on our site, we may earn an affiliate commission. Here’s how it works.
How to Set Up a New Wi-Fi Router – Overview
Many assume setting up a new Wi-Fi router is complex, particularly with older or generic models. However, anyone can set up a router in a few simple steps and immediately start enjoying their new network.
While specific setup procedures might vary by model, the fundamental setup principles are consistent across all routers.
This guide will walk you through the setup process for a new and generic Google Wi-Fi router, demonstrating how straightforward it can be, even without the user manual.
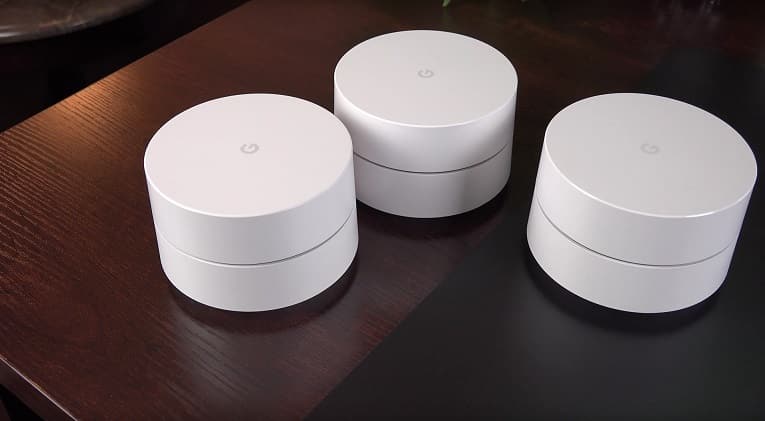
Setting Up A New Google Wi-Fi Router
Google Wi-Fi or Nest Routers are among the most user-friendly home routers available. With the Google Home app, you can effortlessly set up and manage the router using a smartphone or tablet.
Requirements
1. Google Wi-Fi Router
Ensure the router is connected to a power source and its light indicator is pulsing white. This indicates it is in factory mode and ready for setup. Allow a few minutes for the router to initialize before beginning the setup.
2. Android or Apple Device
Setting up the Google router via the Google Home app requires an Android or Apple smartphone or tablet. The Android device should have Android version 6.0 (Marshmallow) or later, and the Apple device should run iOS 12.0 or newer.
3. Google Home App
If not installed, download the Google Home app from the Android Marketplace or App Store. This app sets up your Google router and manages other compatible smart devices within your home network, like smart speakers and Android TVs.
4. Internet Modem/Router (From Your ISP)
The Google router must be connected to your internet service provider’s modem via an Ethernet cable.
Set-Up Process
Assuming you’ve unboxed and powered your Google router, connect it to your internet modem using the provided Ethernet cable. Plug the cable into the router’s WAN port and any available port on the Wi-Fi modem.
Open the Google Home app and tap the + button on the top left of the screen. Select “set up device,” then “new device.”
Select the appropriate one if you have multiple homes in the app.
On the next screen, select the Nest Wi-Fi router from the list of devices. Your device’s camera will prompt you to scan the QR code at the bottom of your router. If necessary, enable flash for better visibility in low light.
Ensure the QR code aligns with the on-screen square. If scanning is problematic, you can continue without scanning and use the setup key next to the QR code on the router.
Select a room for your router if you’ve defined multiple rooms in your Home app.
You’ll then create your Wi-Fi login credentials (SSID and password). Choose a unique network name and a strong password.
After a few moments, your new Wi-Fi network will be created. Tap “No” if you’re not adding additional routers to your mesh network to finalize the setup.
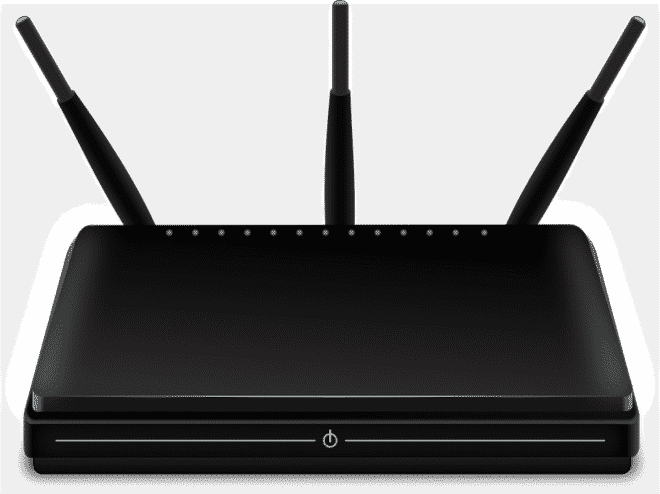
Setting Up A Generic Wi-Fi Router
Setting up any Wi-Fi router is straightforward if you know its IP address and have a computer for the setup. Here’s how to set up any router, regardless of its model or manufacturer.
Unpack the router and note its IP address and admin login details, typically found on the bottom.
Connect the router to a power source and wait for the indicator lights to stabilize, indicating readiness.
Using an Ethernet cable, link the router to your computer and open a web browser.
To access the admin console, enter the router’s IP address in the browser’s address bar and hit enter.
Log in with the previously noted credentials.
Navigate to the Wi-Fi or network section to change the network name and password.
Finally, connect the router to your modem with the Ethernet cable, and your new network will be operational.
Setting up Wi-Fi routers is straightforward, assuming you have the necessary devices and know the IP addresses for generic models. Many manufacturers include the login details on the router for ease of setup.
See Also