Connect Using WPS (Fastest Method)
WPS (WiFi Protected Setup) is the quickest way to connect a printer to your WiFi. Most modern printers and routers support it.
- On your printer, find the WPS button or navigate to the wireless setup menu and select WPS.
- Within 2 minutes, press the WPS button on your WiFi router (usually on the back or side).
- The printer connects automatically without needing to enter a WiFi password.
- The wireless light on the printer stops blinking and stays solid when connected.
WPS works on most HP, Canon, Epson, and Brother printers made in the last several years. If your router doesn’t have a WPS button, or if WPS is disabled in your router settings, use the manual method below instead.
Connect Through the Printer’s Control Panel
- On the printer’s screen or control panel, go to Settings (or the wrench/gear icon).
- Select “Wireless” or “Network Settings.”
- Choose “Wireless Setup Wizard” or “WiFi Setup.”
- The printer scans for available networks. Select your WiFi network name.
- Enter your WiFi password using the on-screen keyboard.
- The printer connects and shows a confirmation message.
This method works on printers with a display screen. Budget printers without a screen need a different approach – use the app-based method or USB setup described below.
Brand-Specific Setup
| Brand | App | Quick Steps |
|---|---|---|
| HP | HP Smart | Open app, tap “Add Printer,” follow WiFi prompts |
| Canon | Canon PRINT | Open app, tap “Add Printer,” select wireless LAN setup |
| Epson | Epson Smart Panel | Open app, tap “Setup,” follow connection steps |
| Brother | Brother Mobile Connect | Open app, tap “Add Device,” choose WiFi |
Each manufacturer’s app walks you through setup step by step. Download the app on your phone, make sure your phone is connected to the same WiFi network you want the printer on, and follow the prompts. The app handles everything, including finding the printer and entering the WiFi password.
Connect a Printer Without a Screen
Many budget printers (like the HP DeskJet 2700 series or Epson ET-2800) don’t have display screens. Here’s how to connect them:
- Put the printer in WiFi setup mode. On most printers, press and hold the wireless button for 3 to 5 seconds until the WiFi light blinks.
- On your phone or computer, download the manufacturer’s app (HP Smart, Canon PRINT, etc.).
- Open the app. It detects the printer in setup mode.
- The app asks which WiFi network to connect the printer to. Select yours and enter the password.
- The app sends the WiFi credentials to the printer.
During this process, your phone temporarily connects directly to the printer’s own WiFi signal, then transfers your network settings. Your phone reconnects to your regular WiFi automatically once setup finishes.
Connect via USB First, Then Switch to WiFi
If wireless setup keeps failing, use a USB cable to configure WiFi:
Looking for more? We have a dedicated guide on WiFi router for gaming.
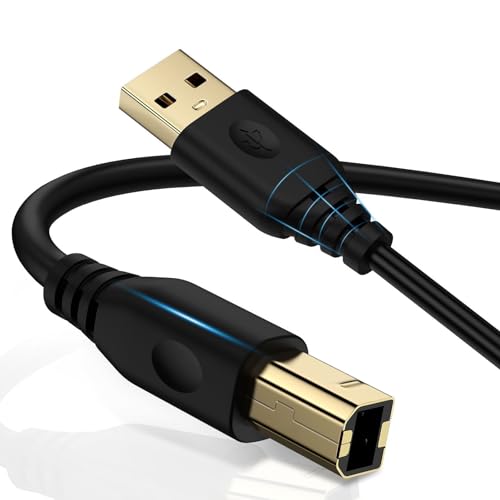
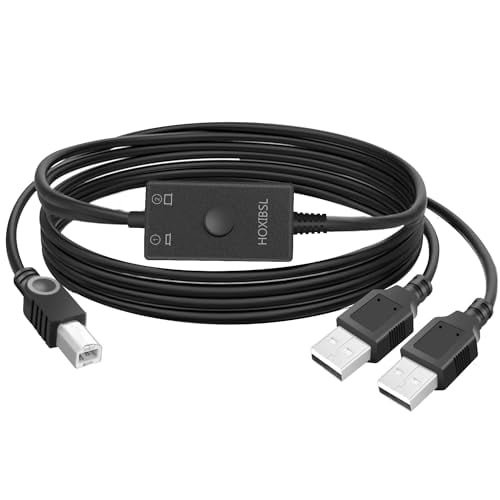
- Connect the printer to your computer with a USB cable.
- Install the printer software from the manufacturer’s website.
- During installation, the setup wizard asks how you want to connect. Choose “Wireless.”
- Select your WiFi network and enter the password.
- The software sends the WiFi settings to the printer through the USB cable.
- Disconnect the USB cable once the printer confirms it’s connected wirelessly.
This method bypasses any wireless setup issues. It’s especially reliable for printers that have trouble entering WiFi setup mode or for networks with hidden SSIDs.
Add the Printer to Your Computer
After the printer connects to WiFi, add it to your computer for printing.
Windows:
- Go to Settings, then “Bluetooth & devices,” then “Printers & scanners.”
- Click “Add device.”
- Windows finds the printer on the network. Click it to add.
- Windows installs the driver automatically.
Mac:
- Go to System Settings, then “Printers & Scanners.”
- Click the “+” button to add a printer.
- Your printer appears in the list. Select it.
- macOS downloads and installs the correct driver.
Both Windows and Mac can usually find and set up a WiFi printer automatically as long as the computer and printer are on the same network.
Print From a Phone or Tablet
iPhone/iPad: Most WiFi printers support AirPrint. Open any document or photo, tap the share icon, tap “Print,” select the printer, and print. No app or driver needed.
Android: Most WiFi printers work with the built-in Android printing service. Go to Settings, then “Connected devices,” then “Printing.” Your printer should appear. You can also use the manufacturer’s app or Google Chrome’s print function.
We also cover WiFi router for large home in a separate article worth checking out.
Troubleshooting
Printer not found on the network. Make sure the printer is connected to the same WiFi network as your computer (not a guest network). Restart the printer. Print a network configuration page from the printer’s menu to verify it has a valid IP address. If the IP starts with 169.254, the printer failed to get an address from the router – restart both the router and the printer.
Printer connects but won’t print. Check that the printer driver is installed on your computer. Remove the printer from your devices list and add it again. Make sure there are no stuck print jobs in the queue (open the print queue and clear all documents). Restart the print spooler service on Windows: open Services, find “Print Spooler,” right-click, and restart.
WiFi connection drops after a while. Check if your router has a power-saving feature that disconnects idle devices. Some printers also go into deep sleep and lose the WiFi connection. In the printer’s settings, look for “WiFi Direct” or “Keep WiFi on during sleep” and enable it. Assign a static IP to the printer in your router’s DHCP reservation settings to prevent IP conflicts.
Printer only works on 2.4GHz but my router is 5GHz. Most printers only support 2.4GHz WiFi. If your router combines both bands under one network name, the printer should connect to 2.4GHz automatically. If your router has separate network names for each band (e.g., “MyNetwork” and “MyNetwork_5G”), connect the printer to the 2.4GHz network.
Can two computers print to the same WiFi printer?
Yes. Once a printer is on WiFi, any device on the same network can print to it. Each computer just needs to add the printer through its own print settings. There’s no limit to how many devices can use the printer, though only one print job processes at a time – others queue up automatically.
Is WiFi printing slower than USB?
For text documents, the difference is barely noticeable. Large photo prints or high-resolution graphics may take a few extra seconds over WiFi compared to USB. The convenience of printing from anywhere in the house usually outweighs the minor speed difference. If you regularly print large files and need maximum speed, keep the USB cable connected as a backup.
Do I need the manufacturer’s app to print?
No. Once the printer is on WiFi, you can print from any app using your operating system’s built-in print function. The manufacturer’s app is mainly useful for initial setup, scanning, ink level monitoring, and firmware updates. You don’t need it open to send print jobs.
Sources
HP – Connect HP Printer to WiFi | Canon – Canon Wireless Printer Setup