Dual Monitor Webcam Setup
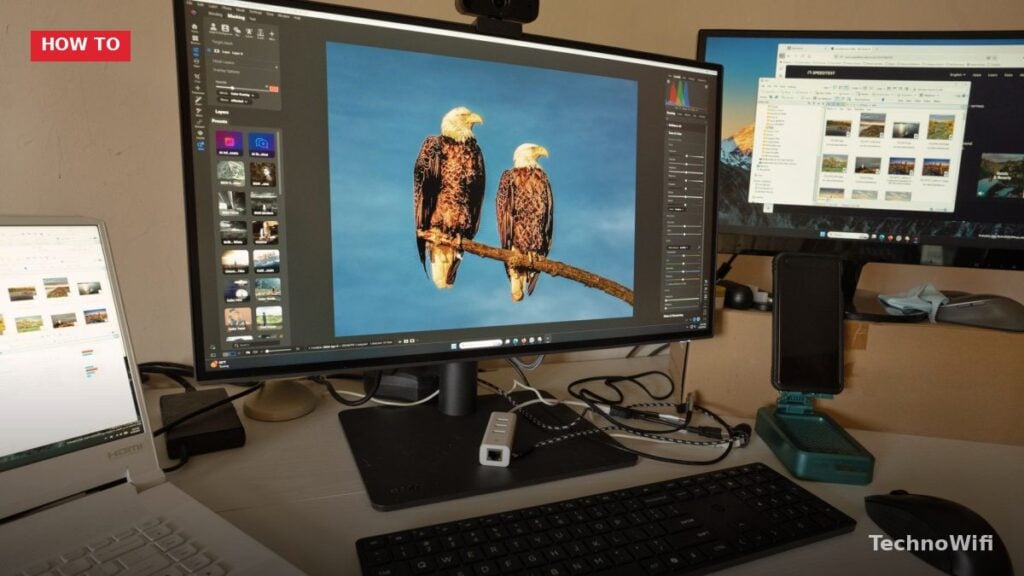
Using two monitors boosts productivity, whether you’re working from a laptop or desktop. But adding a webcam to this kind of setup takes a bit of planning, especially if you spend time on video calls through Zoom, Microsoft Teams, or similar apps. The built-in webcam on your laptop usually sits at an awkward angle when a second monitor is involved, and you end up looking sideways or downward instead of at the camera.
An external webcam solves this problem. Instead of mounting it on your laptop lid, try placing it on a small tripod between your two monitors. This gives you a more centered, natural-looking angle. You can glance left or right to check content on either screen without looking distracted to the people on the call. Here’s how to get everything set up for Zoom meetings with a dual monitor and webcam configuration.
External Webcam Setup
Connect Your Webcam to Your PC
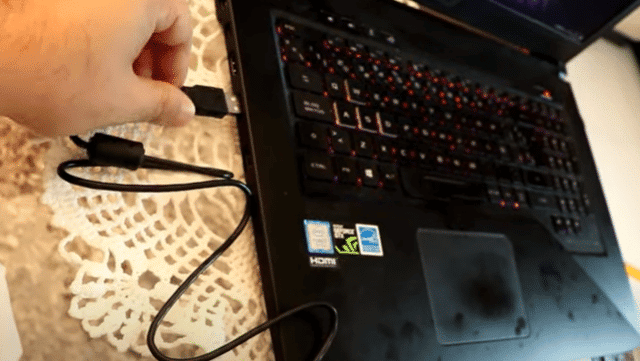
Plug your external webcam into a USB port on your PC. If nothing happens after connecting it, or you don’t hear the usual USB connection sound, try a different port. Some USB ports can be finicky, and front panel ports sometimes don’t supply enough power.
Install External Webcam Software
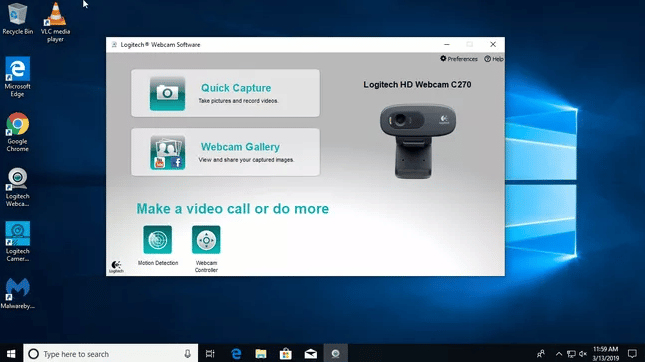
Most external webcams come with a disc containing the required drivers. If your webcam is secondhand or the disc is missing, head to the manufacturer’s website and download the drivers from there. Follow the installation prompts, then open the Windows Camera app to test that everything is working.
Update External Webcam Drivers
We break down tripe monitor setup in a separate post that complements this one.
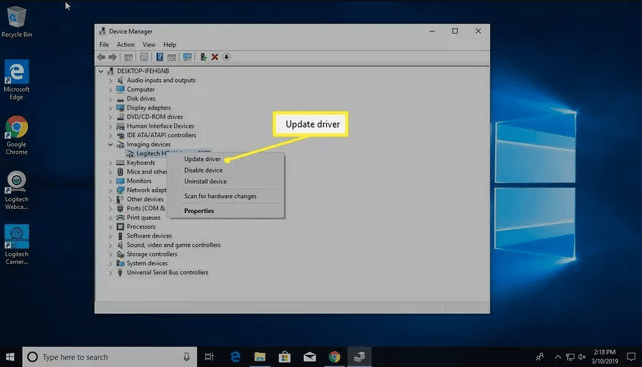
Sometimes drivers get outdated or don’t install correctly. To fix this, search for “Device Manager” in Windows, expand “Imaging Devices,” right-click your webcam, and select “Update Drivers Software.” Windows will search for and install any available updates automatically.
Zoom Setup
Getting Zoom configured for dual monitors and a webcam can be a little tricky because of how the app handles multiple displays. Typically, you’ll have the Zoom client on one monitor and your primary work on the other.
Here’s how to set Zoom up for dual monitor use:
- Launch the Zoom desktop app.
- Click the gear icon on the home tab.
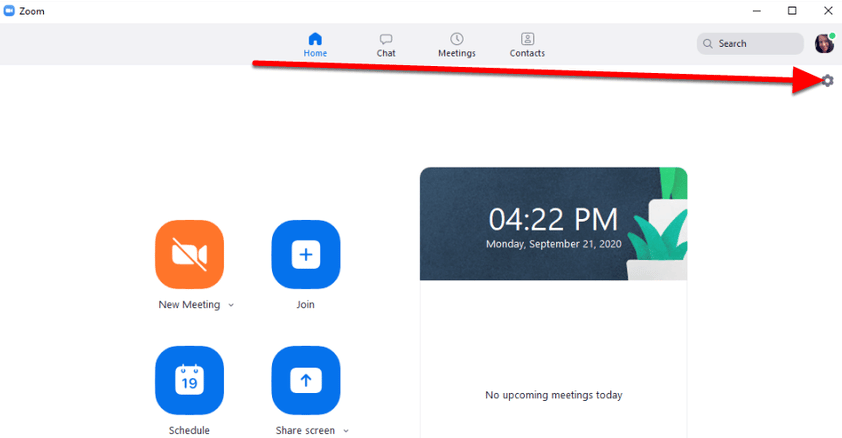
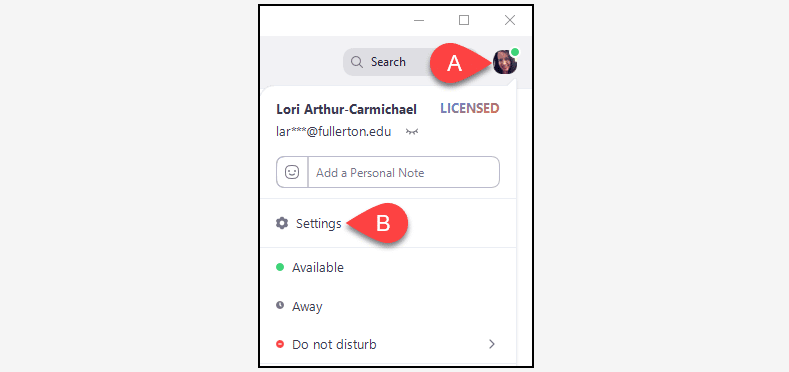
- If the gear icon isn’t visible, open ‘Settings‘ through your profile photo instead.
- Select ‘General.’
- Check the box for ‘Use Dual Monitors.’ This tells Zoom to spread across both displays in future meetings.
- Restart Zoom so the new setting takes effect. Just closing the window might not fully shut it down since Zoom often keeps running in the system tray.
- To fully exit Zoom, right-click its icon in the system tray and choose ‘Exit.’
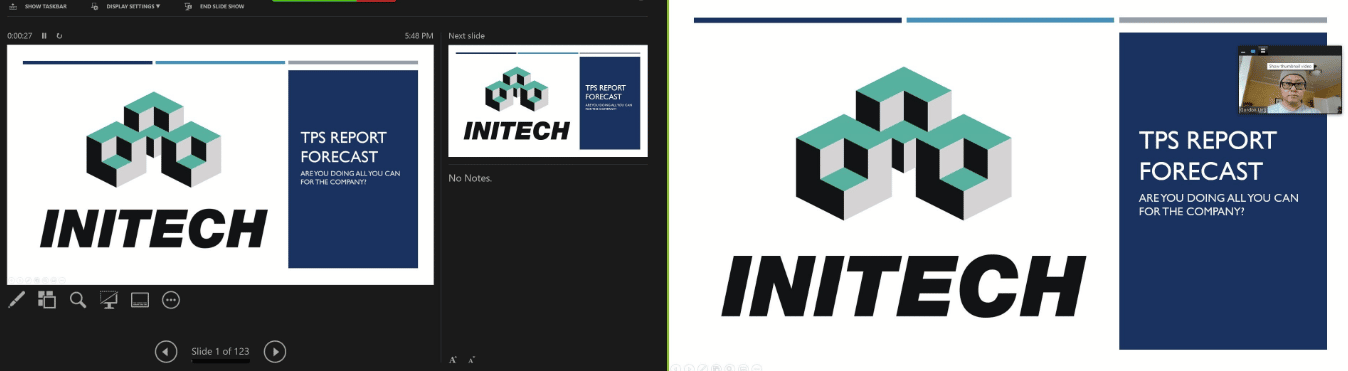
With this setup, Zoom will display the controls and attendee video feed across both monitors. When you share your screen, the controls and attendee feed stay on one monitor while the content you’re sharing (like a PowerPoint) shows on the other.
For a different take, see our guide on HDMI splitter for dual monitors.
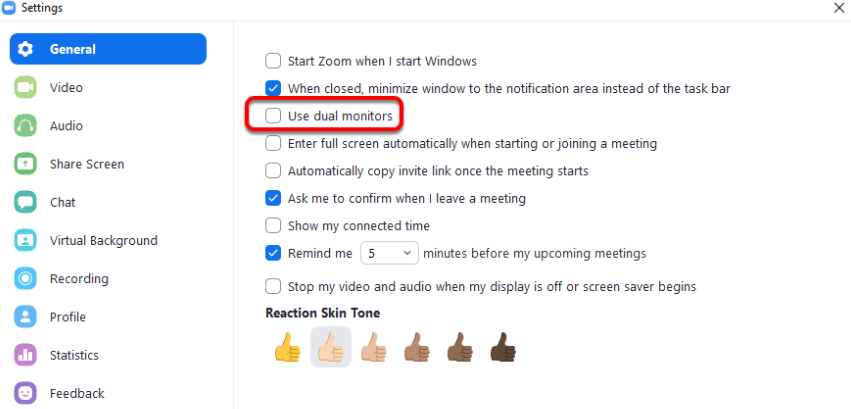
Zoom’s “Enter full screen when starting or joining a meeting” setting is usually turned on by default. You can turn it off, but leaving it enabled tends to work better with dual monitor and webcam setups.

Adding a webcam to a dual monitor setup makes video conferencing much more natural and professional. It’s a simple upgrade that pays off every time you hop on a Zoom meeting or any other video call. If you’re having trouble getting the second monitor connected, check out the resources below for more help.
For dual monitor basics, see our dual monitor setup guide.
Dell user? Check our Dell laptop to monitor connection guide.