How to Adjust Canon T6 for Portrait Photography
Canon EOS Rebel T6 Portrait Settings
Canon T6 portrait photography is more rewarding than you’d expect from an entry-level camera. The Canon EOS Rebel T6, released in April 2016, packs an APS-C crop sensor that delivers solid photo quality. It’s compatible with the full lineup of Canon EF and EF-S lenses, shoots at three frames per second, and has a straightforward control layout that makes it easy to pick up and start shooting right away.
Portrait Photography Tips With Canon EOS Rebel T6
Step 1. Basic Programmed Auto Mode
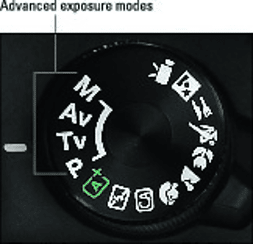
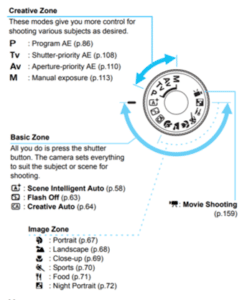
The Canon EOS Rebel T6 includes a Programmed Auto mode (P) that handles shutter speed and aperture for you. It’s a good starting point if you’re still learning how exposure works. The camera reads the available light and sets both values automatically, so you can focus on composition and timing instead.
Once you’re comfortable in P mode, move to the semi-automatic modes below for more creative control over your portraits.
Step 2. Making Use of the Flash Settings
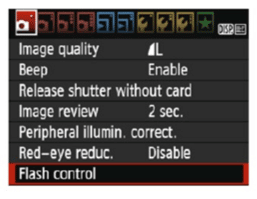
For indoor portraits, try to work with ambient light whenever possible. Natural window light or room lighting gives you softer shadows and avoids the flat, harsh look of direct flash. You’ll also skip the red-eye problem that comes with on-camera flash in dim rooms.
That said, sometimes you need the flash. The T6’s Portrait scene mode may pop the flash up automatically if the camera detects low light. For outdoor portraits, fill flash is actually useful because it softens shadows on the face caused by overhead sun. To trigger the flash manually in Av mode, press the Flash button on the camera body.
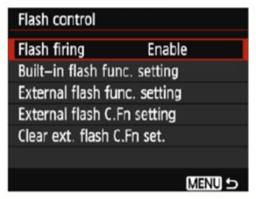
Step 3. Choosing the Shutter Priority
In Shutter Priority mode (Tv), you pick the shutter speed and the camera sets the matching aperture. For standard portraits with still subjects, 1/125 second is a reliable starting point. If you’re using Live View, 1/125 works well there too.
For action portraits or fidgety kids, push the speed up to 1/200 second or faster. Keep in mind that the T6’s maximum flash sync speed is 1/200 second, so if you’re using flash, don’t go above that number or you’ll see a dark bar across the frame.
Step 4. Choosing the Aperture Priority
Aperture Priority mode (Av) is the go-to for portrait work on the T6. A lower f-number (like f/2.0 or f/3.5) lets more light hit the sensor and creates a shallow depth of field. That’s what gives you the blurred background effect that makes your subject pop.
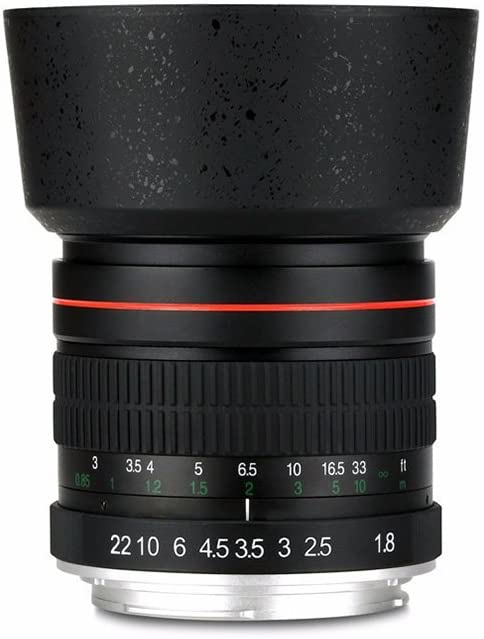
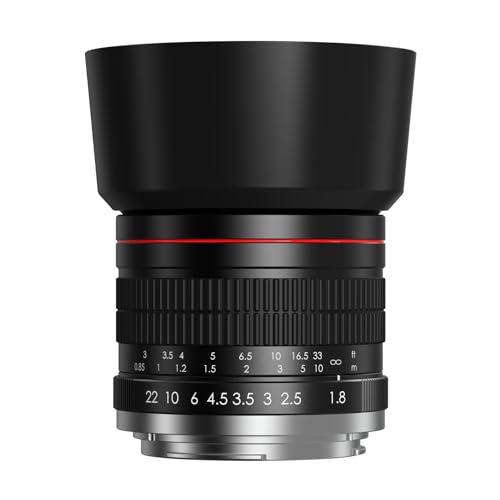
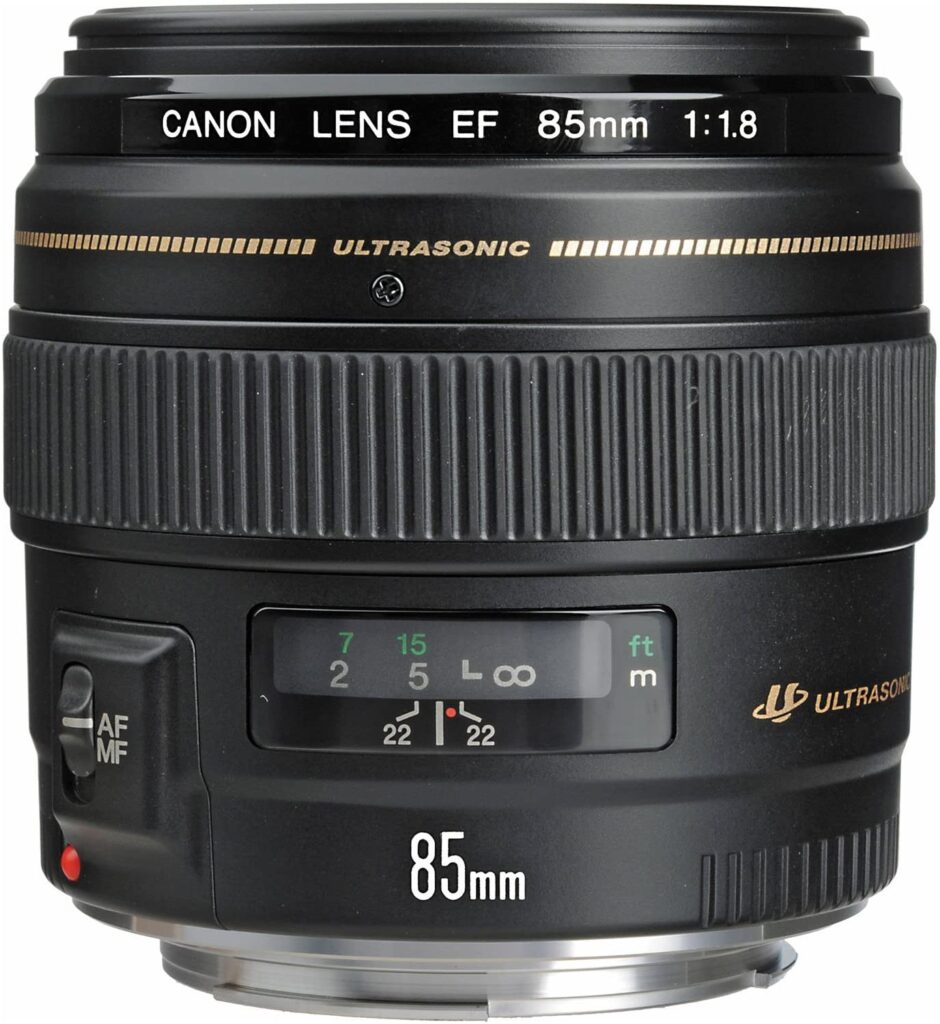
With the kit 18-55mm lens, you’ll get your widest aperture at f/3.5 when zoomed out to 18mm, and f/5.6 at 55mm. Picking up a 50mm f/1.8 lens later on opens up a lot more background blur potential for your portraits.
Step 5. Portrait Manual Mode with Canon T6
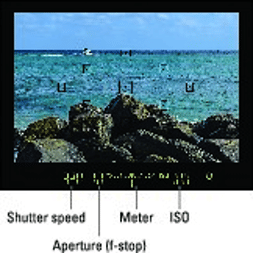
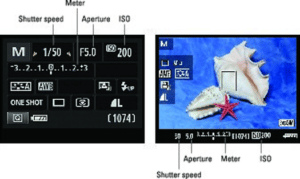
Manual Mode (M) gives you full control over both shutter speed and aperture at the same time. The T6 displays an exposure scale in the viewfinder and on the LCD, so you can see whether your image will be overexposed or underexposed before you shoot.
Start by setting your desired aperture for the depth of field you want, then adjust the shutter speed until the exposure indicator sits near the center. If you can’t get a good balance, adjust your ISO. Manual mode takes more practice than the auto modes, but it gives you complete creative freedom over every aspect of your exposure.