How Do Nikon D3300 Portrait Settings Work
Your Nikon D3300 portrait settings can turn a simple snapshot into something you’re actually proud of. The D3300 is a solid entry-level DSLR with a 24.2-megapixel DX sensor and no optical low-pass filter, which means it captures finer detail than most cameras in its class. It also runs on the EXPEED 4 image processor, giving you quick performance and clean high-ISO results.
Let’s walk through the key settings you’ll want to adjust for better portraits.
Portrait Photography with Nikon D3300
Step 1. Determining the Light Metering Modes
The D3300 gives you three metering options, and you can access them through the settings menu by pressing the “i” button on the back of the camera.
Matrix metering is the default. It reads light from across the entire frame and balances the exposure accordingly. For most outdoor portrait situations, it works just fine.
If Matrix mode gives you inconsistent results (common with backlit subjects), try center-weighted metering, which prioritizes the middle of the frame. Spot metering is the most precise option: it reads only a small area around your active focus point. This is handy when your subject’s face is significantly brighter or darker than the background. You can also dial in exposure compensation (+/- EV) to fine-tune the brightness without switching metering modes.
Step 2. Optimum White Balance
The D3300 offers several white balance presets: Auto, Daylight, Shade, Cloudy, Incandescent, Fluorescent, and Flash. Auto white balance handles most outdoor lighting well, but it can struggle under mixed artificial lights.
For indoor portraits with tungsten bulbs, set it to Incandescent. Under fluorescent office lights, pick the Fluorescent preset. If you’re dealing with mixed sources (a window plus overhead lights, for example), use the Preset Manual white balance option. Navigate to the shooting menu, select White Balance, then choose Preset Manual and follow the on-screen instructions to calibrate against a white or gray card.
Step 3. Aperture Setting
Aperture is the single biggest control you have over how your portraits look. An aperture of f/5.6 or wider (lower number) blurs the background and isolates your subject, which is the classic portrait look. You can change the aperture by rotating the rear Command dial while in Aperture Priority mode (A on the mode dial).
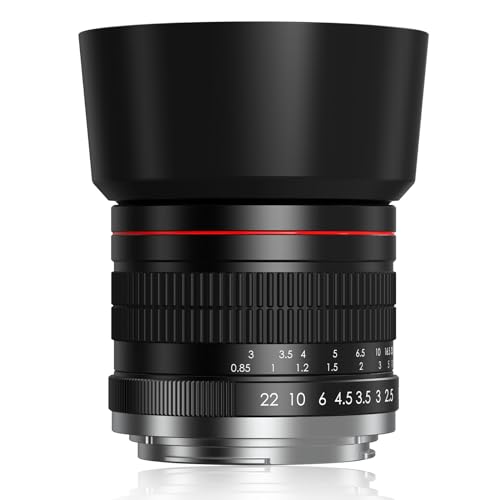
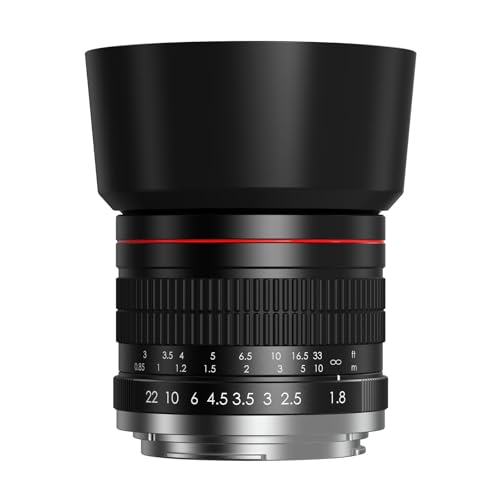
With the D3300’s 18-55mm kit lens, the widest aperture available is f/3.5 at 18mm and f/5.6 at 55mm. If you want more background blur, consider picking up a 35mm f/1.8G DX lens. It’s affordable, sharp, and opens up to f/1.8 for really smooth backgrounds. For a deeper depth of field (keeping both subject and background in focus), set Aperture Priority to f/9 or higher, and the camera will match the shutter speed automatically.
Step 4. Accurate Shutter Priority
In Shutter Priority mode (S), you pick the shutter speed with the Command dial and the camera sets the aperture. For handheld portraits, keep the shutter speed at 1/60 of a second or faster. Anything slower than 1/30 risks camera shake, since the D3300’s Vibration Reduction depends on the lens (and the kit lens VR can only do so much).
For portraits of active subjects (kids running around, for instance), bump the shutter speed up to 1/250 or faster. The D3300’s 11-point AF system will track them across the frame in AF-C (continuous autofocus) mode, helping you keep up with unpredictable movement.
Step 5. Controlling in Manual Mode
Manual mode (M) puts both shutter speed and aperture in your hands. The D3300 displays an exposure indicator in the viewfinder that shows whether you’re over or under the correct exposure, but it won’t stop you from shooting if you’re off. That freedom is the whole point.
Start by setting aperture for the depth of field you want, then adjust shutter speed until the exposure bar centers. If you can’t get there without an impractically slow shutter speed, raise your ISO. As a beginner, balancing these three settings takes practice. But over time it becomes second nature, and the reward is total creative control over every frame you take.
Following these guidelines with the Nikon D3300 will sharpen your portrait photography skills and help you get consistent results.