When you purchase through links on our site, we may earn an affiliate commission. Here’s how it works.
How to Adjust Canon M50 Portrait Settings
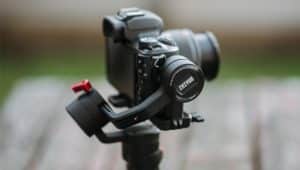
The Canon EOS M50 is a mid-range, affordable mirrorless camera with a 24.0MP sensor capable of capturing high-quality images.
Despite being considered a ‘budget camera,’ the Canon EOS M50 offers features that can produce beautiful portrait shots with fine detail.
Its compact size makes it convenient for travel, and it boasts excellent image quality, consistent metering, and effective auto-white balance.
If you want to capture portrait photos with the Canon M50 but are unsure of the settings, these tips and guidelines will help you understand the process better.


How to Shoot Portrait Photography Using Canon M50
Step 1. Exposure Compensation and Exposure Bracketing
Exposure Compensation: If your portrait shots appear overexposed or underexposed, you can adjust the auto exposure creatively. You can modify the exposure level by up to or minus 3 EVs.
Auto Exposure Bracketing: This feature, combined with exposure compensation, allows you to take portraits at different levels. You can choose the best image from a range of up to +/- 5 EV, potentially resulting in a brighter photo.
Step 2. ISO Speed Settings for Portraits
The ISO speed can be set to Automatic or a specific value. ISO 100 offers optimal quality, but higher ISO speeds are necessary for faster shutter speeds in portrait photography.
For beginners, auto mode is recommended to avoid confusion about ISO settings.
ISO Auto: The automatic ISO range is from 400 to 25600. Increasing the ISO makes the photo more sensitive but can introduce noise and grain. A value of 6400 or 3200 is often recommended for portrait shots.
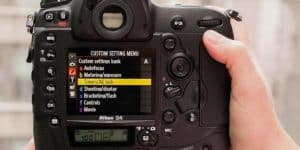
Step 3. Metering Modes
There are several metering modes available for portrait photography. The camera’s metering sensor measures the incoming light and determines the required exposure. Modes include evaluative, partial, spot, and center-weighted averages.
You can experiment with the metering mode and timer to achieve creative results.
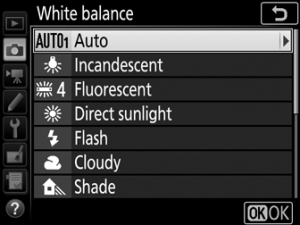
Step 4. White Balance Setting
While Auto White Balance usually performs well, you can switch to Auto White Balance with white priority (AWB-P), a preferred setting among portrait photographers for various lighting conditions.
Custom white balance and color temperature adjustments can further tailor your shots with the Canon M50.
Step 5. Stabilizing with Optical Image Stabilization
Optical image stabilization ensures sharper pictures at slower shutter speeds without drawbacks. Electronic image stabilization is also available for shooting professional model portraits, proving invaluable to some photographers.
This camera, featuring a flip screen, is excellent for beginners and experienced photographers.