Canon 200D Photography: What You Need to Know
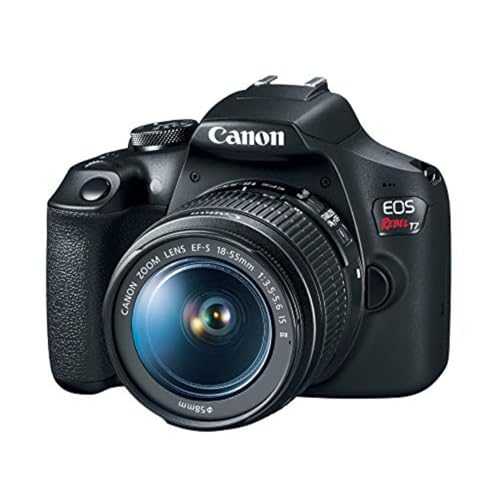
Canon 200D photography opens up a lot of creative options, even for those just stepping up from a smartphone. The camera packs a 24.2MP CMOS sensor, shoots at 5fps in burst mode, and runs on Canon’s DIGIC 7 image processor. That combination gives you solid image quality and fast performance in a lightweight body.
If you just picked one up, start with the basics before jumping into the more advanced features. The tips below will help you get sharper, better-exposed images right away.
Practical Tips for Canon 200D Photography
Step 1. Fix Tricky Lighting
Dealing with difficult light is one of the most common challenges in Canon 200D photography, whether you are a beginner or have been shooting for years.
The camera has an exposure lock button that lets you lock your exposure reading on a specific part of the frame. This is especially helpful when the light behind your subject is brighter than the subject itself.
For example, if you are shooting a backlit portrait, point the camera at your subject’s face, press the exposure lock button (marked with an asterisk * on the back of the camera), and then recompose the shot. The camera will hold the correct exposure for the skin tones rather than blowing them out because of the bright background.
Step 2. Use the Histogram to Monitor Exposure
The Canon 200D has a built-in histogram that shows you a graph of the tonal values in your image. This lets you check exposure before and after each shot so you can make adjustments on the fly.
If the histogram bunches up on the left side, your image is underexposed and the dark areas are losing detail. If it crowds the right side, you are overexposing and losing highlights.
You can pull up the histogram by pressing the INFO and DISP buttons on the back of the camera. Make it a habit to glance at the histogram after your first few shots in a new location so you can dial in the right settings quickly.
Step 3. Connect to Your Phone or Laptop
Sharing photos and videos from the Canon 200D to your smartphone or computer is quick once you set up the connection.
Download the Canon Connect app (available on iOS and Android) and pair it with the camera over Wi-Fi. The app lets you transfer images wirelessly and also works as a remote shutter release, which is handy for group shots, tripod work, or any situation where you want to trigger the camera without touching it.
Before downloading, check Canon’s official website to confirm your phone or tablet is on the compatibility list.
Step 4. Experiment with Picture Styles
The Canon 200D comes with built-in color profiles called Picture Styles. These let you tweak sharpness, color saturation, tone, and contrast for JPG images right in the camera, without needing editing software.
Picture Styles are particularly useful for black-and-white photography, giving you a polished monochrome look straight out of the camera.
The best style depends on what you are shooting. Landscape scenes typically benefit from boosted greens and blues with higher contrast. Portraits usually look better with softer sharpness and warm skin tones.
Keep in mind that Picture Styles only apply to JPG files. If you shoot in RAW, the styles will not bake into the file, though you can still apply them later during post-production in Canon’s Digital Photo Professional software.
Step 5. Track Moving Subjects with AI Servo
The Canon 200D features AI Servo autofocus mode, designed specifically for photographing moving subjects. When AI Servo is active, the camera continuously adjusts focus to keep up with your subject as it moves through the frame.
This mode works well for sports, pets, wildlife, and any scene with unpredictable movement. If you shoot kids running around at a birthday party or birds in flight, AI Servo will keep the subject in focus frame after frame.
Wrapping Up: Canon 200D Photography Tips
The Canon 200D is a strong entry-level DSLR that punches above its weight class. By learning to lock exposure, read the histogram, connect wirelessly, apply Picture Styles, and use AI Servo, you will get noticeably better results from this camera.
If there is a specific camera or accessory you would like us to review, drop a note in the comments below.
See Also