When you purchase through links on our site, we may earn an affiliate commission. Here’s how it works.
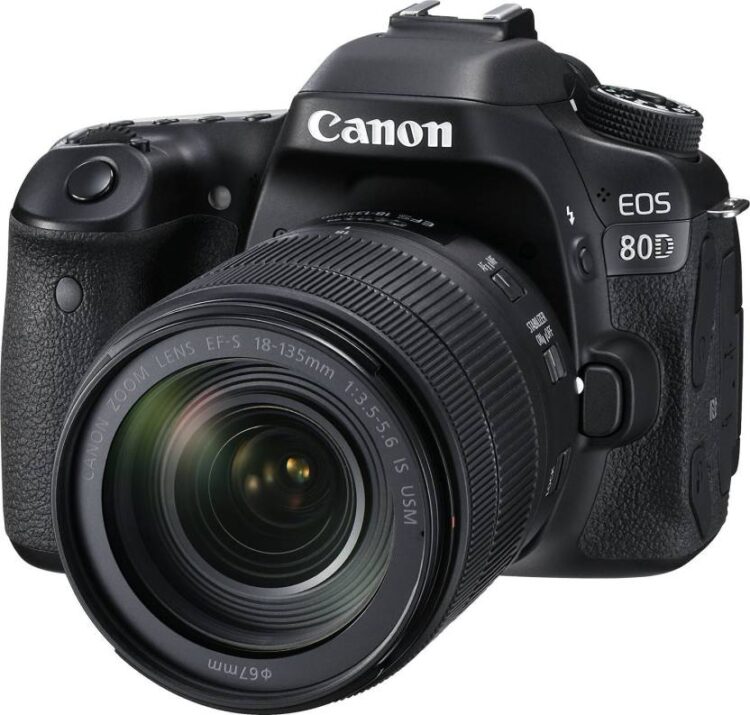
How To Eliminate Color Casts With The Shoot on Canon EOS 80D
A shoot by the lighting or scene type option in your Canon EOS 80D flip screen DSLR may be named as the eliminate color cast.
The reason behind the color casts is to remove the unwanted color casts, which can occur when the camera creates a white balance misstep.
In this mode, you can shoot with settings that match the lighting and the scene type.
Usually, the default settings are much more adequate for the shooting, but if the background matches the lighting conditions and the scene type, then your pictures will look more accurate in your eyes.
Let’s look at the steps in which you need to eliminate the color casts with the shoot by the lighting or the scene type on Canon EOS 80D.
Step 1: While you are shooting, you must remember to set your dial into the scene types from the camera settings.
Step 2: While shooting with your camera, you must set the movie shooting or the live view shooting mode to the camera mode because you will have to take the shots by the lighting and the scene type
Step 3: You will have to display the live view image by pressing the start and stop buttons for displaying the live view image.
Step 4: While you are shooting, then you can use the quick control to select the lighting or the scene type.
- At first, you will have to press the <Q> button for 10 seconds.
- After that, you will need to press the upper and the lower button to select the default settings and the light or scene type settings under the based shots, which will appear on the screen.
- After that, you need to press the left and right arrow keys to select the lighting and the scene type.
- After that, the picture will appear, which is selected by the lighting or the scene type which will be displayed.
Step 5: Now, you will have to take the picture
- At first, you will have to press the shutter button entirely to click an image.
- For the return to the viewfinder shooting, you can press the start/ stop button to exit the live shooting mode and then you must press the shutter button completely to take the picture.
- If you change to the shooting mode or set the power, then you will need to switch to the <OFF>, and then the settings will get revert back to the default settings.
Lighting And The Scene Types
- Default settings: – In these settings, the default settings will get suited for most of the subjects.
- Daylight: – These settings are for the subjects that are under the sunlight. This gives a more natural look to the blue skies and the greenery, which reproduces the light color of flowers better.
- Cloudy: – These settings are for the overcast skies, and this makes the skin tones and the landscapes that might look dull on a cloudy day and get look warmer. This is also effective for light-colored flowers.
- Tungsten light: – These settings are under tungsten light, and this reduces the skin tones and under the landscapes and also it helps to reduce the red-orange color cast, which is caused by the tungsten lighting.
- Shade: – These settings are for the things which are in darkness and also get for the suitable skin tones which might get the look of the bluish and the light-colored flowers.
See Also
Related Resources:
How to connect Canon 600d to computer?
How to connect Canon 20d to computer?
How to use Flexizone multi autofocusing on your Canon eos 80d?