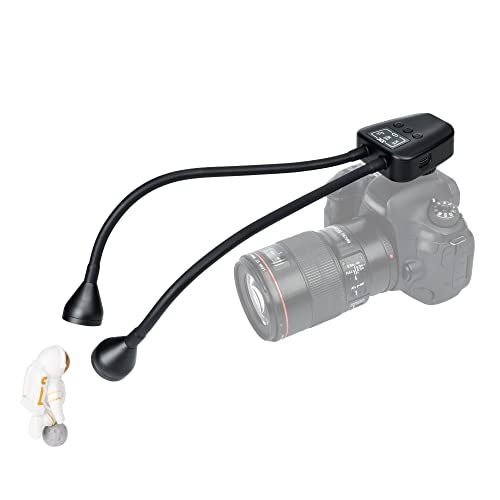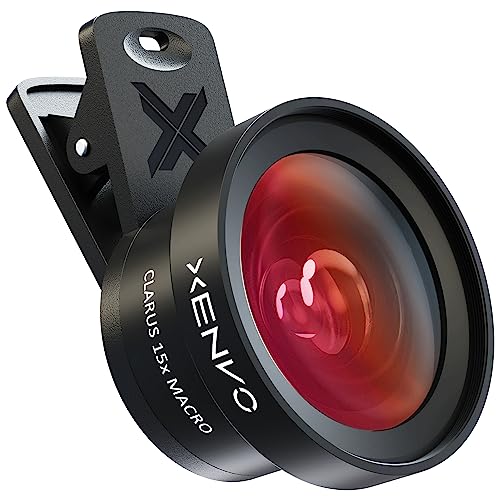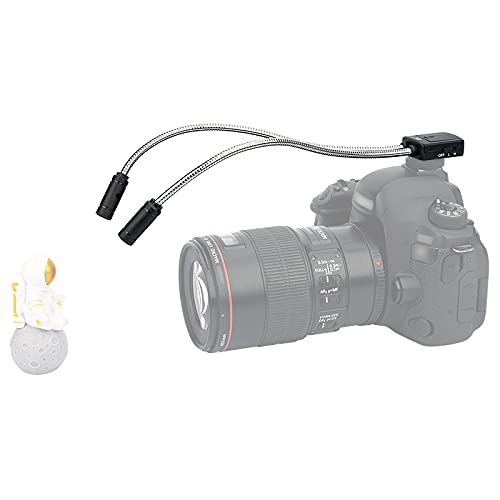
What is macro photography, exactly? It is a style of close-up photography where tiny subjects like insects, flowers, water droplets, or coins fill the entire frame, revealing details that are invisible to the naked eye. Technically speaking, “true macro” refers to shooting at a 1:1 magnification ratio, meaning a 1cm subject takes up exactly 1cm on your camera’s sensor. In practice, though, most photographers call anything a macro shot if it gets close enough to show detail you would otherwise miss. The real challenge is not about buying expensive equipment. It is about managing the extremely thin depth of field, dealing with amplified camera shake, and solving the lighting problems that come with working just inches from your subject.
What Does Macro Photography Mean
The word “macro” literally translates to large, and in photography it describes the process of making small things appear big. A true macro lens reproduces subjects at 1:1 magnification on the camera sensor. A 10mm ladybug fills 10mm on the sensor, which in the final image means it occupies a large portion of the frame. Some specialty macro lenses push beyond 1:1 to 2:1 or even 5:1, crossing into territory that sits between traditional macro and microscopy.
Most people use the term more loosely than that. Smartphone cameras have a “macro mode” that focuses closer than normal but does not come anywhere near 1:1. Kit lenses with a “macro” label often top out at 1:4 or 1:3 magnification. That difference matters if you are shopping for gear, because a lens marketed as “macro” at a retail store may not produce the magnification you expect.
What sets macro photography apart from simply zooming in is the working distance, the gap between the front element of the lens and the subject. At true macro magnification, you might be sitting 6 to 12 inches from a butterfly wing. That closeness changes everything: depth of field drops to fractions of a millimeter, the slightest camera movement is magnified dramatically, and your own shadow or even your breath can disturb the subject.
Gear You Need for Macro Photography
In macro work, the lens you choose matters more than the camera body. Any interchangeable-lens camera, whether it is a Canon EOS Rebel series, a Nikon D5600, a Sony a6400, or any current mirrorless body, can produce outstanding macro results as long as the right lens is mounted. Full-frame sensors offer a slight edge in high-ISO performance and depth of field control, but APS-C and Micro Four Thirds bodies perform perfectly well for this type of shooting.
| Option | Magnification | Approximate Cost | Image Quality | Best For |
|---|---|---|---|---|
| Dedicated macro lens (90-105mm) | 1:1 (true macro) | $400-$900 | Excellent | Serious macro work, also doubles as a portrait lens |
| Extension tubes | Varies by lens, roughly 1:2 to 1:1 | $80-$150 (set of 3) | Very good (no glass elements) | Budget macro with lenses you already own |
| Close-up diopter filters | Roughly 1:4 to 1:2 | $15-$50 | Decent center, soft edges | Casual experimentation |
| Reversed lens (with adapter ring) | 1:1 or stronger depending on focal length | $10 for the reversing ring | Good center sharpness | Zero-budget macro, manual everything |
| Smartphone macro mode | Roughly 1:4 | Free (built into phone) | Limited by phone sensor | Learning composition basics |
A dedicated macro lens in the 90 to 105mm range remains the gold standard in 2026. The Canon RF 100mm f/2.8L Macro, Nikon Z MC 105mm f/2.8 VR S, and Sony 90mm f/2.8 Macro G all deliver true 1:1 magnification with a comfortable working distance of roughly 12 inches. That distance matters. A 50mm macro lens reaches the same magnification, but it forces you within 6 inches of your subject, which startles insects and blocks your own light.
Extension tubes are the best budget entry point for macro. These are hollow spacers with no glass inside that sit between the camera body and any existing lens, reducing the minimum focus distance. A set of Kenko or Meike tubes runs around $80 and turns a standard 50mm prime into a capable macro setup. Image quality stays high because no additional glass degrades the image. You do lose roughly 1 to 2 stops of light depending on the tube length, but that is an easy tradeoff.
A tripod is not optional if you take macro seriously. At 1:1 magnification, even your heartbeat is enough to shift the frame. A sturdy tripod with a head that angles downward works well for flowers and ground-level subjects. For the finest focus adjustments, consider adding a focusing rail. This small sled moves the camera forward and backward in tiny fractions of a millimeter, which is far more precise than turning the focus ring by hand.
Best Camera Settings for Macro Photography
Standard photography rules fall apart at macro distances. Depth of field that would cover an entire person in a portrait scenario may cover less than a millimeter at 1:1 magnification. Camera shake that goes unnoticed in a landscape image can completely ruin a macro shot. The settings below account for these differences.
| Setting | Recommended Range | Why |
|---|---|---|
| Aperture | f/8 to f/16 | Enough depth of field to keep the subject recognizable. At f/2.8, less than 1mm is in focus at 1:1 |
| Shutter speed (tripod) | 1/60 to 1/250 | Slower speeds are fine on a tripod for static subjects like flowers |
| Shutter speed (handheld) | 1/250 to 1/500+ | Every micro-movement is amplified at close range |
| Shutter speed (insects) | 1/500 to 1/1000 | Moving subjects demand fast shutter speeds regardless of tripod use |
| ISO (tripod) | 100-400 | Lowest noise possible since shutter speed is not a constraint |
| ISO (handheld) | 400-1600 | Trade some noise for a sharp capture. Grainy and sharp beats smooth and blurry |
| Focus mode | Manual | Autofocus hunts at macro distances. Manual focus with body rocking is faster |
| Drive mode | Continuous/burst | Fire multiple frames while rocking focus to increase your hit rate |
Aperture is the biggest adjustment you will make compared to normal photography. At f/2.8 and 1:1 magnification, the depth of field is under 1mm. One antenna of a butterfly might be sharp while everything else dissolves into blur. Most macro shooters work between f/8 and f/16 for enough depth to keep the subject identifiable. Going past f/22 introduces diffraction, which softens the entire image regardless of how good your focus is. The sharpest aperture on most macro lenses falls around f/8 to f/11.
Manual focus is standard practice for macro shooting. Autofocus struggles at these close distances because the contrast detection system hunts back and forth without locking on. A faster technique is to set the lens to approximately the right magnification, then physically rock your body forward and back (or move the camera on a focusing rail) until the subject snaps into focus. It sounds rough, but experienced macro photographers do this instinctively and it works far better than relying on autofocus.
How to Get Sharp Macro Photos
Use a tripod and a remote shutter release or 2-second timer. At macro magnification, the simple act of pressing the shutter button with your finger introduces enough vibration to blur the shot. A wireless remote, cable release, or the camera’s built-in self-timer eliminates this problem. If your camera or lens has image stabilization (IS, VR, IBIS), turn it off when shooting on a tripod. Stabilization systems can actually introduce small movements when the camera is already stationary.
Find your subject first, then set up. Wandering around with a macro lens hoping something interesting appears rarely produces good results. Scout a location, spot a promising subject, whether it is a spider web with dew, a textured leaf, or a rusty bolt, then take the time to study angles, check where the light falls, and position your tripod carefully.
Pay attention to the background. A messy background ruins a macro photo faster than soft focus ever will. Before pressing the shutter, look past your subject. A clean, uniform area behind it, such as a single leaf, open sky, or a dark shadow, makes the subject pop. Shifting your camera angle by just a few inches can clean up the background entirely. Some macro photographers carry a small piece of black velvet to place behind subjects for a clean dark backdrop.
Shoot in overcast light or open shade. Direct midday sun creates harsh shadows and blown-out highlights on small subjects. An overcast sky acts like a giant softbox, wrapping even, diffused light around every tiny texture. Early morning is ideal for outdoor macro because the light is soft, dew adds visual interest, and insects are sluggish from the cool air, which means they hold still longer for you.
Approach insects slowly. Quick movements trigger a flight response. Move in gradually, take a shot at a distance, step closer, take another. If the insect flies off, you at least have a usable frame. Many macro photographers find that sitting still near a flower for 5 to 10 minutes lets insects come to them, which is far easier than chasing subjects around a garden.
What Is Focus Stacking in Macro Photography
Focus stacking solves the depth-of-field problem that no single aperture setting can fix on its own. You take multiple photos of the same subject, each focused at a slightly different point from front to back, and then merge them in software. The result is an image that is sharp across the entire subject, something that no single exposure can achieve at macro magnification.
To do this, mount your camera on a tripod, compose the shot, and then take 10 to 30 frames while adjusting the focus point slightly between each one. You can do this by turning the focus ring in tiny increments or by moving the camera on a focusing rail. Some cameras, including newer Canon R-series, Nikon Z-series, and OM System bodies, have built-in focus bracketing that automates this process entirely. Combine the stack in Adobe Photoshop (Edit > Auto-Blend Layers), Helicon Focus (dedicated stacking software, around $30), or the free tool CombineZP.
Focus stacking is standard practice for product photography, scientific imaging, and competition-level insect macro. For casual macro shooting, a single well-focused frame at f/11 usually does the job just fine.
Best Subjects for Macro Photography
You do not need to travel anywhere exotic to find great macro subjects. A backyard, a kitchen counter, or even a hardware store parking lot holds enough material for months of shooting.
Insects and spiders are the classic macro subject. Compound eyes, wing veins, leg hairs, and body textures reveal astonishing detail up close. Mornings are best because insects are cool and slow. Check flowers, the undersides of leaves, and window screens for subjects.
Flowers and plants are the most accessible macro subjects you will find. Petals, stamens, pollen grains, leaf veins, and water droplets on petals all photograph beautifully. Flowers hold still (mostly, wind is their enemy), which makes them perfect for practicing focus stacking.
Water droplets on any surface create natural lenses that refract the background behind them. Spray a flower or leaf with a mist bottle and photograph the droplets. Each one contains a tiny inverted image of whatever sits behind it.
Food and cooking ingredients reveal surprising structure when seen up close. Salt crystals, coffee grounds, sliced fruit, spice textures, bread crust, and chocolate all have hidden patterns. Indoor food macro is excellent practice since you have full control over the lighting.
Everyday textures like fabric weave, wood grain, rust, peeling paint, circuit boards, coins, and watch mechanisms make compelling abstract images. The subject does not need to be “beautiful” in the traditional sense. At macro distances, structure and pattern are what carry the image.
Macro Photography FAQs
What is the difference between macro and close-up photography?
True macro photography means shooting at 1:1 magnification or greater, where the subject is life-size or larger on the sensor. Close-up photography refers to any photo taken closer than normal but below 1:1 magnification. In everyday conversation, people use the two terms interchangeably, and the techniques overlap a great deal.
Do you need a macro lens for macro photography?
No. Extension tubes (around $80) turn almost any existing lens into a macro-capable setup with minimal quality loss. Close-up diopter filters ($15 to $30) also work, though edge sharpness suffers. A reversed 50mm lens with a $10 adapter ring can reach roughly 1:1 magnification. A dedicated macro lens gives the best results and is the easiest to work with, but it is not the only way to get started.
Why are my macro photos blurry?
The most common cause is camera shake amplified by the close working distance. Use a tripod, a remote shutter or 2-second timer, and turn off lens stabilization when shooting on a tripod. The second most common cause is using too wide an aperture. At f/2.8 and 1:1 magnification, depth of field is under 1mm. Try f/11 and see if sharpness improves. If both settings are correct, wind may be moving your subject between the moment you focus and the moment the shutter fires.
What is the best aperture for macro photography?
f/8 to f/11 is the sweet spot for most macro situations. This range provides enough depth of field to keep the subject recognizable while maintaining strong optical sharpness. Below f/8, depth of field becomes too thin for most subjects. Above f/16, diffraction starts softening the image. For maximum front-to-back sharpness, use focus stacking at f/8 rather than stopping down to f/22.
Can you do macro photography with a phone?
Yes, at a basic level. Most modern smartphones in 2026, including recent iPhones, Samsung Galaxy S-series, and Google Pixel models, have a macro mode that focuses at very close distances. The results will not match a dedicated lens on a camera since phone sensors are much smaller, so noise and detail limitations show up quickly. But phones are more than good enough to learn composition, lighting, and patience, which are the real skills behind great macro work.
What is focus stacking?
Focus stacking is a technique where you take multiple photos of the same subject at slightly different focus distances, then merge them in software to produce one image that is sharp from front to back. It solves the fundamental macro challenge of paper-thin depth of field. Software options include Adobe Photoshop, Helicon Focus (around $30), and the free tool CombineZP. Many newer cameras automate the capture process with built-in focus bracketing.