When you purchase through links on our site, we may earn an affiliate commission. Here’s how it works.
Adobe has been one of the leading names in software for graphic design, video editing, animation, visual effects, and many other digital creations that we see today.
One of their many great software is Adobe Premiere Pro CC. Adobe Premiere Pro CC is one of the most popular video editing software, known for its robust features, including advanced color correction capabilities.
Adobe Premiere Pro also works across platforms, which is great! It is seamless to transfer projects between macOS and Windows, making it ideal for cross-platform teams. You can also turn your videos into a wide range of aspect ratio presets.
Anyway, let me introduce you to Adobe Premiere Pro CC and all the basic things that you’ll need to know.
When you open Adobe Premiere Pro CC, this is what you will see,
Click ‘New Project.’ A dialog box will appear, prompting you to name your project, specify its location, and configure initial settings like the renderer and scratch disks. Then click OK.
The interface layout may vary. You can select from predefined workspaces (e.g., Learning, Assembly) or customize your own.

Video Editing Basics with Adobe Premiere Pro CC
or you can rearrange all those panels to your liking; you can close them, drag them, however way you want it, then save that workspace. (Window – Workspace – Save as New Workspace)
The most important and always-used panels that you need are:
1. Timeline
2. Program Monitor (where you will preview your project)
3. Effects
4. Effects Controls
5. Tools
6. Audio Meters
Now that you’re set-up, let’s get started. First, you need to import your files.
1. HOW TO IMPORT FILES: (3 ways)
- File – Import – Import File
- Ctrl + I
- Double Click on the space of the Project panel box
2. HOW TO START EDITING
- CREATE A SEQUENCE: (3 ways)
- Click File – New Sequence – then choose from the aspect ratio.
- Click on the New Item icon – Sequence – then choose from the aspect ratio presets what your final output to be.
- Drag and drop your video from the Project Panel into the timeline or Drag and drop your file from the Project Panel to the New Item icon
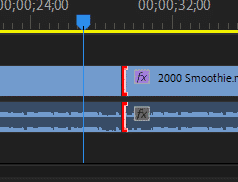
- WORK ON THE TIMELINE

- To scrub and preview your timeline, drag the blue arrow line across the timeline.
- You can zoom in or out on the timeline by pressing + or – on your keyboard.
- You can move frame by frame by pressing the left and right arrows on your keyboard.
- The eye icon is for visibility, and the M / S is for muting or soloing out an audio track. You can turn them on/off by clicking on them.
- To cut or slice your video, select the Razor tool from the Tools Panel or press C on your keyboard, then click on the portion you want to cut. Once you are done, click on the Selection tool or press V on your keyboard.
- To delete, simply click on the part you want to remove, press delete on your keyboard, right-click on the part you want to delete, and select Ripple Delete.
- To apply a transition, drag a transition effect from the Effects Panel (e.g., Cross Dissolve) to the intersection of two clips or use the shortcut ‘Ctrl+D’ for default transitions. You can also search ‘ transition’ on the Effects Panel, then scroll on to Video Transition, choose which effect you want, and then drag and drop that on the connected ends of the footage.
- You can adjust the speed of the transition by dragging the transition marks away or near each other. The farther, the longer the buildup. The closer they are, the shorter the buildup.
connected ends of your footage
- To apply an effect, go to the Effects Panel and drag and drop the effect on that sequence, or click on the part you want to apply an effect to, go to the Effects Panel, and double-click on the effect you’d like to apply.
- Assuming you’ve imported a video and you’d like to separate the audio and video, On the timeline, right-click on the sequence, then select Unlink.
- To Preview, press Space Bar or Enter on your keyboard.
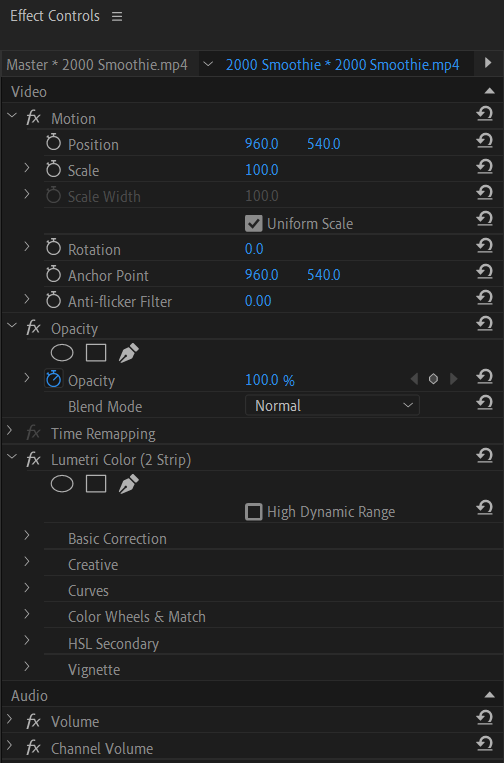
- ADJUSTMENTS
- On the Effects Control Panel, you can adjust Position, Scale, Rotation, Opacity, Volume and other types of effects you have applied, either video and audio of your sequence.
- On the Effects Control Panel, you can adjust Position, Scale, Rotation, Opacity, Volume and other types of effects you have applied, either video and audio of your sequence.
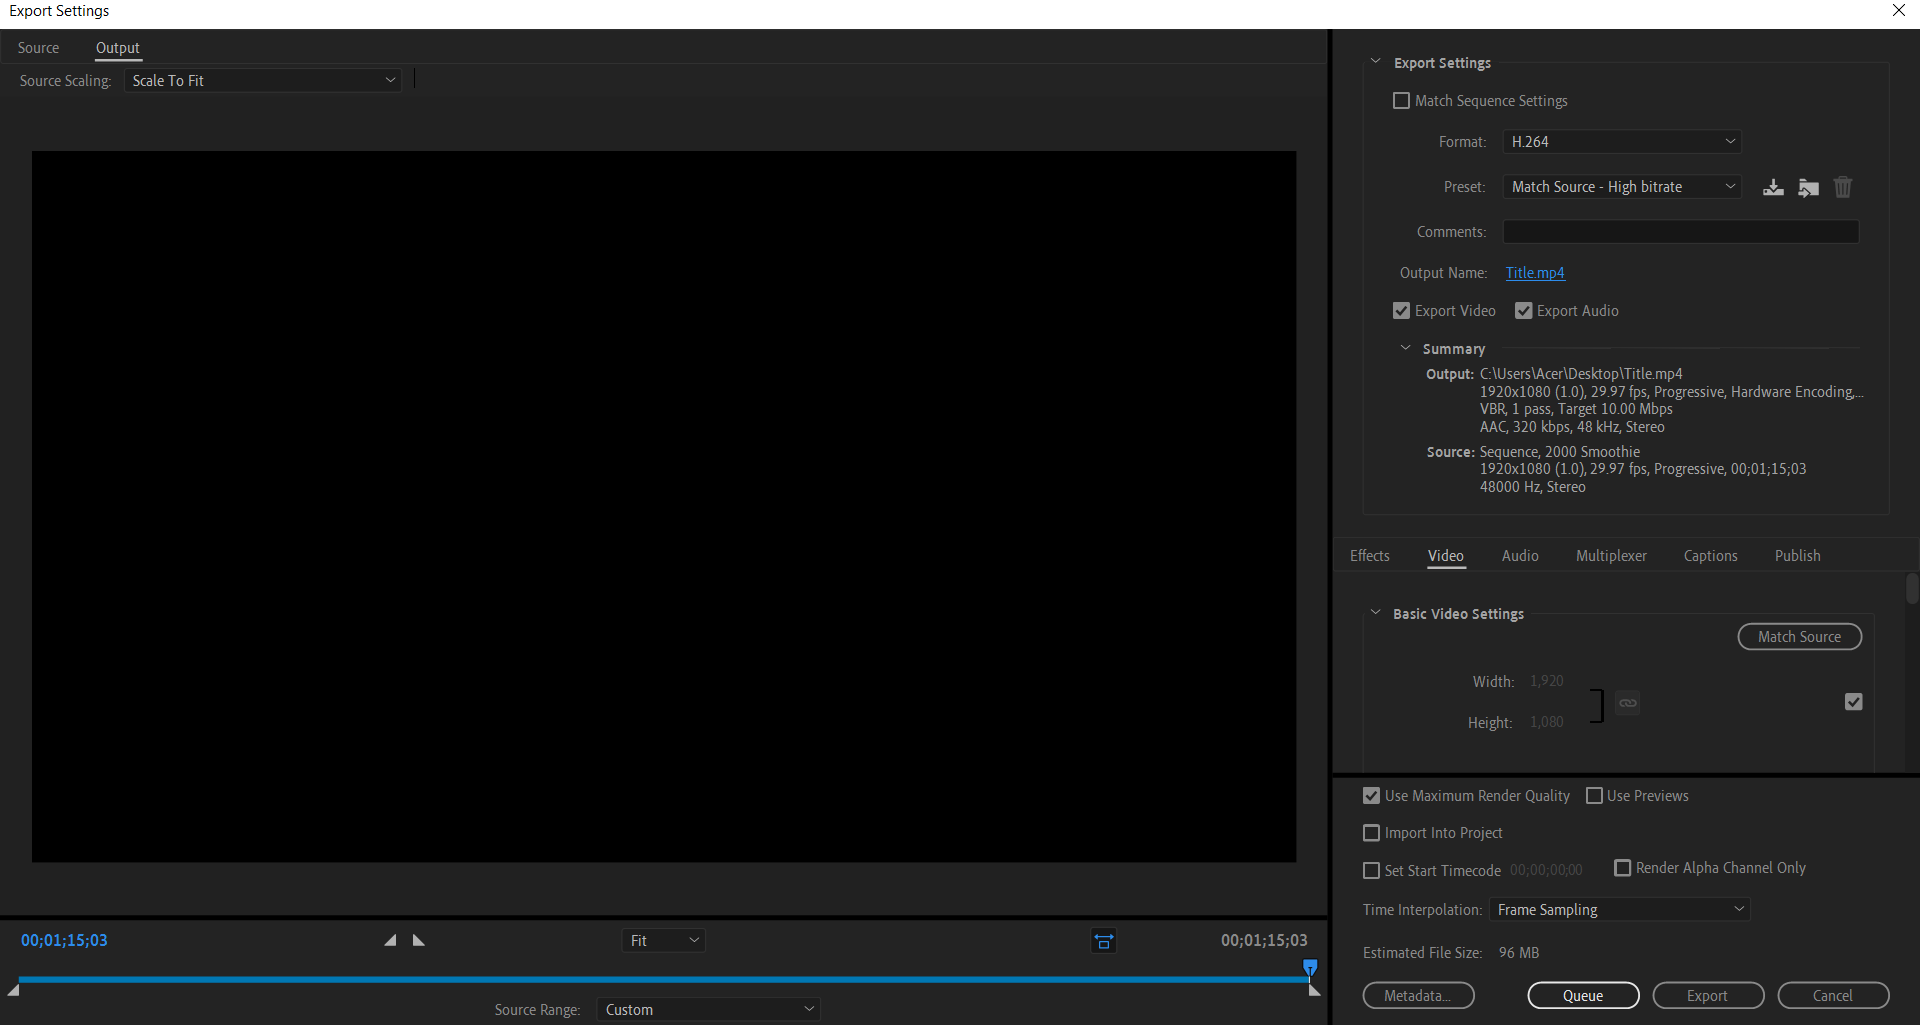
- RENDER
- To export your project, press ‘Ctrl+M’ to open the Export Settings window. Configure the output settings, select the desired format and preset, and then click ‘Export’ or ‘Queue’ to send it to Adobe Media Encoder.
Render Settings on Adobe Premiere CC
- This will automatically export your file to Adobe Media Encoder, where you will see it on the queue. Press enter or the green play button, then wait for it to finish.

Export Window of Adobe Media Encoder
- To export your project, press ‘Ctrl+M’ to open the Export Settings window. Configure the output settings, select the desired format and preset, and then click ‘Export’ or ‘Queue’ to send it to Adobe Media Encoder.
That’s it. Those are the basic moves you’ll need to be able to navigate in Adobe Premiere Pro CC. Recent versions of Adobe Premiere Pro include features like Auto Reframe, which intelligently adjusts your video’s aspect ratio to suit different platforms, such as Instagram or TikTok.
You can auto-reframe your files so that they would fit the requirements of third-party channels such as Instagram. Another cool thing about it is it doesn’t simply cut your sequence into a square. It maintains whatever is essential in your footage.
Try to explore the software, as there are tons of things you can do with it. It’s a powerful tool for video editing.
See Also