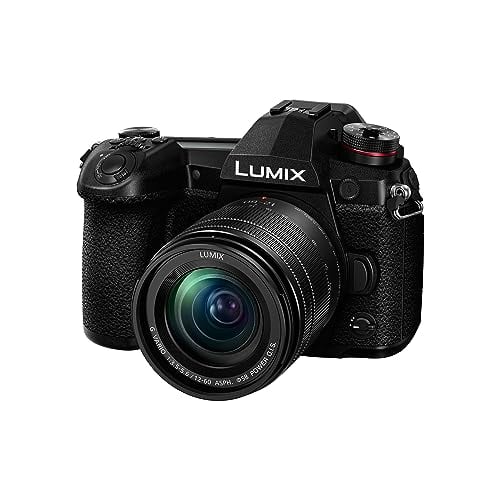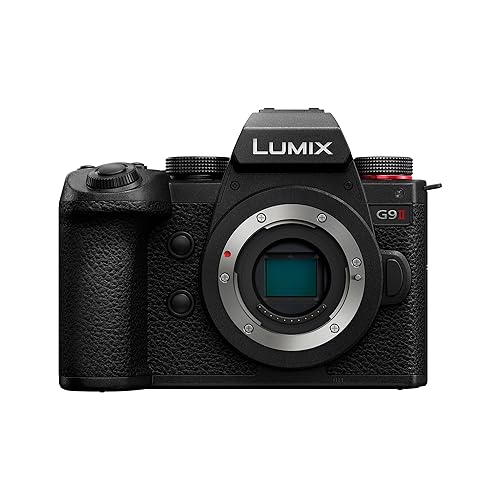
If you enjoy capturing the beauty of nature through your camera, having the right body and the right technique makes all the difference. The Panasonic Lumix G9 landscape photography combination works well because the G9 was built with exactly this kind of work in mind. With a 20.3-megapixel Micro Four Thirds sensor, an 80-megapixel high-resolution mode, 4K video at 60fps, and one of the best image stabilization systems in its class, the G9 gives landscape shooters a capable and portable package that competes well above its price point.
Whether you are new to landscape photography or looking to get better results from your G9, the tips below cover the settings, gear, and techniques that consistently produce strong nature images with this camera.
Finding the Right Depth of Field for Panasonic Lumix G9 Landscape Shots
A strong landscape image typically keeps both foreground and background elements sharp and well-defined. This means you need a deep depth of field, which is controlled primarily by your aperture setting.
The camera is just a tool. What separates a decent landscape from a memorable one is your ability to read the scene and improve your landscape photography skills over time. But getting the technical fundamentals right gives you a solid foundation to build on.
For most landscape scenes, use a narrow aperture between f/8 and f/11. This range offers the sharpest results on the G9’s Micro Four Thirds sensor while keeping depth of field deep enough to hold everything from nearby rocks to distant mountains in focus. Going narrower than f/11 on this sensor can introduce diffraction, which actually softens the image rather than sharpening it.
When you want maximum depth of field and there are strong foreground elements close to the lens, try f/11 combined with focus stacking. Take two or three shots focused at different distances and blend them in post-processing. The G9 has a built-in focus stacking feature that automates this process.
Aperture Settings for Panasonic Lumix G9 Landscape Photography
The aperture you choose directly affects the sharpness, depth of field, and overall look of your landscape images. On the G9, the sweet spot for sharpness on most lenses falls between f/5.6 and f/8. That is where lens optics perform at their best before diffraction starts to eat into detail.
For daytime landscapes in bright conditions, an aperture of f/8 to f/11 works well. This keeps the entire scene sharp while letting in enough light for fast shutter speeds at low ISO. In lower light, such as late afternoon or overcast days, you may need to open up to f/5.6 or f/6.3 to maintain a reasonable shutter speed without pushing ISO too high.
The golden hour is where landscape photography really shines. That brief period just before sunrise and just after sunset bathes the scene in warm, directional light that adds depth and drama to any composition. Most professional landscape photographers target the golden hour whenever possible because the quality of light during those minutes is simply unmatched.
During golden hour, the light changes fast, so be ready to adjust your aperture and ISO on the fly. Start at f/8, ISO 200, and let the shutter speed float in aperture priority mode. Check your histogram after each shot to make sure you are not clipping highlights in the sky.
Photography Filters for Better Landscape Results
Lens filters are often overlooked in landscape work, but they solve problems that cannot be fixed in post-processing. Two types stand out for the G9.
Polarizing Filters
A circular polarizing filter (CPL) is one of the most useful accessories for outdoor landscape photography. It deepens blue skies, increases contrast between clouds and sky, reduces glare on water and wet rocks, and cuts through haze. The effect is most dramatic when shooting at a 90-degree angle to the sun.
Rotate the filter while looking through the viewfinder or at the LCD until you see the sky darken and reflections fade. The effect is visible in real time, which makes it easy to dial in exactly what you want. Just be careful with very wide-angle lenses, because the polarization can look uneven across the frame.
Neutral Density (ND) Filters
ND filters reduce the amount of light entering the lens without affecting color. This allows you to use slow shutter speeds even in bright daylight. Want to turn a rushing waterfall into a silky smooth flow? A 6-stop or 10-stop ND filter lets you expose for several seconds in the middle of the day.
ND filters are also useful for shooting at wide apertures in bright light without overexposing. If you want to blur moving clouds or smooth out ocean waves, an ND filter makes it possible without waiting for the light to fade.
White Balance Settings for the G9
Getting the white balance right is important for landscape photography because it directly affects the mood and color accuracy of your images. The G9 offers several auto white balance options, and AWB works well in many situations. However, during golden hour or in mixed lighting, auto white balance can neutralize the warm tones that make a sunset or sunrise look dramatic.
When shooting in golden hour light, switch to the Daylight preset (around 5200K). This preserves the warm amber tones rather than cooling them down the way auto white balance tends to do. For overcast skies, the Cloudy preset (around 6000K) adds a slight warmth that compensates for the blue-gray cast of cloud cover.
If you are shooting RAW (and you should be for landscape work), white balance can be adjusted freely in post-processing. But getting it close in-camera helps you evaluate your shots accurately on the LCD during the shoot.
Shutter Speed Adjustments for Landscape Photography
Shutter speed controls how motion appears in your landscape images. For static scenes like mountains, meadows, and still lakes, shutter speed mainly needs to be fast enough to avoid camera shake. On the G9, the built-in image stabilization is excellent (rated at 6.5 stops), so you can shoot handheld at surprisingly slow shutter speeds. Even so, a tripod is recommended for the sharpest results.
For moving water, shutter speed becomes a creative tool. A fast speed (1/500 or faster) freezes individual water droplets. A moderate speed (1/15 to 1/4 second) captures motion blur while keeping some texture. A very slow speed (1 second or longer) turns waterfalls and rivers into smooth, misty ribbons. Experiment to find the look you prefer.
Wind is another factor. If you are photographing wildflowers, grasses, or trees on a breezy day, faster shutter speeds (1/250 or above) will freeze the movement. Alternatively, a slower speed can capture the motion blur of wind-blown grass for a more artistic look.
Best Lenses for Panasonic G9 Landscape Photography
Lens selection matters a lot for landscape work. Wide-angle lenses are the go-to choice because they capture broad scenes, emphasize foreground elements, and create a strong sense of depth. The Micro Four Thirds mount offers several excellent options for the G9. A wider lens offers a broader view of both foreground and background, which is exactly what most landscape compositions need.
Here are some of the best picks for Panasonic G9 landscape photography:
- Panasonic Lumix G Vario 7-14mm f/4 – Ultra-wide zoom that covers a massive field of view. Great for sweeping vistas and tight interior shots of natural formations.
- Panasonic Lumix G Fisheye 8mm f/3.5 – Creative option for dramatic distortion effects. Works well for astrophotography too, thanks to the fast aperture.
- Panasonic Leica DG Vario-Elmarit 12-60mm f/2.8-4 – Versatile range covering wide-angle to short telephoto. Excellent sharpness and weather sealing make it a strong all-around landscape lens.
- Panasonic Lumix G X Vario 12-35mm f/2.8 II – Standard zoom with a constant f/2.8 aperture. Good for landscapes in lower light and doubles as a portrait lens.
- Panasonic Lumix G Vario 14-45mm f/3.5-5.6 – Lightweight and affordable. A solid starter lens that covers the most useful focal range for landscape photography.
Additional Gear for Panasonic G9 Landscape Photography
Beyond the camera body and lenses, a few accessories will improve your results. A sturdy tripod is the most important addition. It keeps the camera rock-steady during long exposures and lets you compose carefully without rushing. A remote shutter release or the G9’s built-in 2-second timer prevents vibration from pressing the shutter button.
Extra batteries are a good idea for long sessions, especially in cold weather where battery life drops significantly. A lens cloth and blower keep your glass clean when shooting in dusty or wet conditions. And a good camera bag with rain protection is worth the investment if you plan to hike to your locations.
The G9 is weather-sealed when paired with weather-sealed lenses, so light rain and mist should not be a concern. Just dry the body off when you are done and avoid changing lenses in heavy rain.