Getting Started with Sony A7III
The Sony A7III is still one of the most popular full-frame mirrorless cameras on the market in 2026, and that popularity is earned. It packs a 24.2-megapixel back-illuminated CMOS sensor, 693 phase-detection AF points, 10 fps continuous shooting, 5-axis in-body image stabilization, and 4K video recording into a body that weighs just under 650 grams. Add in dual memory card slots and a battery that lasts 710 shots per charge, and you’ve got a camera that works just as well for weekend hobbyists as it does for working professionals.
The menu system takes some getting used to, though. Sony packed a lot of options into those screens, and finding what you need isn’t always intuitive. This guide walks through the features and settings you’ll use most, so you can spend less time in menus and more time shooting.
Initial Setup
Battery and Charging
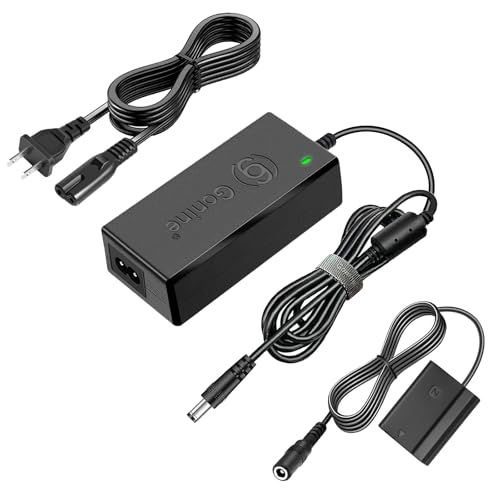
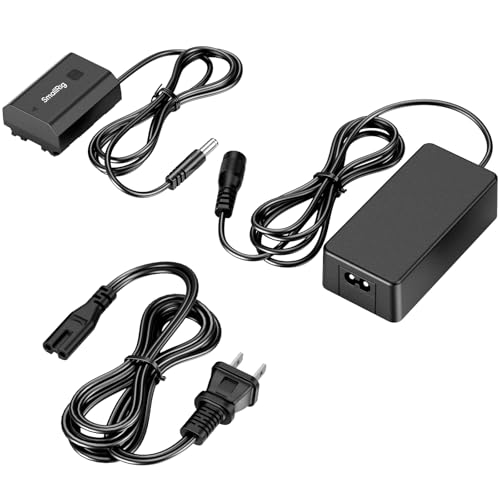
The A7III uses the NP-FZ100 battery, which is a massive upgrade over the batteries in Sony’s older mirrorless cameras. You get around 710 shots per charge using the viewfinder, or about 610 using the LCD. Charge it via the included AC adapter or through the USB-C port on the side of the camera. USB-C charging is slower, but it lets you top off the battery from a power bank in the field.
Memory Card Setup
The A7III has two card slots. Slot 1 accepts SD cards (UHS-I and UHS-II), and Slot 2 also takes SD cards (or Memory Stick Duo, though nobody uses those anymore). In the Camera Settings 1 menu, you can set the slots to work in different ways: simultaneous recording writes the same files to both cards as a backup, sort recording puts RAW on one card and JPEG on the other, and overflow fills slot 1 first, then moves to slot 2.
For the best write speeds, put a UHS-II card in Slot 1 and use Slot 2 for backup or overflow.
Date, Time, and Area
Go to Setup > Date/Time Setup and pick your time zone, daylight saving preference, and current date. This stamps every file with accurate metadata, which matters for organizing images later.
Autofocus System
The A7III’s autofocus is one of its biggest selling points. The 693 phase-detection points cover about 93% of the frame, so the camera can grab focus on subjects almost anywhere in the viewfinder. There are also 425 contrast-detection points that fill in the gaps.
Focus Modes
AF-S (Single-shot AF): The camera locks focus when you half-press the shutter. Best for still subjects.
AF-C (Continuous AF): Focus adjusts continuously while you hold the shutter down. Use this for anything that moves. The A7III’s tracking in AF-C mode is very reliable, especially combined with the right focus area mode.
DMF (Direct Manual Focus): The camera autofocuses first, then lets you fine-tune with the focus ring. Handy for macro work.
MF (Manual Focus): Full manual control. Pair this with focus peaking (more on that below) for accurate results.
Focus Area Modes
Wide lets the camera decide where to focus and works well in most situations. Zone narrows the focus area to a portion of the frame. Center fixes focus to the middle of the screen. Flexible Spot gives you a movable point that you position manually. Expand Flexible Spot adds surrounding points to assist if the subject drifts.
Lock-on AF activates tracking. Pick your subject and the camera follows it around the frame. Combined with AF-C, this is excellent for sports, pets, and active kids.
Eye AF
This is the feature that sets the A7III apart from a lot of its competition. In AF-C mode, the camera detects and tracks human eyes in real time. It works at a distance, at odd angles, and even when the subject is partially turned away. Assign Eye AF to a custom button (the center button of the control wheel works well) for quick access.
This topic ties into our external monitor for Sony cameras guide, which covers the next steps.
Shooting Modes
Turn the mode dial on top to switch between these options:
P (Program Auto): The camera sets aperture and shutter speed. You can shift the combination by turning the control dial.
A (Aperture Priority): You set the f-stop, the camera picks shutter speed. This is the mode most photographers default to because it gives you control over depth of field while keeping exposure accurate.
S (Shutter Priority): You pick the shutter speed, the camera handles aperture. Good for freezing action or creating motion blur intentionally.
M (Manual): Full control. The exposure meter on screen tells you whether you’re over or underexposed.
ISO and Exposure
ISO Range
The A7III’s native ISO range is 100 to 51200, expandable to 50 and 204800. In real-world use, images stay clean up to about ISO 6400, and ISO 12800 is usable with some noise reduction. The back-illuminated sensor handles high ISO situations better than most cameras in this price range.
Auto ISO
In the Camera Settings 1 menu, set ISO to Auto and configure the maximum auto ISO limit (6400 is a safe starting point). You can also set a minimum shutter speed, which tells the camera not to drop below that speed before raising ISO. This is helpful when shooting handheld with longer lenses.
Exposure Compensation
The dedicated exposure compensation dial on top of the camera adjusts brightness in 1/3-stop increments up to +/- 3 stops. Some photographers leave this dial alone and use the on-screen control instead, since the physical dial can get bumped accidentally in the bag. You can lock the dial’s function in the Custom Settings menu if this bothers you.
Video Recording
The A7III records 4K at 24 and 30 fps, and Full HD at up to 120 fps for slow motion. The 4K footage uses the full width of the sensor (no crop at 24fps), pulling from 6K of data and downsampling for sharp, detailed video.
Our guide on Sony a7iii vs Canon 5d mark iv goes into more detail if you need it.
You can start recording in any mode by pressing the dedicated MOVIE button on the back. If you’re using PAL format, frame rate options change (25fps and 100fps instead of 24fps and 120fps). Switch to NTSC through Setup > NTSC/PAL Selector if you need the full range.
For the best video quality, set the file format to XAVC S 4K and the bit rate to 100Mbps. Use a V60 or faster SD card to keep up with the data rate. Monitor audio levels on screen by enabling Audio Level Display in the Movie menu, and plug in an external mic for cleaner sound.
Picture Profiles for Video
The Picture Profile menu (Camera Settings 1 > Page 12 > Picture Profile) gives you access to color profiles that control how your footage looks. S-Log2 and S-Log3 are flat profiles that preserve highlight and shadow detail for color grading in post. HLG (Hybrid Log-Gamma) is good for HDR output. If you don’t plan to grade your footage, PP1 through PP7 offer ready-to-use color treatments.
Image Stabilization
The A7III has 5-axis in-body image stabilization (IBIS) rated for about 5 stops of compensation. This means you can handhold the camera at slower shutter speeds than you’d normally get away with. It works with any lens you mount on the camera, including adapted vintage glass.
Turn IBIS on through Menu > Camera Settings 2 > SteadyShot. If you’re using a lens with optical stabilization (like Sony’s OSS lenses), both systems work together.
Custom Buttons and Menu Setup
The A7III has several programmable buttons, and setting them up saves you from digging through menus during a shoot. Go to Camera Settings 2 > Custom Key and assign your most-used functions.
Popular assignments include Eye AF on the center button, Focus Magnifier on C1, AEL toggle on C2, and White Balance on the down button of the control wheel. Spend 15 minutes setting these up and you’ll save hours over the life of the camera.
Focus Peaking and Manual Focus Assist
If you shoot with manual focus lenses (vintage glass or cinema lenses), focus peaking is a must. Go to Camera Settings 1 > Focus Assist > Peaking Setting and turn it on. The camera highlights in-focus edges with a colored overlay (red, yellow, or white) that’s visible in the viewfinder and on the LCD. Set the peaking level to Mid for a good balance of accuracy and visibility.
Tips for Better Photos
Use Eye AF for portraits. Assign it to a button, hold it while shooting, and let the camera track your subject’s eyes. The hit rate for sharp, properly focused portraits goes way up.
Shoot in silent mode indoors. The electronic shutter makes absolutely no sound, which is perfect for weddings, concerts, and quiet environments. Enable it through Camera Settings 2 > Shutter Type > Electronic Shutter.
Set up Auto Review carefully. The default auto review pulls the image up on screen after every shot, which drains battery and slows you down. Turn it off or set it to 2 seconds if you want a quick glance.
The Bottom Line
The Sony A7III packs professional-grade features into a compact, affordable full-frame body. The menu system takes some time to learn, but once you set up your custom buttons and dial in your preferred settings, it gets out of the way and lets you focus on the shot. Spend a session getting comfortable with the autofocus modes and Eye AF, and you’ll see why this camera has been a favorite for years.