When you purchase through links on our site, we may earn an affiliate commission. Here’s how it works.
Nature lovers do like to capture the best shots on their cameras so that they can cherish the memories they lived.
Landscape Photography is getting more and more popular as people love to explore nature rather than explore malls and other man-made buildings.
If you want to try your hands on landscape photography through your DSLR, then here’s a step-by-step tutorial to take landscape photos.
Whether you are a beginner or an expert photographer, you need to be well-prepared with the equipment and proper knowledge of basic landscape photography settings to take landscape photos. You can get started with three simple steps listed below.
Steps to Follow to Take Landscape Photos
Step 1: Get your Camera Kit Ready
A suitable DSLR camera is required to take a professional-grade landscape photo. You need to understand the basic differences between the cameras that are available to take away for a photoshoot.
If you are a hobbyist and want to learn landscape photography for casual shoots, then you need a different camera, and if you want to pursue a career in landscape photography, then there’s a different camera needed.
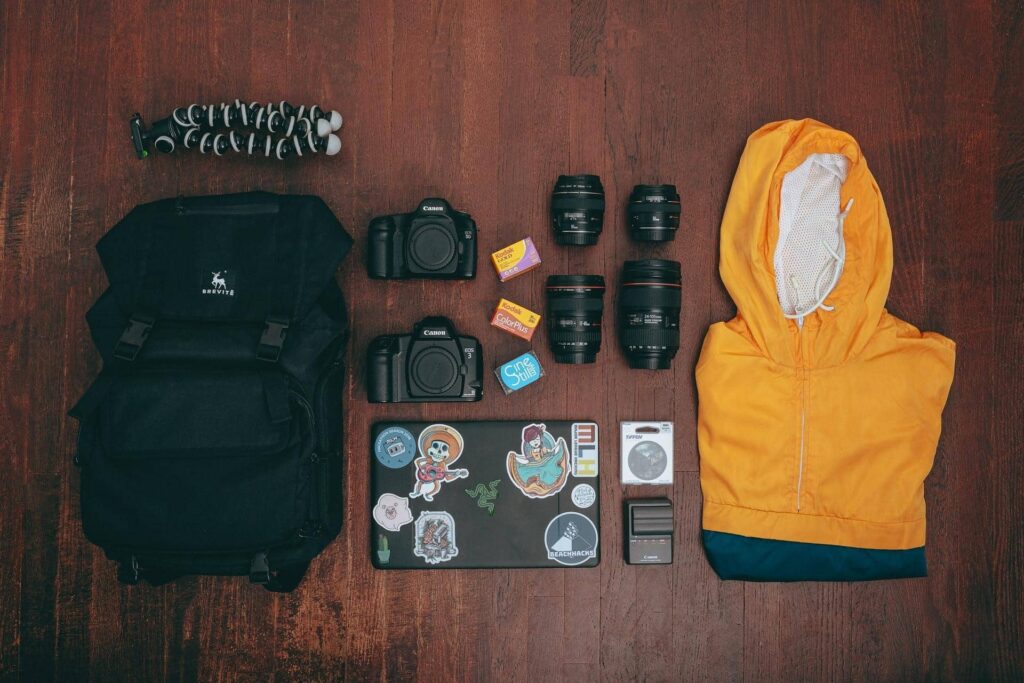
Step by Step Tutorial to Take Landscape Photos – Get your camera kit ready
For casual photography, you should not spend extra money as you can easily take landscape photos in an inexpensive DSLR.
We would recommend you go with the mirrorless camera. Go with the trusted brand available in the market and pick the suitable camera after doing a little homework.
Make sure you note down your basic requirements first. Once done, start searching for a compatible DSLR camera that fits your budget and suits your basic requirements.
Apart from the Camera, you also need to figure out the types of lenses required for landscape photography. Go with the lens that covers a wide range of the frame, as a landscape photograph requires a full-frame lens to capture the entire scene.
Additionally, you will also be required to use an external flashlight to take pictures in low light. A tripod, an extra battery, and other basic photography tools and equipment should be kept handy while going out for landscape photography.
Step 2: Learn Basic Photography Techniques
Landscape Photography is a bit more tricky than other types of photography as it requires special camera settings. Basic camera settings for landscape photography must be understood by the photographer before getting started with it.

Learn basic photography techniques
If possible, go for the professional photography workshops provided by expert photographers. You can also attend online workshops or can read out photography books to learn about landscape photography and its settings.
ISO range, shutter speed, exposure, aperture, and all the other basic camera settings should be adjusted perfectly while taking the landscape shot.
Focusing should also be adjusted by the user as per the current environmental condition. Photography settings during sunrise and sunset are different, which can be learned gradually.
Step 3: Final Stage
The most crucial part of landscape photography is post-processing or we can say, editing. Professional photographers are known for their exceptional photo-editing skills post-shooting.

Step by Step Tutorial to Take Landscape Photos – Final Stage
When it comes to processing the images captured by your camera, you need to understand that RAW images are good at editing as they offer the best coverage and features that support photo-editing software. Make sure to take pictures in a RAW file instead of a JPEG file.
You can make basic changes right from the camera while taking a picture with the help of the viewfinder. You can adjust the contrast, brightness, and all the other basic things even before you process the image on a computer.
As a beginner, you should learn to adjust the most basic and necessary things in the photos taken by the camera. If you don’t know about basic editing skills, then you won’t be able to master landscape photography.
There are many popular photo-editing or photo-processing software present on the web for both Windows and Mac Operating Systems. Adobe’s Lightroom is by far the most popular photo-editing software recommended by experts.
You should give it a try as it comes with readymade filters and auto-adjust features to adjust your photos with just one click.
Conclusion:
These are some basic tips that every beginner photographer should follow first. Landscape photography requires a creative mind and some additional skills to process images after a successful photo shoot.
It’s a bit difficult to become a master in this particular photography genre.
However, with proper knowledge and regular practice, you can easily take professional landscape photographs on your own. Don’t stop learning. Try out new things every day and you will become a pro photographer soon!
See Also