Nikon Coolpix P520 How to Use: A Complete Guide
The Nikon Coolpix P520 is packed with features that make it a versatile choice for travel and wildlife photography. If you are new to this camera or just want to get more out of it, this Nikon Coolpix P520 how to use guide will walk you through everything from initial setup to shooting your first photos and videos.
This camera sports an 18.1-megapixel CMOS sensor, a 5-level brightness adjustment system, and weighs only 19.4 ounces. It is light enough to carry all day, yet capable enough to deliver sharp, detailed images. Let us get started.
Setting Up Your Nikon Coolpix P520
Start by inserting the battery into its slot on the upper right side of the camera body. The battery ships separately from the camera, so you will need to unbox it first. Slide it in gently until it clicks into place.
Next, insert your SD memory card into the card slot. You will hear a small click when the card seats properly, confirming that both the battery and memory card are installed correctly.
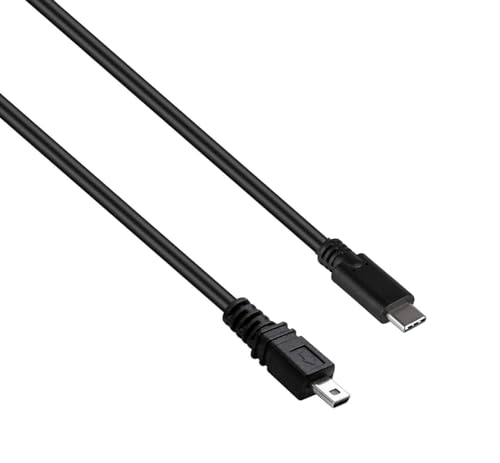
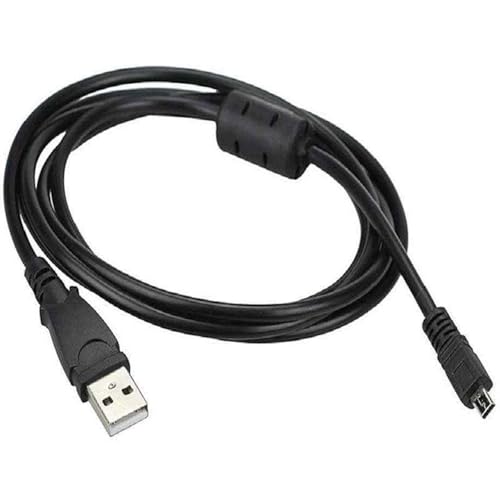
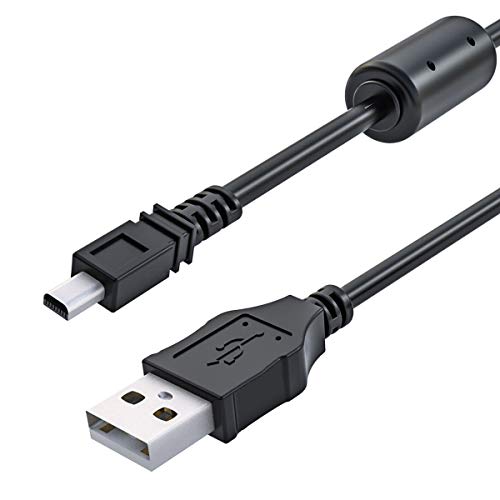
Before shooting, charge the battery fully using the included USB cable and AC adapter. A green indicator light means the battery is fully charged and ready to go. Disconnect the cable and adapter once charging is complete.
Understanding the Mode Dials and Ports
The P520 includes an HDMI port for connecting to monitors, smartphones, or TVs. This is handy for reviewing your shots on a larger screen. To view your photos and videos on the camera itself, press the PLAY button or navigate to PLAYBACK mode using the mode dial.
The camera’s main menu gives you access to a wide range of settings and features. You can also set up a custom “Private menu” with your most-used settings for quick access.
Choosing a Shooting Mode
Before you fire off your first shot, pick the right shooting mode for the situation:
- Auto Mode: Best for beginners. The camera handles all settings automatically, letting you focus on composition.
- Manual Mode: Full control over shutter speed, aperture, and ISO. Great for photographers who want to fine-tune every aspect of the exposure.
- Program Mode: A middle ground that lets you adjust shutter speed and focus while the camera handles the rest.
- Shutter Priority Mode: You set the shutter speed, and the camera adjusts other settings to match. Useful for freezing motion or creating motion blur on purpose.
The shooting menu controls image quality and size, white balance, movie settings, picture control profiles, and ISO. The custom settings menu gives you deeper control over autofocus behavior, shooting mode preferences, display options, exposure compensation, timers, bracketing, and flash output.
Spend a few minutes exploring these menus when you first get the camera. Knowing where things are will save you time in the field when you need to change settings quickly.
Shooting Photos and Videos
Taking a photo is straightforward: press the shutter button. For burst mode, hold the shutter button down to capture a rapid series of images. This is useful for action shots or fast-moving wildlife.
To record video, switch to live view mode by pressing the live view button. This activates the LCD screen. Hit the Record button to start filming, and press it again to stop. The P520 records smooth HD video that works well for casual projects and travel documentation.
Getting the Most from Your Nikon Coolpix P520
The Nikon Coolpix P520 is a capable camera with plenty of features to explore. Now that you know the basics of setup, shooting modes, and menu navigation, you can start experimenting with different settings to match your shooting style. Take it outside, try each mode, and do not be afraid to dig into the custom settings menu. The more you shoot with it, the more natural the controls will feel.
See Also