What the Nikon Coolpix L810 Offers
The Nikon Coolpix L810 is a budget-friendly superzoom camera with a 26x optical zoom lens (22.5 to 585mm equivalent). It runs on four AA batteries, which means you can pick up replacements at any convenience store when you’re traveling. There’s no Wi-Fi, no Bluetooth, and no touchscreen. It’s a straightforward camera that focuses on the basics: point, zoom, shoot. For anyone learning photography or looking for a simple travel camera that doesn’t cost much, the L810 still does the job in 2026 if you set it up correctly.
If you’re looking to move up to a more capable Nikon superzoom, our guide on the Nikon Coolpix P600 covers a model with manual controls, Wi-Fi, and better image quality.
Battery Setup: Why Rechargeable AAs Matter
The L810 runs on four AA batteries. You can use alkaline AAs in a pinch, but they drain fast, especially when you’re using the zoom and the LCD screen together. A set of alkaline AAs might only last 150 to 200 shots.
The better option is NiMH (nickel-metal hydride) rechargeable batteries. Brands like Eneloop, AmazonBasics, and EBL make reliable NiMH AAs that hold their charge well and can be recharged hundreds of times. With a good set of NiMH batteries, you’ll get about 300 to 350 shots per charge. Keep a second set charged and ready in your bag so you can swap when the first set dies.
Open the battery compartment on the bottom of the camera, insert four AA batteries following the plus and minus markings inside the compartment, and close the door. The battery level indicator appears in the top-right corner of the screen when you power on.
First-Time Settings
When you turn the L810 on for the first time, it asks you to set the language, date, and time. Use the directional pad on the back to navigate through these menus and press the OK button in the center to confirm.
A few settings worth changing right away:
Image quality: Go to the shooting menu (camera icon) and set image size to the maximum resolution. The L810 shoots at 16 megapixels, and there’s no good reason to use a lower resolution unless you’re running very low on card space.
VR (Vibration Reduction): Make sure this is turned on. It helps reduce blur from hand shake, especially at longer zoom settings. You’ll find it in the shooting menu.
AF assist lamp: Leave this enabled. It projects a small light from the front of the camera to help autofocus lock on in dim conditions.
Shooting Modes
Auto Mode
The mode dial on top of the camera has an Auto position (green camera icon). In this mode, the L810 controls everything. It picks the shutter speed, sensitivity, white balance, and focus. For daytime outdoor shooting, Auto mode produces clean, well-exposed photos with minimal effort. This is where most casual shooters will keep the dial.
Scene Modes
Turn the mode dial to Scene to access presets designed for specific situations. Available scenes include Portrait, Landscape, Night Portrait, Party/Indoor, Beach, Sunset, Fireworks, Food, and more. Each preset adjusts the camera’s settings to match the shooting condition. Night Portrait, for example, uses a slow sync flash to capture both the subject and the ambient background light.
There’s also a Smart Portrait mode that can detect smiles and automatically trip the shutter when someone grins. It works reasonably well in good lighting but can be slow to react in dim environments.
Working with the 26x Zoom
The 26x zoom lens gives you a lot of reach for a camera in this price range. At the wide end (22.5mm equivalent), you can capture broad landscapes and group photos. At full zoom (585mm equivalent), you can pull in birds, signs, and distant details.
Use the zoom lever around the shutter button to zoom in and out. The zoom speed has two levels: press gently for a slow, smooth zoom (better for video), and press harder for a fast zoom.
At high zoom levels, camera shake becomes a real issue. Brace the camera against a solid surface whenever possible, or lean your elbows on a table or railing. Even with VR turned on, a steady hand makes a noticeable difference in image sharpness beyond about 15x zoom.
Macro Mode
For close-up shots of flowers, coins, or food, press the left button on the directional pad to enter Macro mode (look for the flower icon). The L810 can focus as close as about half an inch from the subject at the wide-angle setting. This opens up surprisingly good close-up photography for a budget camera. Switch back to normal focus mode when you’re done, since macro mode can slow down autofocus at normal distances.
Video Recording
The L810 records video at 720p (1280×720) at 30 frames per second. It’s not full HD, but it’s plenty sharp for casual video clips and social sharing. Press the dedicated video button on the top of the camera to start and stop recording. You can zoom during video, and the autofocus stays active.
Audio is captured by a mono microphone on the front of the camera. It picks up everything nearby, including zoom motor noise and wind. For better audio in windy conditions, try cupping your hand around the microphone area without covering it completely.
Video files are saved as AVI format, which is older and less efficient than modern codecs. Files tend to be large, so a bigger SD card (16 GB or 32 GB) is a good idea if you shoot a lot of video.
Playback and Deleting Photos
Press the playback button (right triangle icon) to review your photos and videos. Use the directional pad to scroll through images. Zoom in with the zoom lever to check focus and detail. Press the Delete button (trash can icon) to remove photos you don’t want. The camera will ask you to confirm before deleting.
You can also protect important photos from accidental deletion. During playback, press the Menu button and select Protect. Protected images show a key icon and can’t be deleted with the Delete button, though formatting the card will still erase them.
Transferring Photos via USB
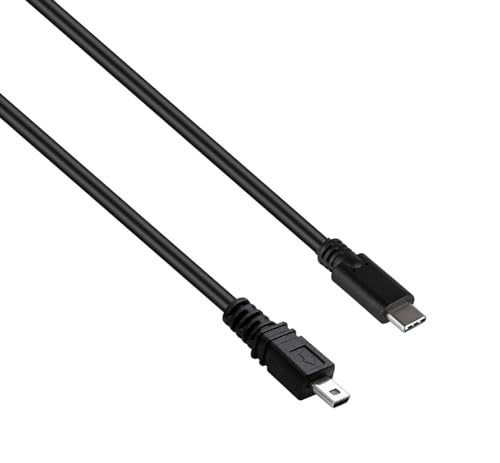
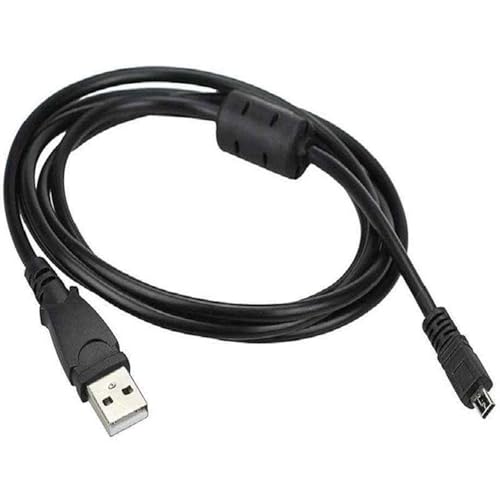
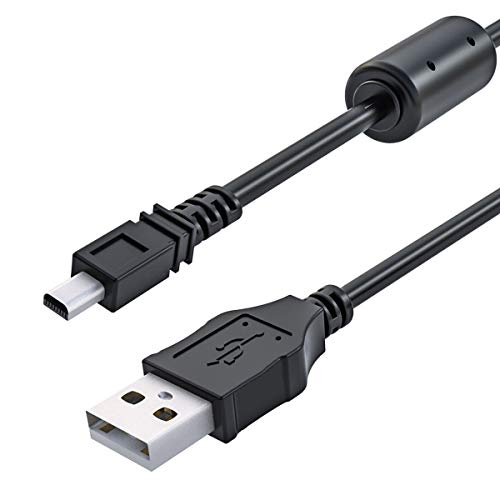
Since the L810 has no Wi-Fi, you’ll need the included USB cable to transfer photos to a computer. Plug the small end into the camera’s USB port (under the rubber flap on the side) and the large end into your computer. Turn the camera on, and it should appear as a removable drive.
Navigate to the DCIM folder on the camera to find your photos. Copy and paste them to your computer. If the camera doesn’t show up as a drive, try a different USB port or install Nikon’s ViewNX software, which includes the necessary drivers.
You can also pop the SD card out and use a card reader, which is usually faster for large transfers.
Getting the Best Results from a Budget Camera
The L810 works best in good lighting. Its small sensor struggles in dim conditions, producing grainy images at higher ISO settings. Shoot outdoors during the day whenever possible, or use the flash indoors. Keep the ISO at Auto and let the camera decide, since manually pushing the ISO above 400 usually introduces more noise than it’s worth.
Clean the lens regularly with a microfiber cloth. Pocket cameras pick up fingerprints and smudges easily, and a dirty lens kills image sharpness faster than any camera setting. And remember: the best photos come from good light and interesting subjects, not expensive gear.