How to Use the Sony DSC HX400V
The Sony DSC HX400V packs a lot of camera into a compact body. With a 50x optical zoom, a 20.4MP sensor, and full manual controls, it goes well beyond your average point-and-shoot. But all those features come with a pretty busy menu system. If you just pulled this camera out of the box (or found it sitting unused for a while), here’s how to get going.
The first time you turn on the HX400V, it’ll ask you to set your date, time, and time zone. Get that done first so your photos have the right timestamps.
After that, press the Menu button on the back to open the camera’s settings. You’ll see several pages of icons across the top, each grouping related settings together. Here’s a quick rundown of what you’ll find:
- Image size and aspect ratio: Pick your preferred resolution and choose between 4:3, 16:9, or another ratio. The camera saves everything as JPEG files.
- Image compression: Choose between standard and fine quality. Fine takes up more card space but gives you better detail.
- Panorama settings: Set the size and sweep direction before shooting a panorama.
- File format: Select how the camera stores your photos.
- Exposure and autofocus controls: These let you tweak exposure compensation, creativity settings, and how the camera locks focus.
- Function button: Press this to quickly access common shooting settings. Use the control buttons to scroll through and select what you need.
- Control dial: Spin this to change settings quickly in each shooting mode. It’s the fastest way to make adjustments on the fly.
Custom Settings Worth Knowing
The HX400V has a bunch of custom settings that change how the camera behaves:
- Focus magnification: Zoom in on your focus point to make sure it’s sharp before taking the shot.
- Auto review: Controls how long the camera shows a photo after you take it.
- Grid lines: Overlays a grid on your screen to help with composition.
- Zoom settings: Adjusts how the zoom lever behaves.
- Custom key settings: Assign specific functions to certain buttons so you can reach them faster.
Wireless Features
The HX400V has built-in Wi-Fi and NFC, which means you can send photos and videos straight to your smartphone or computer. You’ll find options for one-touch NFC, WPS push, airplane mode, access point settings, and the ability to edit your device name or reset network settings. This is handy when you want to share photos quickly without plugging in a cable.
How to Charge the Camera
Charging is straightforward:
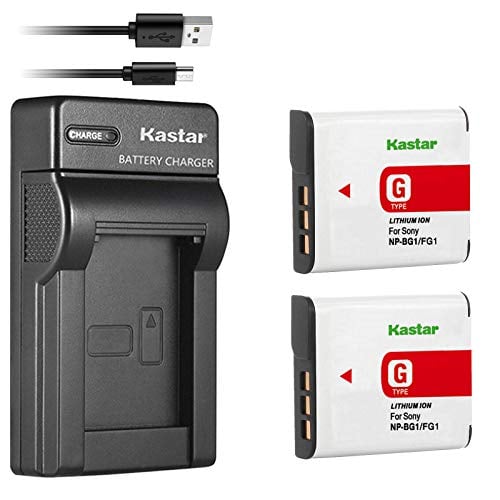
- Connect the camera to the AC adapter that came in the box.
- Plug the adapter into a wall outlet. Make sure the camera is turned off while it charges.
- Let the battery charge fully. If it was only partially charged before, take the battery out, reinsert it, and charge it all the way.
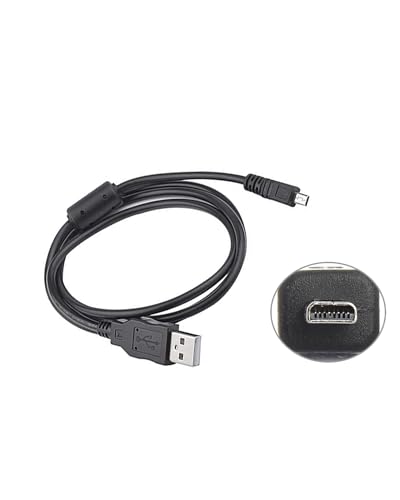
- You can also charge by connecting the camera to a computer via USB. This takes longer, but it works in a pinch.
Shooting Still Images and Videos
Still Images
To take a photo, press the shutter button halfway down. You’ll hear a beep and see an indicator light when the camera locks focus on your subject. Once you’ve got focus confirmed, press the shutter button all the way to capture the shot.
Videos
Press the dedicated movie button to start recording. You can adjust the zoom while filming. Press the movie button again to stop. Pretty simple.
Using Manual Exposure Mode
If you want full control over your shots, switch the mode dial on top of the camera to M (manual exposure). Here’s the process:
- Press the bottom side of the control button to toggle between shutter speed and aperture value.
- Use the control wheel to adjust the selected setting. Watch the exposure indicator on screen to check whether you’re over or under exposed.
- Fine-tune both values until you get the look you want.
Manual mode takes practice, but it gives you the most creative control over your photography. Spend a few sessions experimenting and you’ll get the hang of it.
Viewing and Deleting Photos
To review your shots, press the playback button on the back of the camera. If this is the first time you’re viewing images from another camera’s memory card, you might see a data file registration screen.
- Use the control button to scroll through your images. Press the center button to select one for a closer look.
- If you want to delete a photo, select it, hit the delete button, and confirm your choice.
Getting the Most from Your HX400V
The Sony DSC HX400V has a lot going on under the hood, but it gets easier with time. Spend a few sessions playing around with the menu and trying different modes. The more you shoot, the faster you’ll get at dialing in the right settings for any situation.
See Also