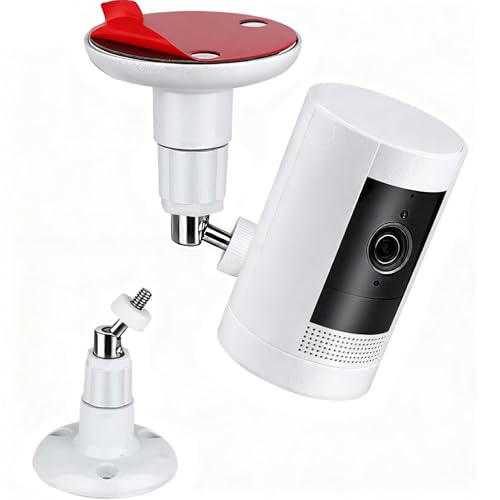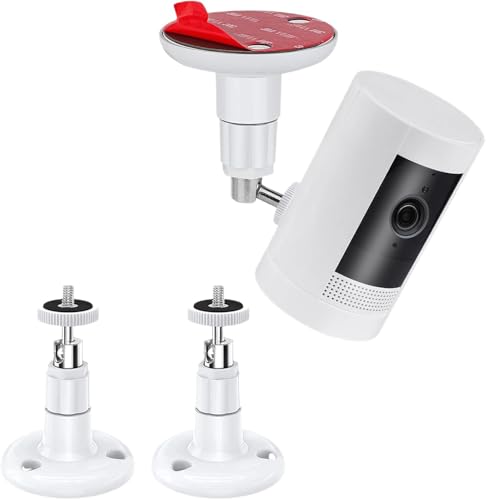
The Ring Stick Up Cam is built to go pretty much anywhere. Wall, ceiling, flat surface like a desk or shelf. The mounting system uses a bracket-and-groove design that lets you pop the camera off whenever you need to (for charging or moving it) without touching the bracket that stays permanently attached.
One thing to stress right away: finish the app setup and Wi-Fi connection before you mount the camera. You need to know that the spot you picked has decent Wi-Fi and that the camera angle covers what you want. Drilling holes first and discovering problems later is a waste of time and drywall.
Three Mounting Options
The Stick Up Cam works with three different installation methods. Which one you go with depends on the location, the surface type, and whether you want something permanent or portable.
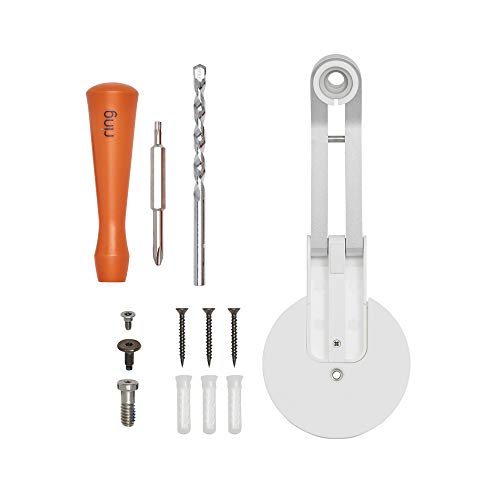
Wall mount is the go-to for most people. Screw the bracket into your wall (wood, stucco, brick, vinyl siding), snap the camera onto it, and you’re done. It’s the best option for covering doorways, walkways, driveways, and yard entry points. You’ll need a drill, the included screws and anchors, and about 5-10 minutes.
Ceiling mount uses the exact same bracket, just flipped upside down. The camera hangs from a ceiling, porch roof, garage ceiling, or covered patio. You get a wide top-down view that’s great for covering large open areas. The camera automatically flips the image so your footage comes out right-side-up. Works well for parking areas, patios, and big rooms.
Tabletop/shelf placement doesn’t require any tools at all. Take the base off the camera and set it on any flat, stable surface: a bookshelf, desk, window sill, or countertop. You won’t get the ideal elevated angle, but you can move the camera anywhere in seconds. Best for indoor monitoring when you’d rather not drill holes.
Step 1: Finish App Setup First
Before you even think about a drill, get the camera configured and connected through the Ring app. This way you’ll know everything works before picking a permanent spot.
- Download the Ring app on your phone (iOS App Store or Google Play Store). Create a new Ring account if this is your first device, or sign into your existing one.
- Add the camera to your account: Tap “Set Up a Device,” choose Stick Up Cam as your model, and scan the QR code on the back of the camera or in the quick start guide.
- Connect to Wi-Fi: The app walks you through connecting to your home network. The camera creates a temporary setup network that your phone joins first, then you enter your home Wi-Fi password. Once connected, the camera shows up in your Ring dashboard.
- Test before mounting: Hold the camera in the spot where you’re planning to mount it. Open Live View and check two things: can you see everything you want in the frame, and is the Wi-Fi signal strong enough for a smooth feed? The app shows connection quality during Live View.
Step 2: Pick the Right Location
Where you put the camera determines everything: how well it detects motion, whether you can identify faces in the footage, and how long the camera lasts outdoors.
Ideal height: 7-9 feet (2.1-2.7 meters) from the ground. High enough that nobody can reach up and grab it, but low enough that you’ll actually see faces in the footage. Go much higher than 9 feet and you’ll mostly see the tops of people’s heads.
Angle: After mounting, tilt the camera slightly downward using the ball joint. You want to catch approaching faces at an angle, not just a straight-ahead shot that misses anyone below the frame.
Wi-Fi signal: The camera needs a solid connection to your router. Thick walls, long distances, and metal or concrete construction all weaken signal. If your preferred spot shows weak Wi-Fi during the Live View test, consider adding a Wi-Fi extender or a Ring Chime Pro (which doubles as a Wi-Fi range extender for Ring devices).
Weather protection for outdoor installs: The Stick Up Cam carries an IP65 rating, meaning it handles weather just fine. But mounting it under an eave, overhang, or porch roof extends its life by keeping direct rain and sun off the lens. Sunlight hitting the lens at certain times of day can cause glare that washes out your video.
Step 3: Install the Wall Mount Bracket
Once you’ve confirmed the spot works (good Wi-Fi and a good angle based on the Live View test), here’s how to get the bracket on the wall.
- Remove the base plate from the camera using the included screwdriver if needed. Reattach it to the back of the camera body with the “UP” arrow pointing toward the ceiling.
- Position the bracket against the wall at your chosen height. The bracket has an “UP” arrow too; make sure it points toward the ceiling. Mark the screw hole positions on the wall with a pencil.
- Drill pilot holes at the marks. For drywall or wood, make the holes slightly smaller than the screws. For brick, concrete, or stucco, use a masonry bit and insert the included wall anchors.
- Screw the bracket in using the included screws. Tighten firmly but don’t overdo it. You want the bracket flush against the wall without cracking anything or stripping the anchors.
- Snap the camera on: Line up the grooves on the camera base with the hooks on the bracket. Slide the camera down until it clicks into place. The fit is solid but still allows quick removal when the battery needs charging.
Step 4: Post-Install Configuration
With the camera on the wall, head back to the Ring app and optimize the settings for your specific setup.
- Fine-tune the angle using the ball joint. Open Live View on your phone and physically tilt and rotate the camera while watching the feed until the coverage looks right.
- Set up motion zones: In Motion Settings, draw zones that define exactly where you want alerts. Exclude public sidewalks or busy roads that would flood you with notifications. Keep the detection focused on your property: walkway, driveway, porch, yard.
- Adjust motion sensitivity: Start at medium and give it a few days. If every passing car or stray cat triggers an alert, lower it. If delivery drivers are getting through without a notification, raise it.
- Check night vision: Once it gets dark, open Live View and make sure the infrared illumination is clear. If the image looks hazy, check whether a wall, post, or decoration is close enough to the lens to reflect IR light back at it.
- Install security screws (recommended for outdoor mounts): The Stick Up Cam comes with two optional security screw locations. One locks the bracket to the camera base so nobody can just unclip it, and the other secures the battery compartment door. Use the included security torx screwdriver for these. Definitely use them if the camera is mounted anywhere someone could reach it.
Power and Battery Considerations
The Stick Up Cam comes in battery-powered and wired (plug-in) versions. If you have the battery model, expect 3-6 months per charge depending on how many motion events fire each day, how often you pull up Live View, and the weather (cold temperatures cut into battery performance).
When it’s time to recharge, just lift the camera off the bracket. The groove-and-hook design makes it a one-motion removal. Charge it with the included USB cable, snap it back on, and you’re good. The bracket stays on the wall permanently; you never have to unscrew anything for routine charging.
This guide covers all Ring Stick Up Cam models: Battery (1st-3rd gen), Plug-In (1st-3rd gen), and Solar. The mounting hardware and bracket system are identical across all generations. Solar models include a separate solar panel that connects via cable, so you never need to pull the camera down for charging.
Not sure which smart home platform fits your setup? See our Google Home vs Alexa breakdown for a side-by-side look.
Comparing budget cameras? See our Blink vs Wyze comparison.
Curious about the flying cam? Read our Ring Always Home Cam review.